Equites

Scramble repair log

 PCB Repair Logs  Comments Off on Scramble repair log
Oct 052018
 

Interesting one this, graphics were doubled up, wrong tiles used and the text was garbage;

I quickly and correctly diagnosed that Bit 0 is stuck low on reads/writes from screen/object RAM.  You can tell by looking at the scoreline;

00001000 = 08 = H … becomes 00001000 = 08 = H
00001001 = 09 = I … becomes 00001000 = 08 = H
00000111 = 07 = G … becomes 00000110 = 06 = F
00001000 = 08 = H … becomes 00001000 = 08 = H
 
00010011 = 19 = S … becomes 00010010 = 18 = R
00000011 = 03 = C … becomes 00000010 = 02 = B
00001111 = 15 = O … becomes 00001110 = 14 = N
00010010 = 18 = R … becomes 00010010 = 18 = R
00000101 = 05 = E … becomes 00000100 = 04 = D


I started to look at the video RAM addressing circuit, found a LS157 Multiplexer at 4G used to access a bank of video RAM with pin 9 stuck low.  Removed, fitted socket and new LS157;

Now working 100%;

Terra Cresta repair log #4

 PCB Repair Logs  Comments Off on Terra Cresta repair log #4
Oct 042018
 

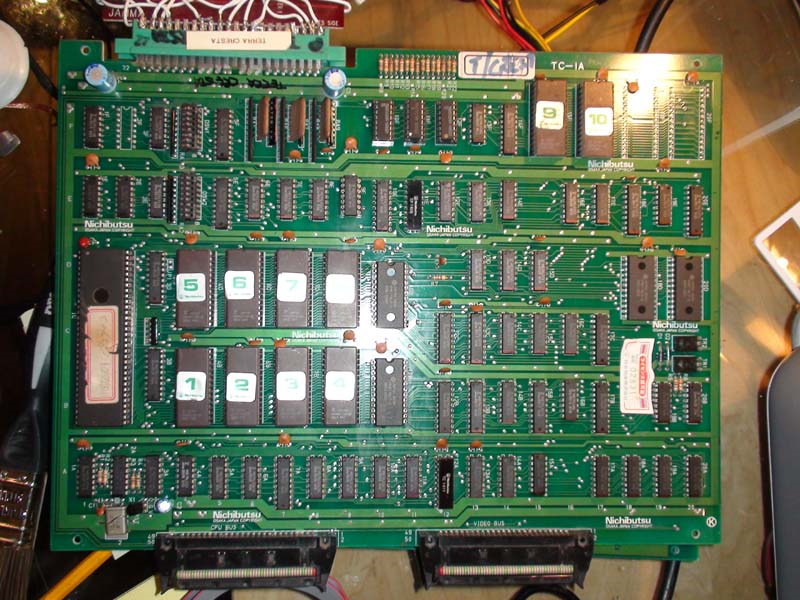
Another on my pile that has been wanting attention for a while. It is an original PCB and is the YM2203 version unfortunately, much prefer the YM3526 version with superior soundtrack.

Which version you have is easily identified by a daughterboard (YM2203) on the underside of the PCB.

Symptoms

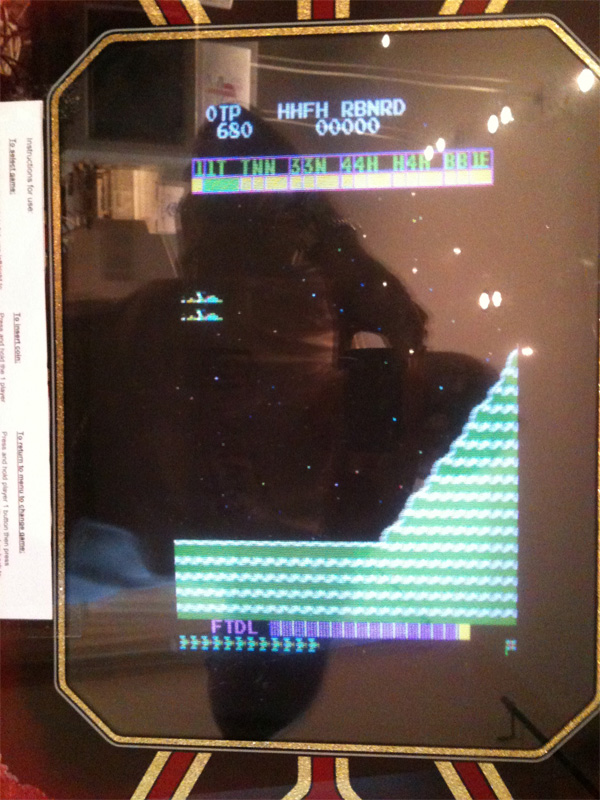
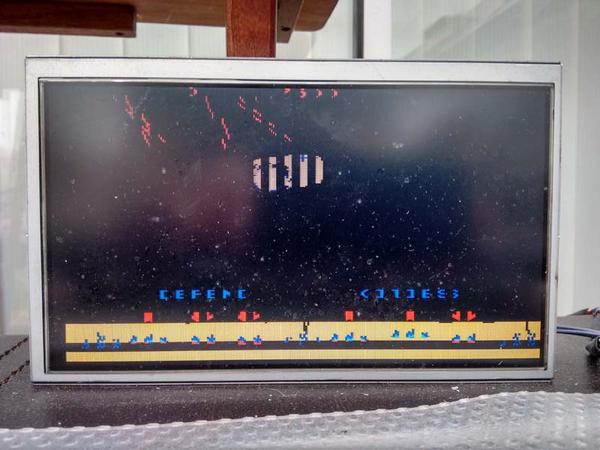
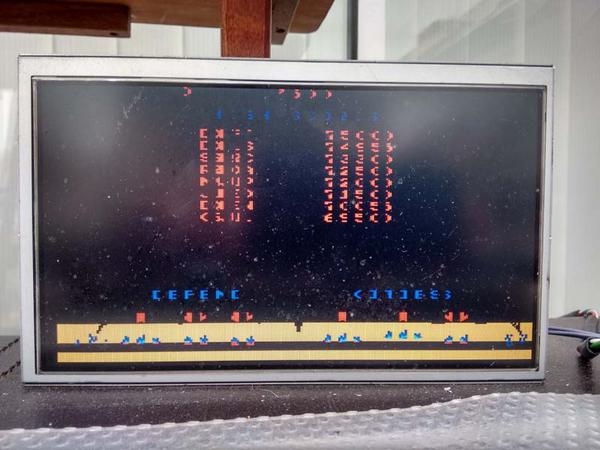
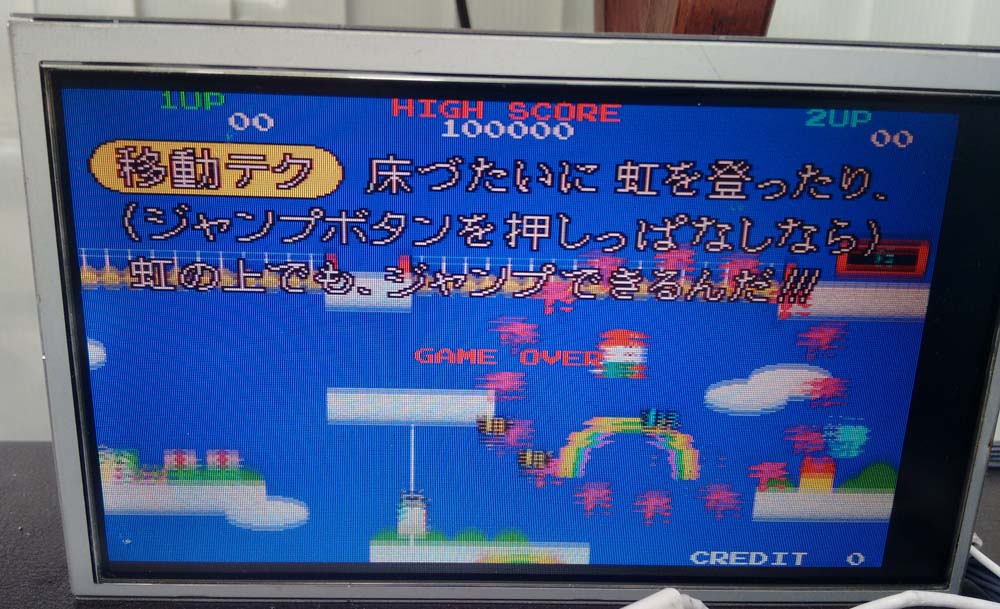
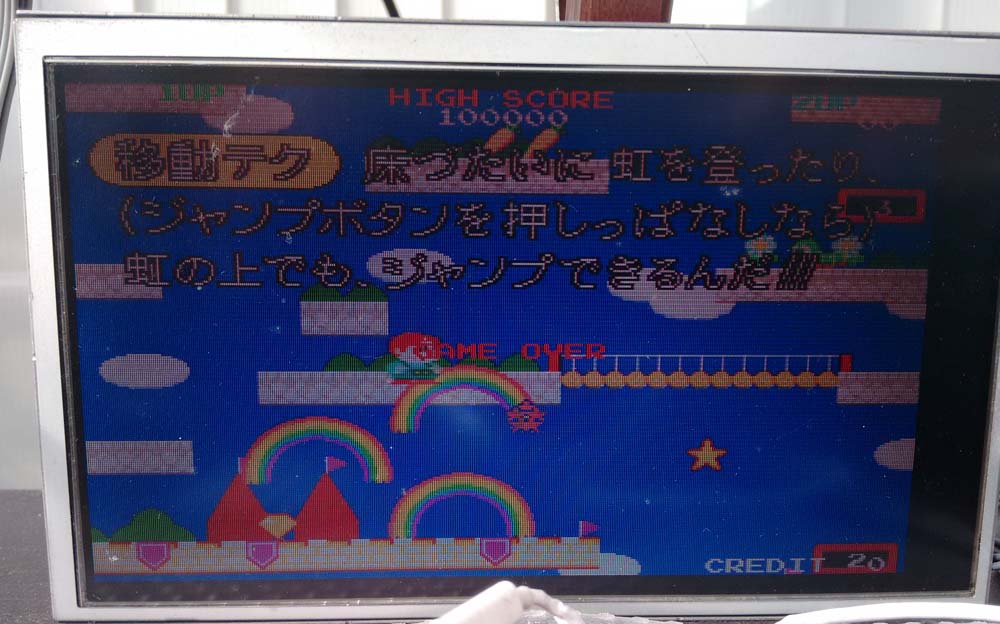
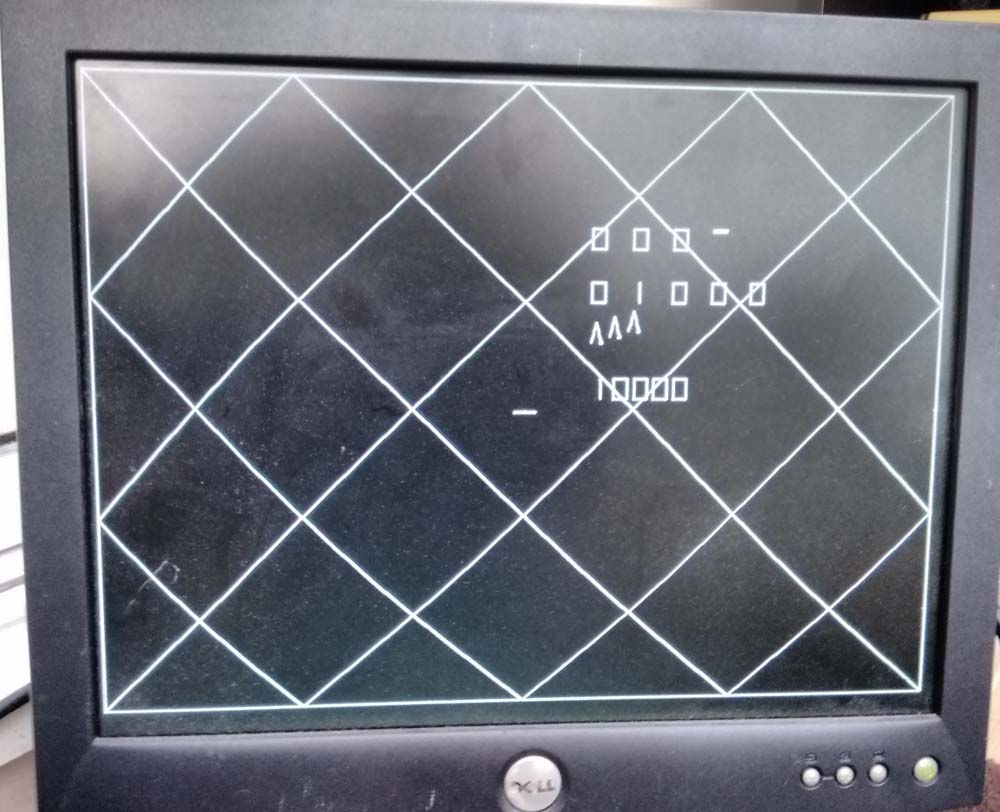
PCB will not run at all, all I get on the screen is static garbage which is always the same whenever I try to boot.

I started by looking at the clock circuit, I did this by checking the 68000 CPU’s Clock (CLK) pin which was pulsing as I expected, so the clock circuit must be good. The next thing to check was the RESET pin on the CPU which should have been HI, but it was LO and stayed LO, which mean’t no watchdog system was barking. Pin should have flipped to LO for a split second on boot and stayed on HI for an enabled CPU.

I probed further and checked the HALT pin on the CPU, which was LO, this told me there is a Bus error somewhere and the CPU has put its handbrake on.

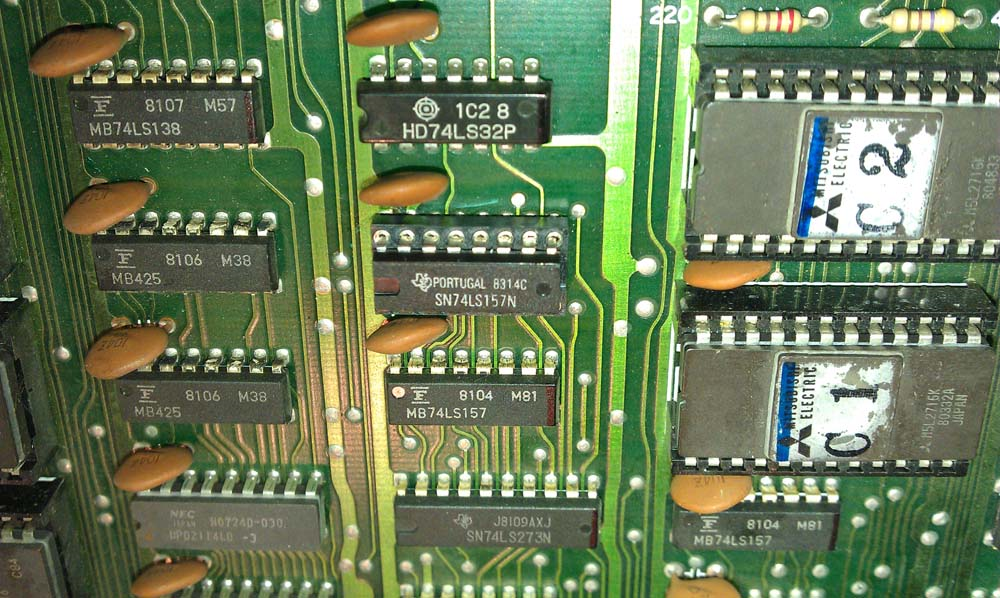
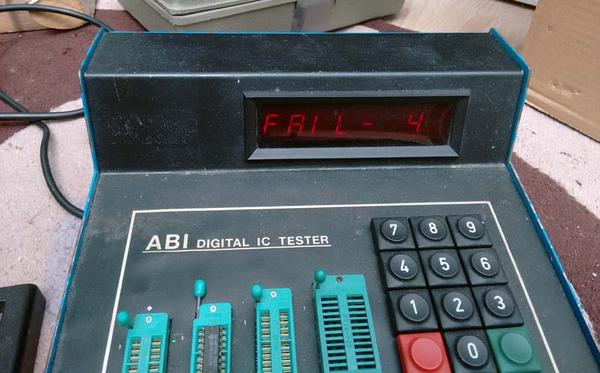
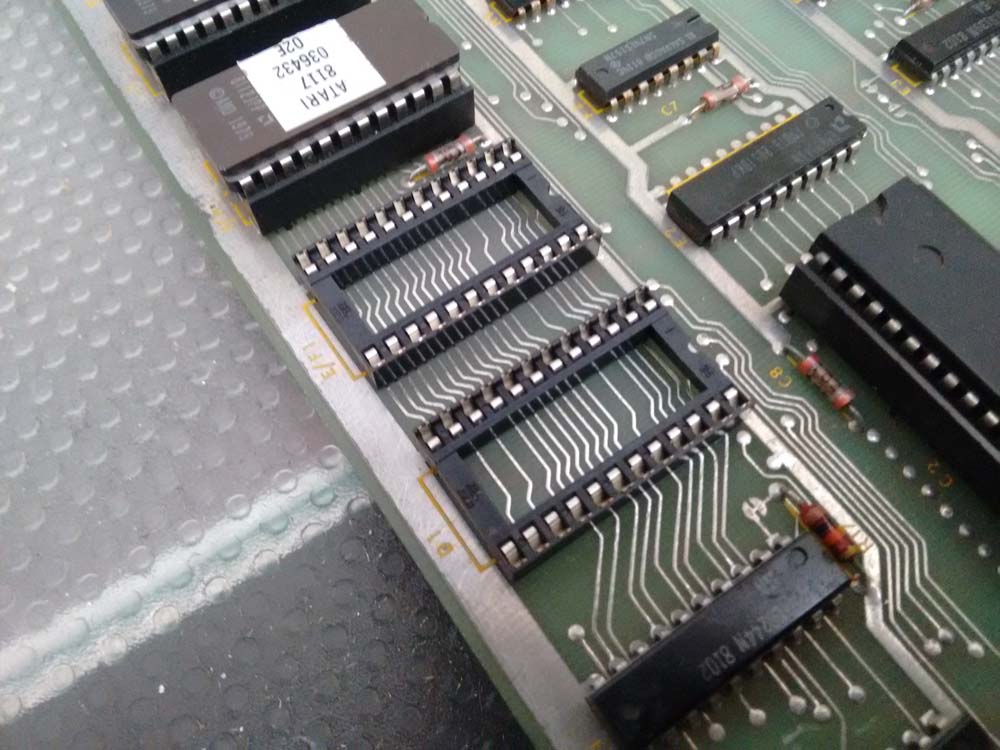
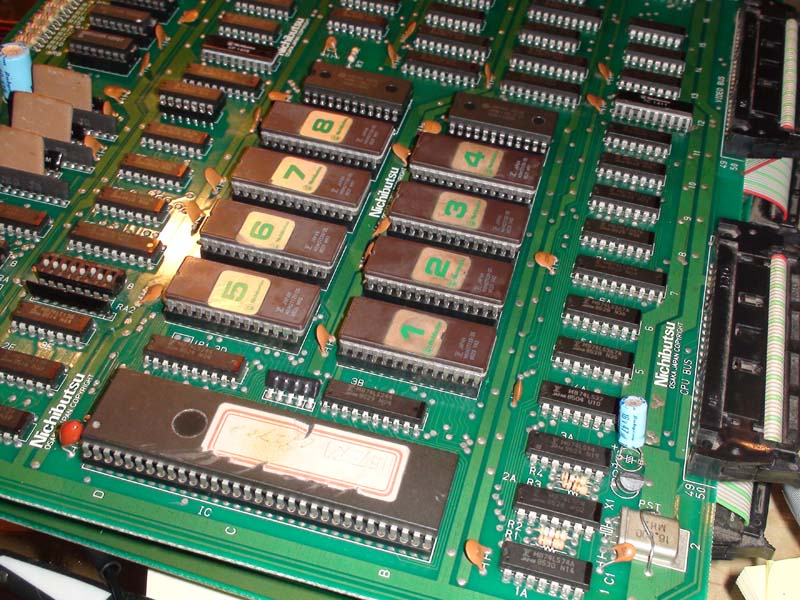
Next thing to do was verify the CPU program ROMS (1, 2, 3, 4, 5, 6, 7 & 8 ROMs) were good, as there is no point checking the PCB any further if it has nothing worth running. They all checked out good.

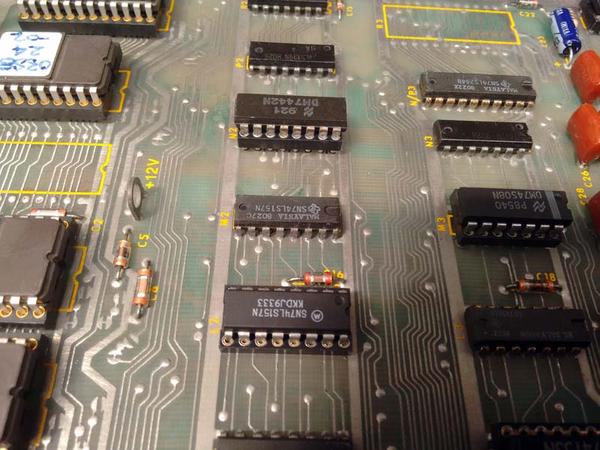
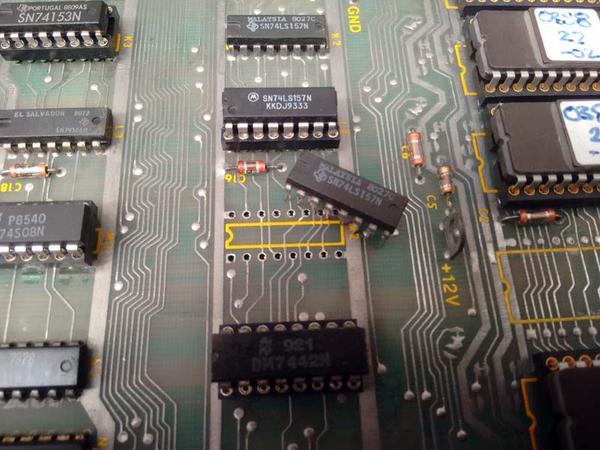
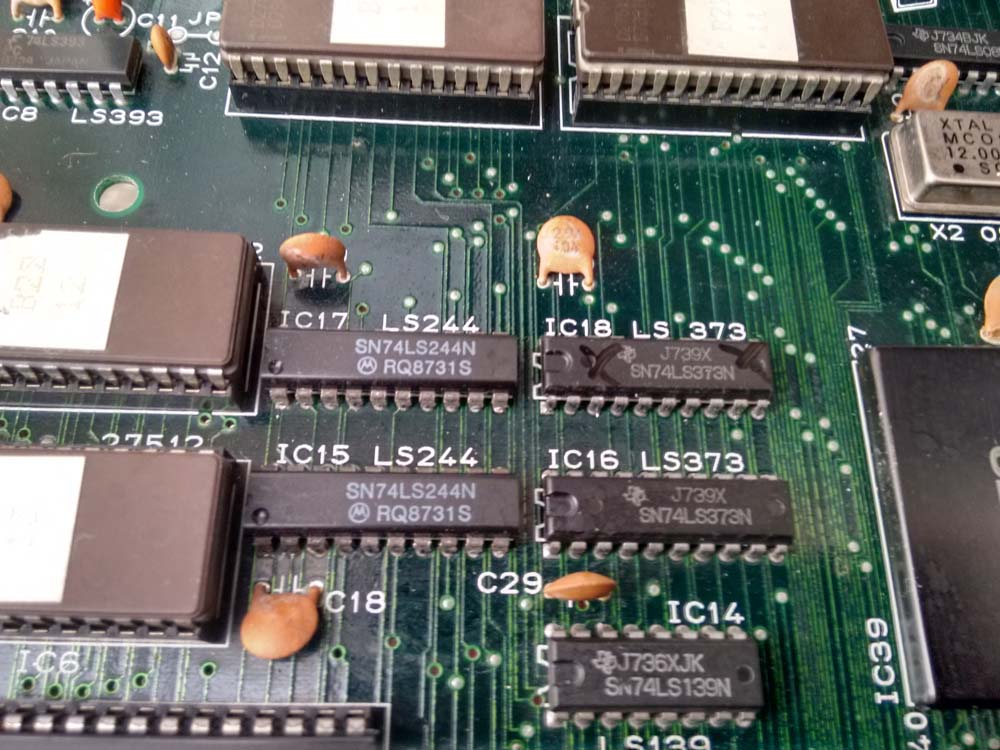
Next I checked the CPU buffers (74LS244), which were inactive as I expected but checked out good.

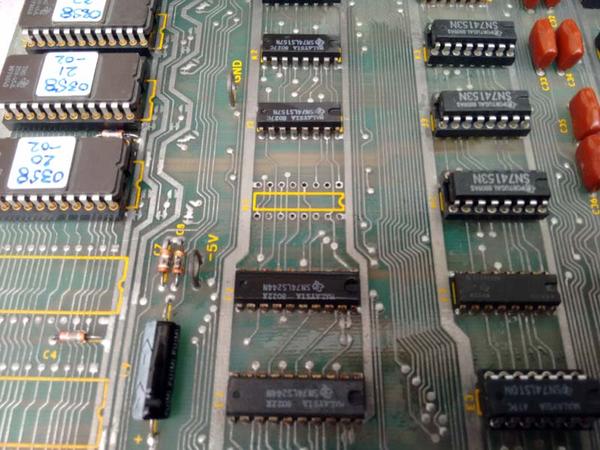
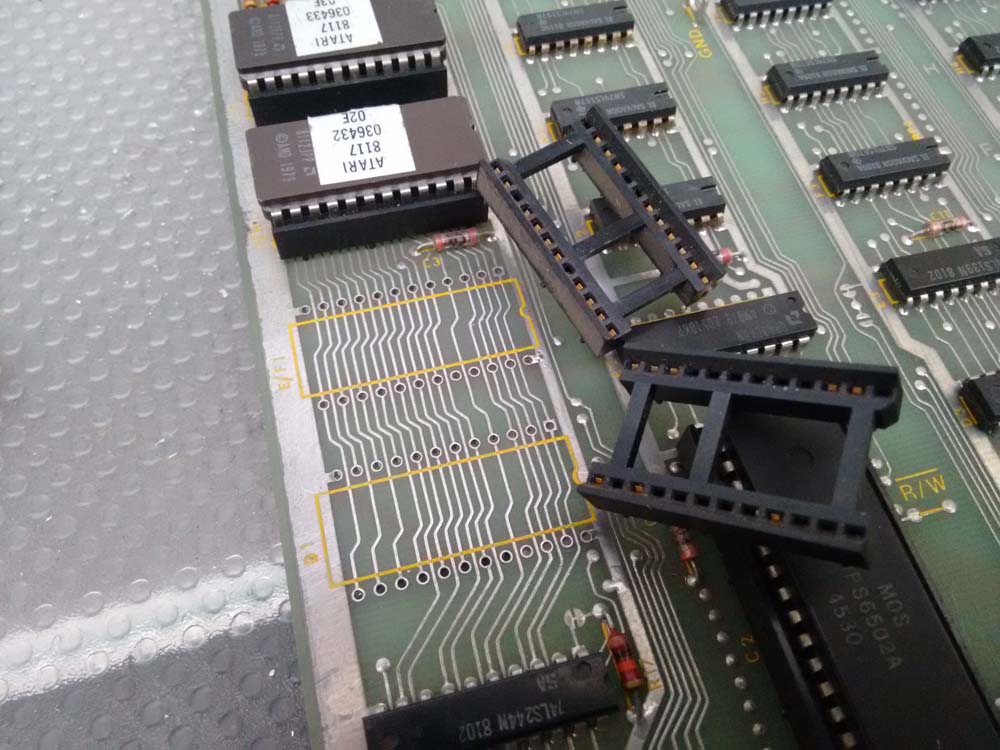
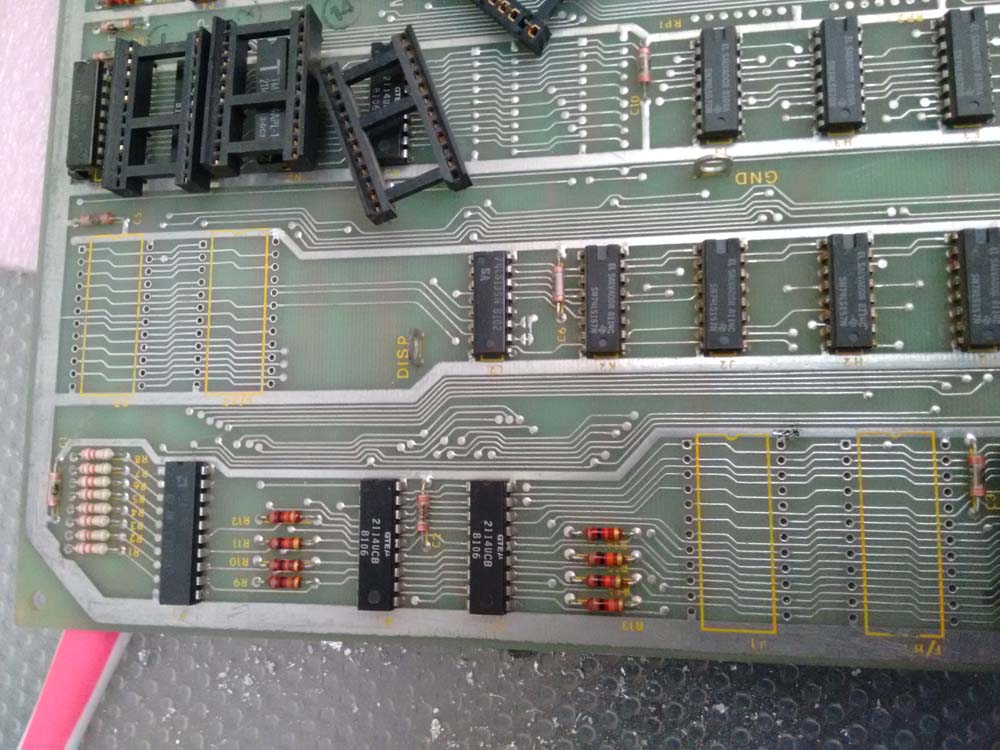
Ok I thought, must be the CPU RAM (6116) which is bad at locations 10b and 10d, I checked them but they were inactive as I expected, so desoldered them to test them. They both checked out good.

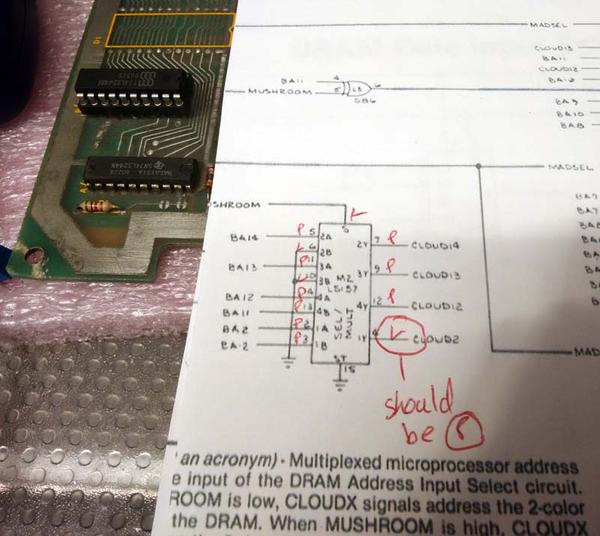
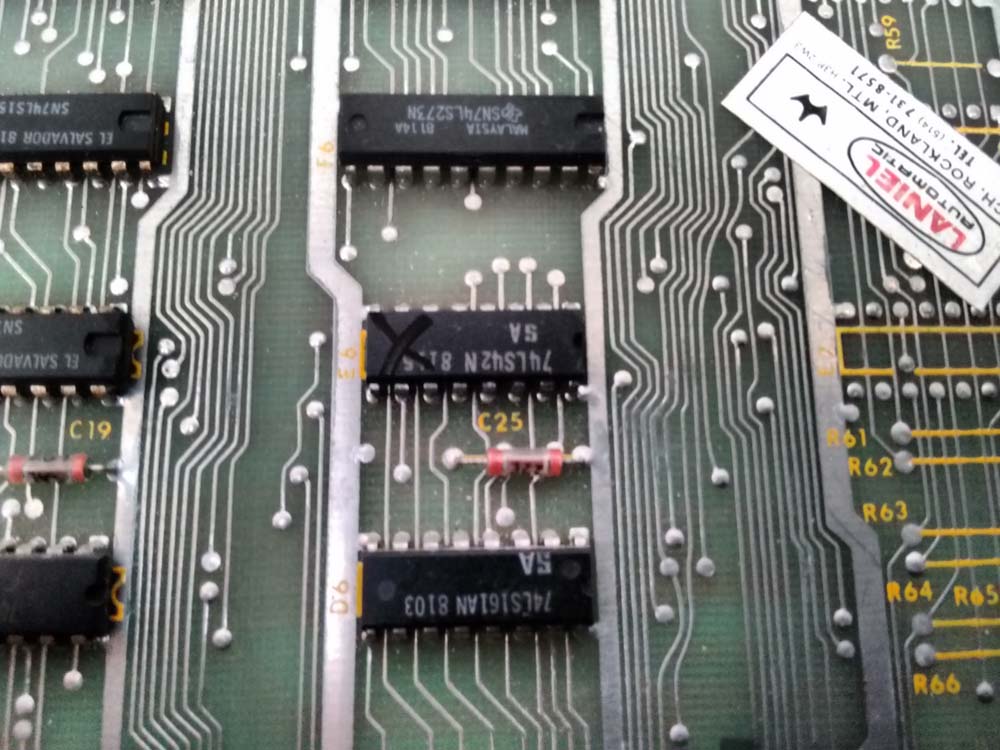
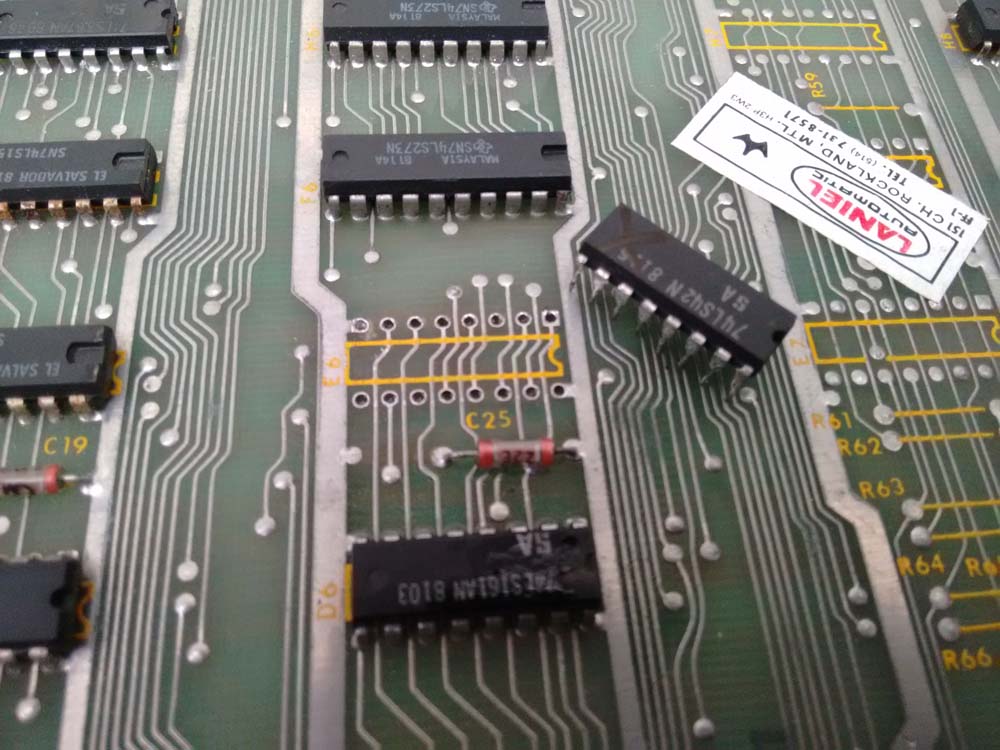
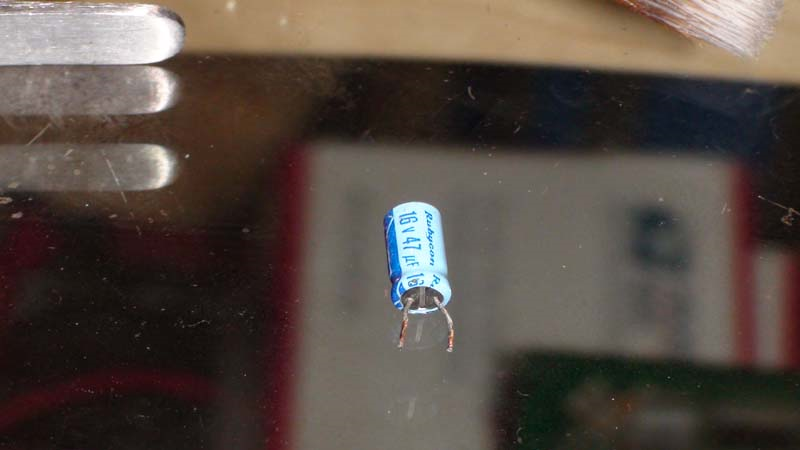
Hmm….at this point I had checked all components on the PCB which would stop the CPU running. I probed further and started to check the Caps. I found a Cap which when I checked both poles with my logic probe, it showed LO for both poles instead of LO (-) and HI(+) which I expected. This can only mean the Cap is shorted. I checked again with a Multimeter which confirmed this.
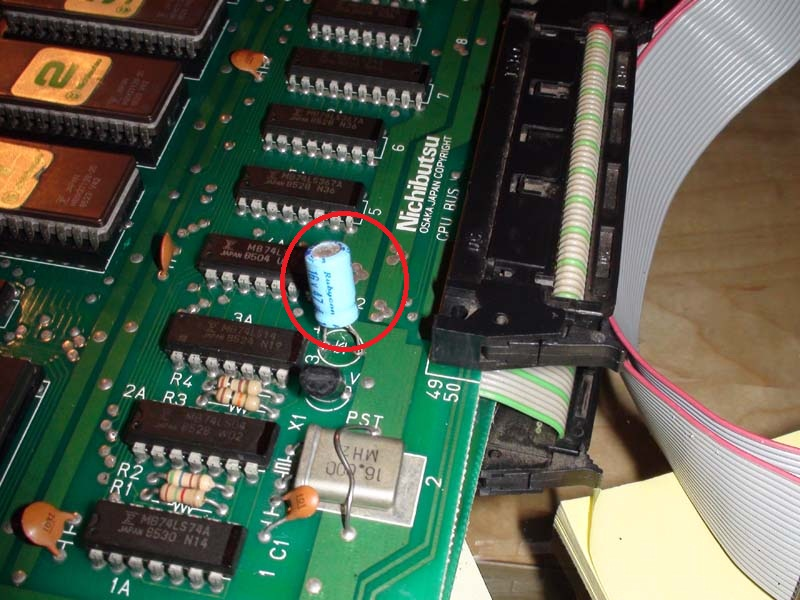
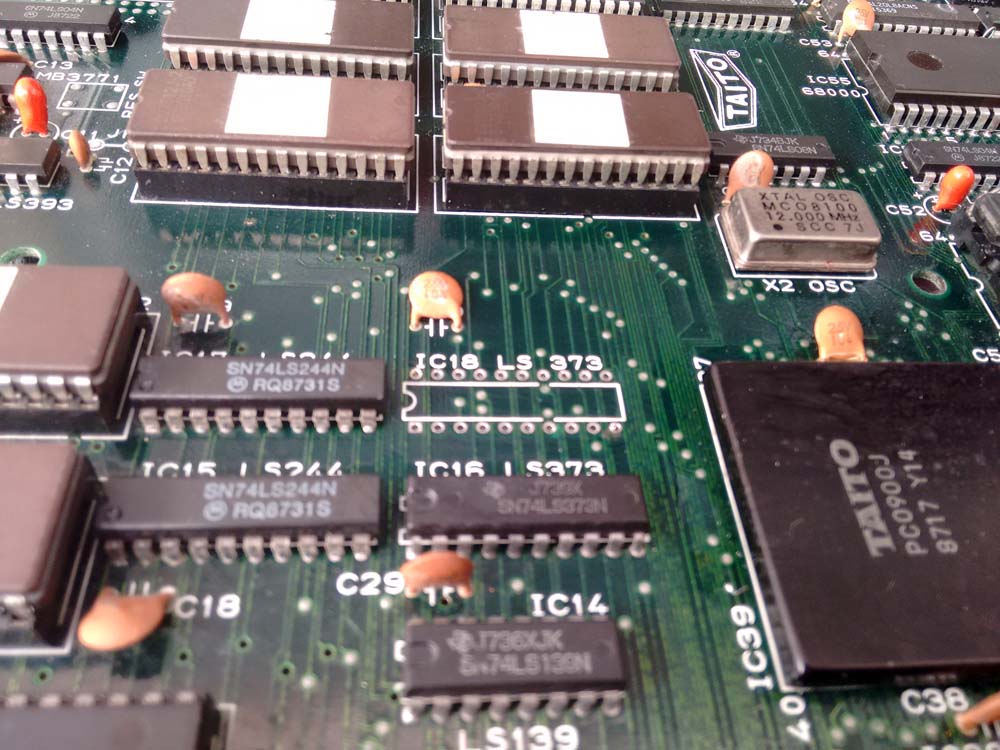
Off it came;

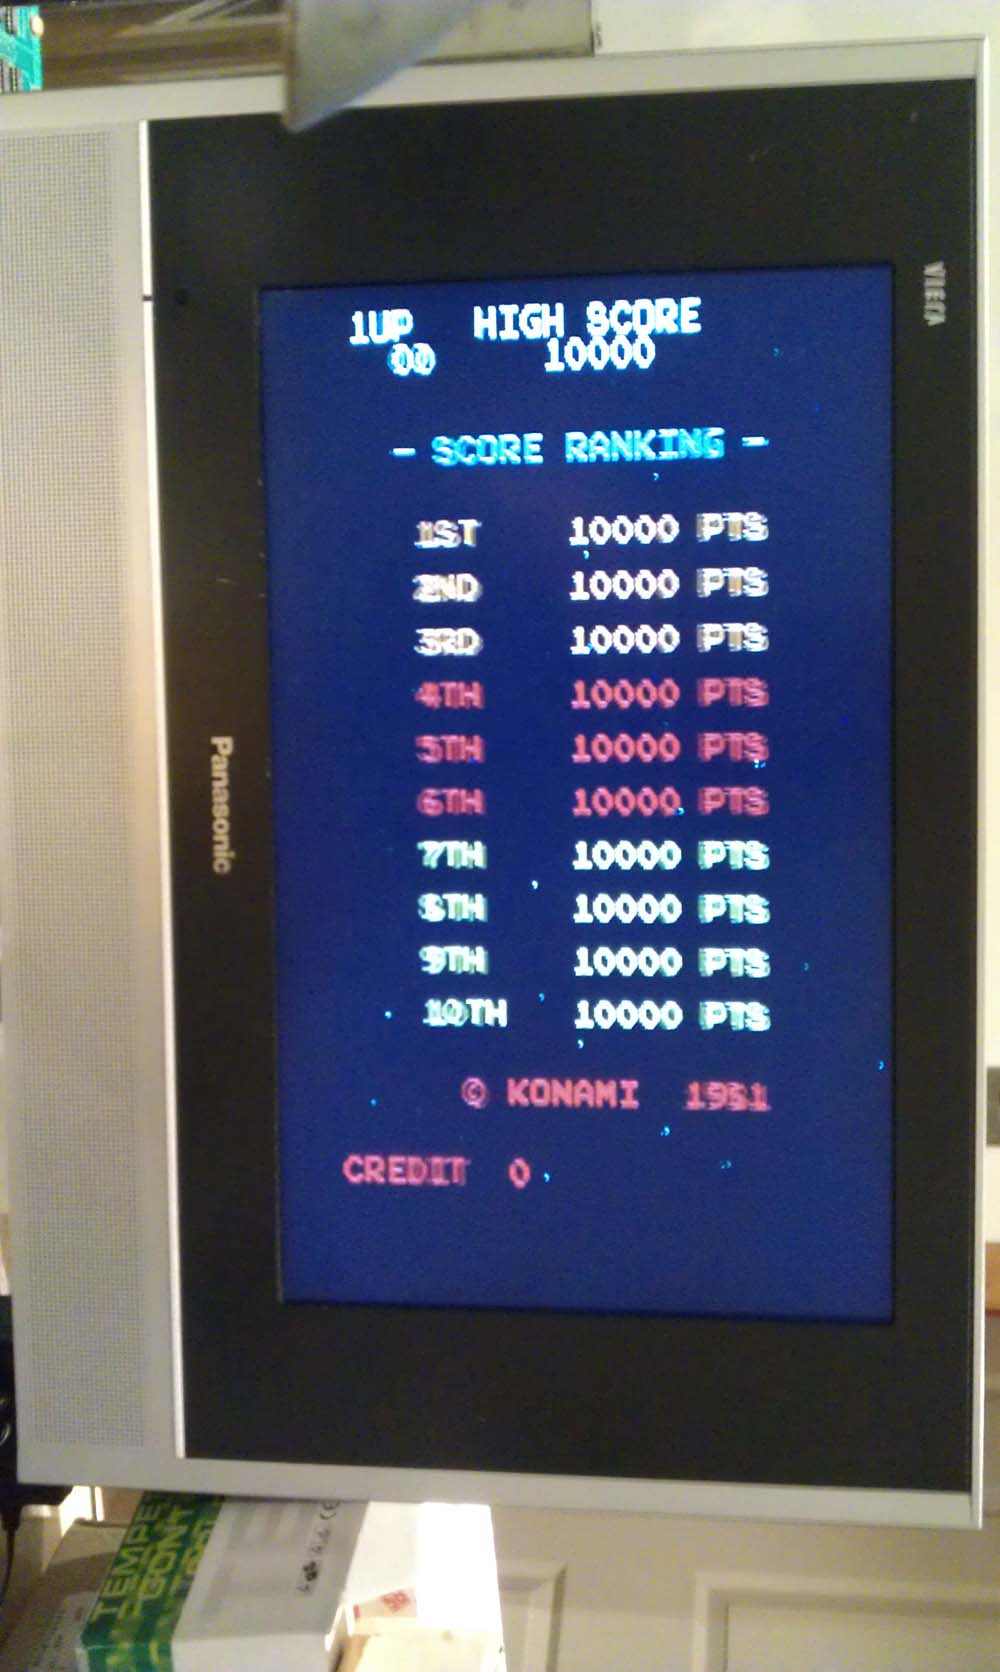
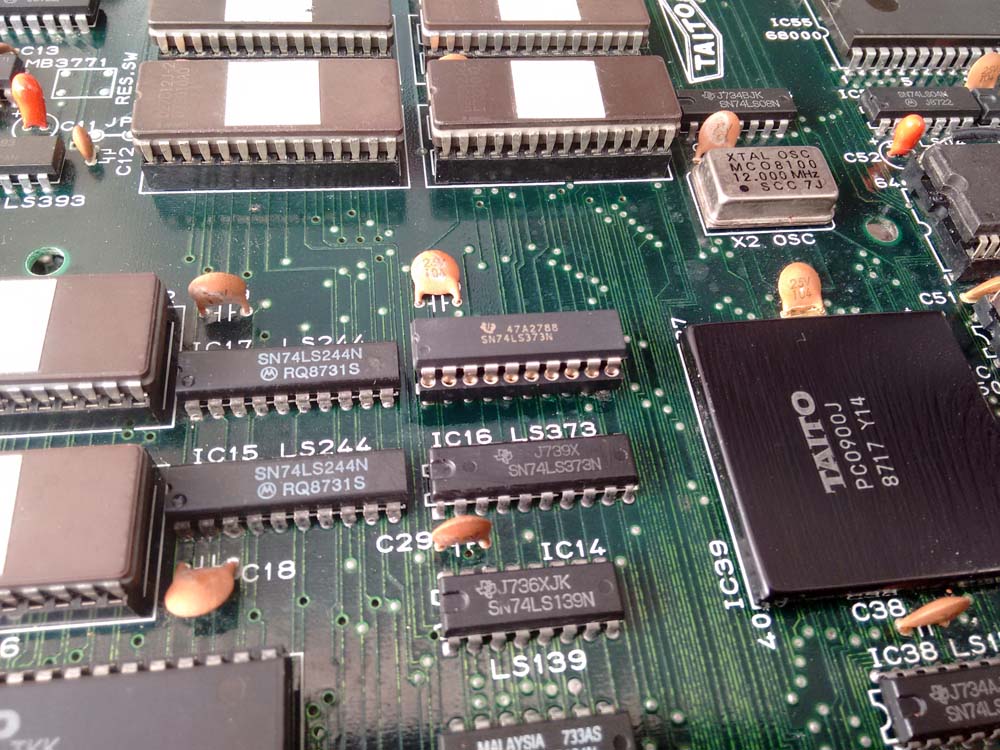
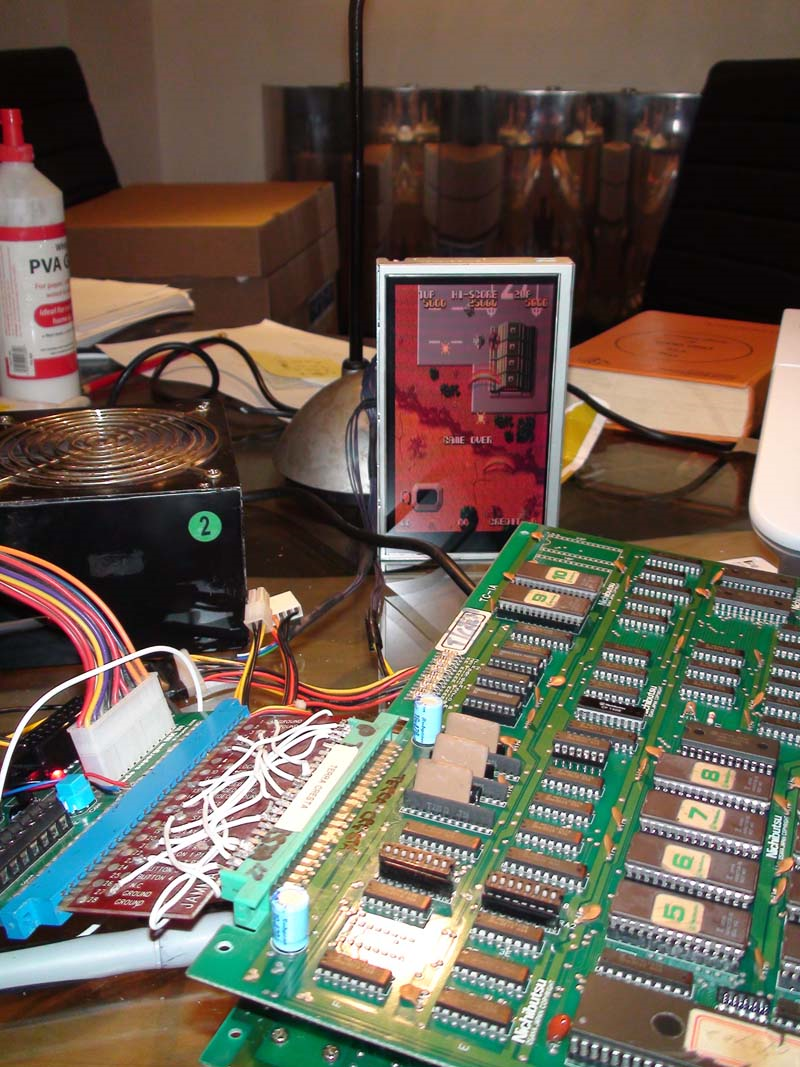
I soldered in a new Cap and the game came right up!

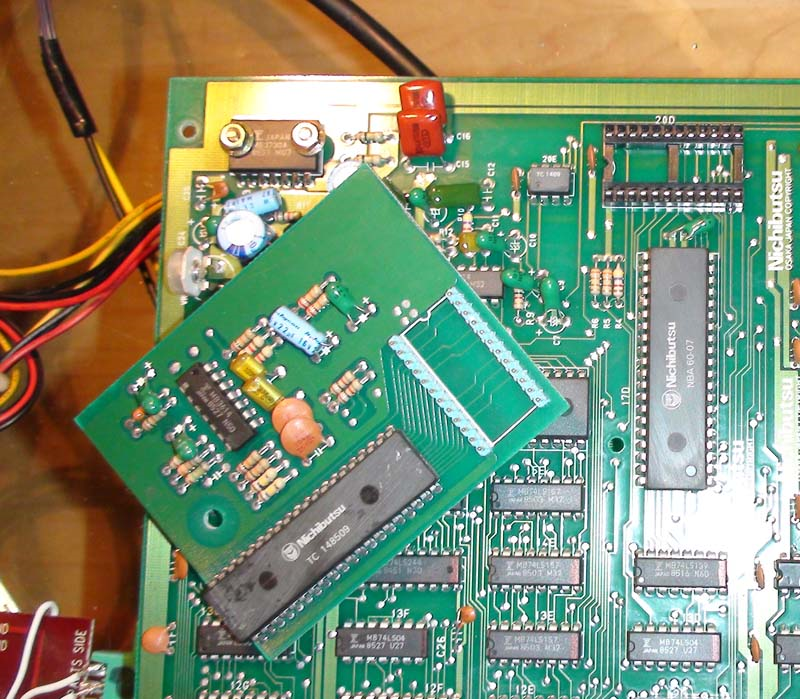
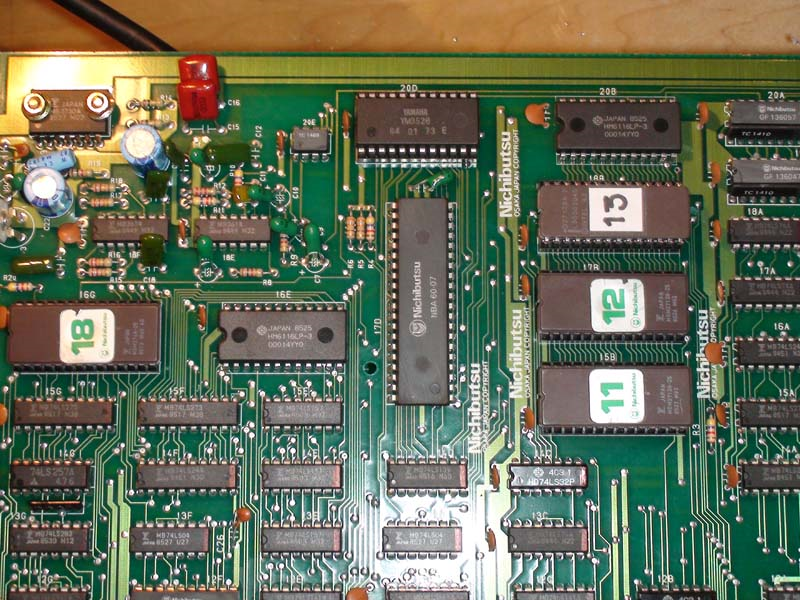
However, I was not finished yet! Time to convert this YM2203 PCB to a YM3626 version.

First, I removed the daughterboard, you can see the large YM2203 IC on the daughterboard with the Nichibutsu markings on it. The other large Nichibutsu on the PCB is the Z80A for the games sound and soundtrack. Was this an attempt by Nichibutsu to disguise these non-custom components?

Then we need to reburn ROMs 11(15b) & 12(17b) with the sound code from the YM3526 version of the game from MAME. Also, we need to introduce ROM 13(18b).

Next, seat the YM3526 IC where the daughterboard once was;

Job done!

Atari Missile Command repair log

 PCB Repair Logs  Comments Off on Atari Missile Command repair log
Oct 042018
 

I was recently given a Missile Command to look at for a friend.

Upon firing up the PCB on the bench, all I got was a white screen and the Self Test showed no display but did report a bad RAM which I replaced at M4.

Now the Self Test was reporting a bad RAM at J4, which I also replaced.

No Change.

So, I probed around and found that the LS157 at H2 had stuck outputs.

This was replaced;

The PCB was now running but with graphical issues;

After alot of head scratching and probing, my attention turned to the DRAM controller section.

Here, I looked at another LS157 at M2, which seemed to be working except the output pin 4 (CLOUD2) was stuck LO. Surely this should be pulsing?

I tried to piggyback another LS157 over the suspected failed LS157, but it had absolute no effect.

So I dug out my HP Comparitor to check it out

Also showing pin 4 as bad, looks like this could be the culprit.

M2 was duly removed;

I also tested it in a TTL tester to verify;

Replaced with fresh LS157;

Switch on;

Now fully working.

Feb 252016
 

Another Rainbow Islands PCB to repair.

This one had issues with the sprites which were broken up and seemed to be repeating, looked very much like a stuck bit on the sprite addressing;

IMG_20160224_112137583

IMG_20160224_112142174

All tiles and background graphics were fine, so I knew it was something to do with the sprite circuit.

The first thing I did was to look at the area where the sprite data is read from the two eproms.  The two 74LS244 buffers checked out fine, but one of the 74LS373 Octal Latches had an output pin stuck HI (pin 9);

IMG_20160224_112155598_HDR

So I desoldered it;

IMG_20160224_113645345

I confirmed the Octal Latch was bad in an IC Tester.  So I soldered in a socket and replaced with a fresh Octal Latch;

IMG_20160224_114050662

PCB sprites now restored;

ri_pcb_2

ri_pcb_3

Atari Asteroids Deluxe repair log

 PCB Repair Logs  Comments Off on Atari Asteroids Deluxe repair log
Feb 202016
 

Sometimes lightning does strike twice.

I was recently sent an Asteroids Deluxe PCB which was exhibiting corrupted vectors.

When I got the PCB, I put it on my test rig and was presented with the following in TEST mode;

IMG_20160215_160220667

GAME mode;

IMG_20160215_160158687

The symptoms were pretty much identical to the last Asteroids repair log I posted.  Note however this is an Asteroids Deluxe, however it is pretty much identical hardware to Asteroids except that Asteroids Deluxe has a pure digital sound circuit via a Pokey chip (Asteroids is analogue and no Pokey).

I immediately probed the 74LS42 decoder at E6, which had two outputs stuck HI.

IMG_20160215_160124793

So I desoldered it;

IMG_20160215_161027015

Tested it in my IC tester;

IMG_20160215_181037047

Socketed and replaced it with a fresh decoder;

IMG_20160215_161344449

Fire her up again;

IMG_20160215_160348150

Now working, except that the PCB would sometimes crash or refuse to boot.  I was able to determine that three of the six ROM sockets were worn.  So I replaced all of them for reliability;

IMG_20160215_162641553

IMG_20160215_165025775

IMG_20160215_162807350

Now working 100%.