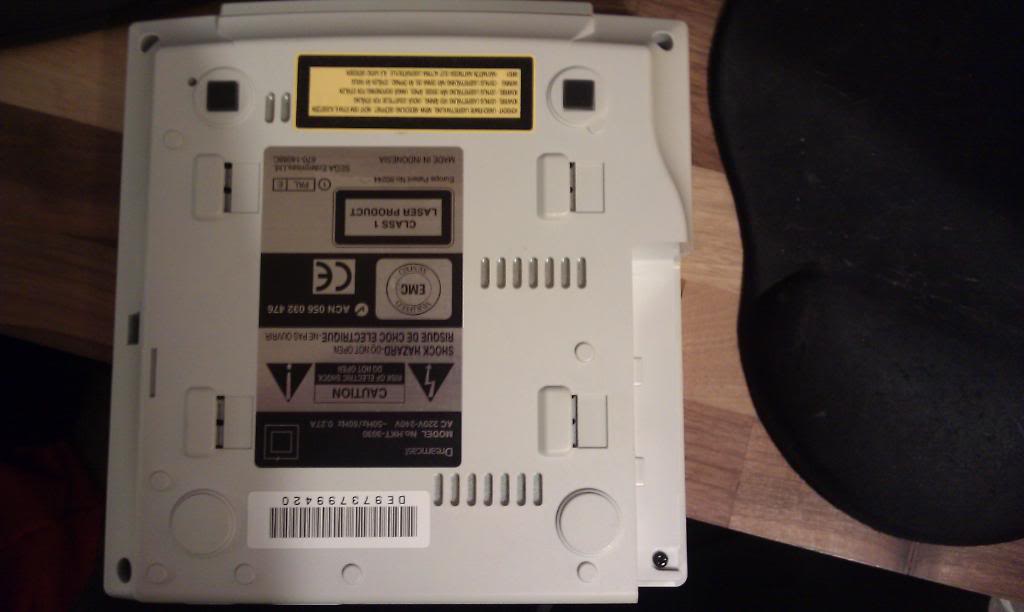
My Dreamcast was not saving the time and date settings I was putting in which got a little annoying as its setup for dumping GD-ROMs and isnt normally connected to a display.
The battery change is very simple.
1. Remove any GD/CD ROM from the drive
2. Remove the modem/BBA
3. Remove the 4 screws, one at each corner. They are normal screws which makes a nice change.

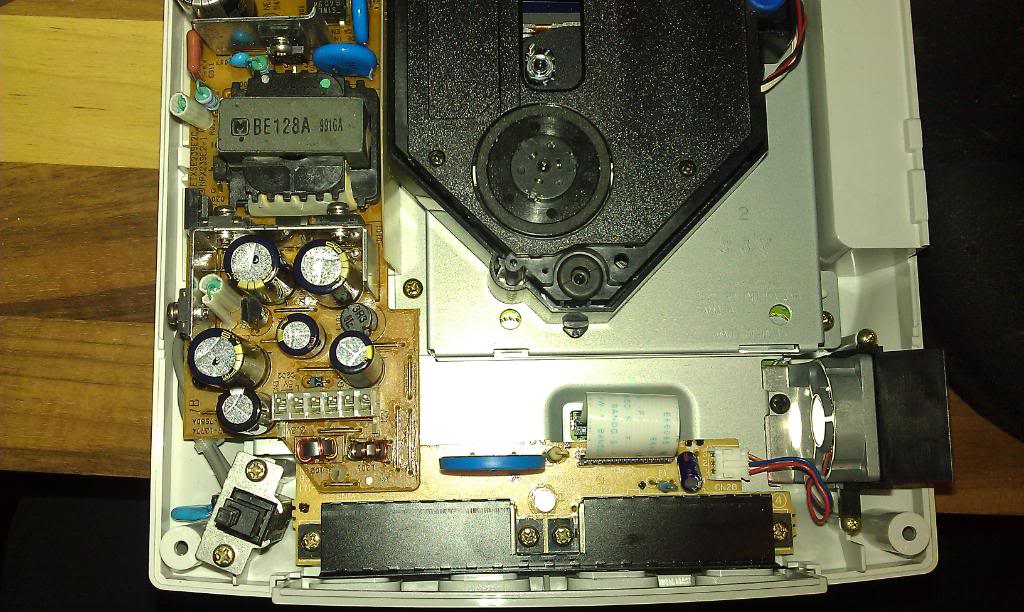
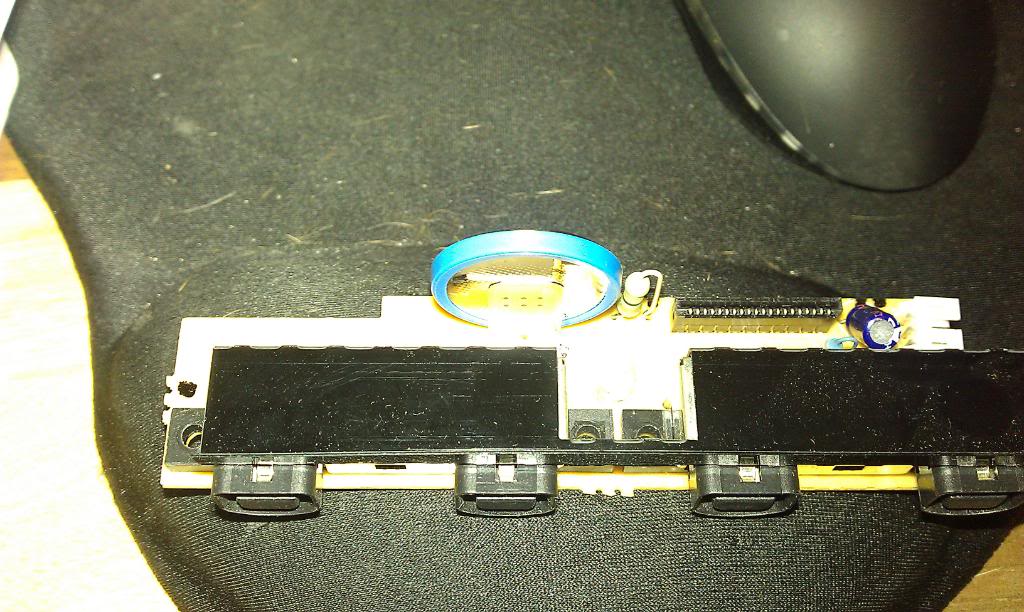
The top should now lift off and you can now see the battery on the small PCB at the front where the controllers connect (its the blue thing on the picture below
4. Remove the small ribbon cable, it just pulls out
5. Unplug the small fan from the board
6. Remove the 4 screws holding the controller PCB down.
7. I had to remove the 2 screws holding the power supply down, lift the power supply board up which allows the front board to lift out also.


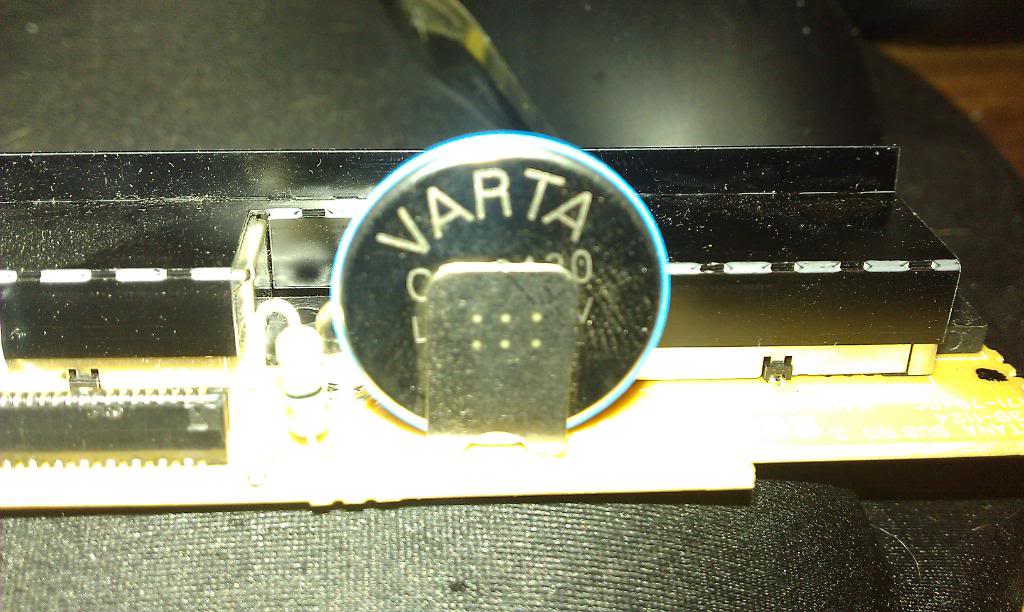
8. Desolder the old battery and clean up the 3 holes.
9. Fit a new battery. I used a rechargeable CR2032 with radial pins attached.

10. Put everything back together and fire it up. Easy

Sorry, the comment form is closed at this time.