A couple of friends were looking to get their SF-1 SNES TV’s repaired. Not one for letting such gems go to ruin I offered to try and help out.
There were two units in need of repair, a 14″ and a 21″.
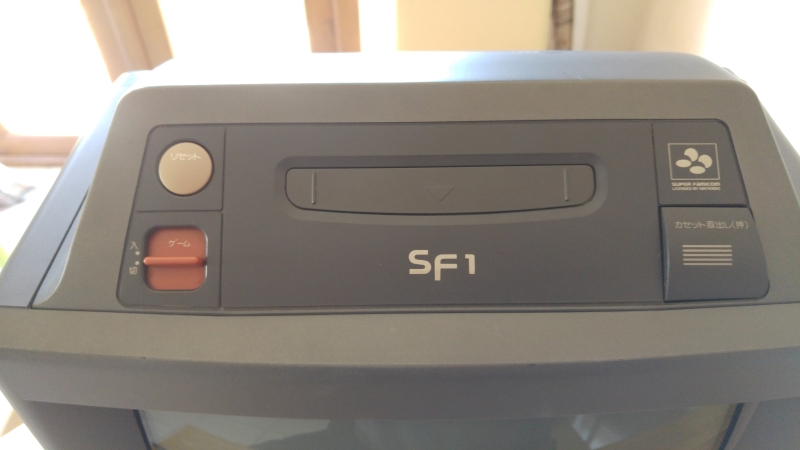
This log will focus on the 21″ version first.
On power up with a game fitted I got audio and a very faint greyed out picture.
I had been given an RGB scart cable with these so as they have the standard A/V output port on them I thought I’d give that a go.
I got this
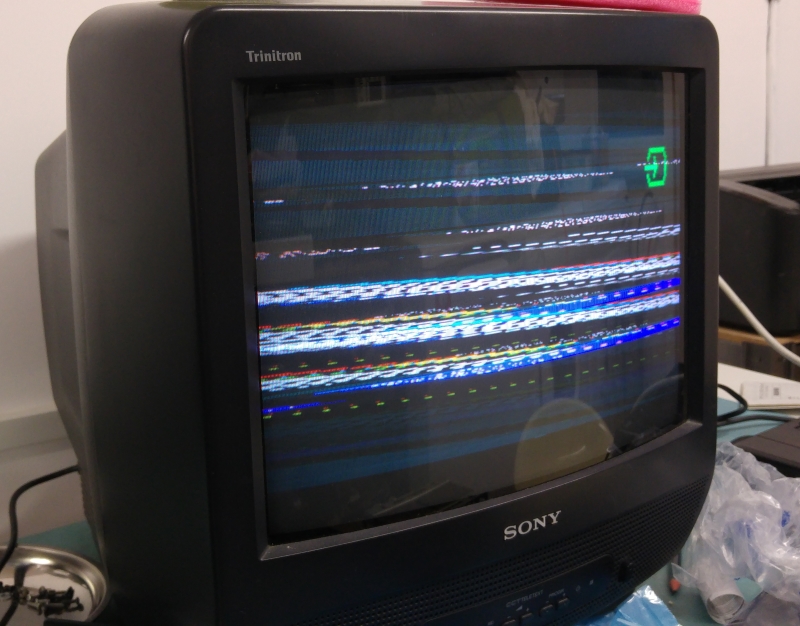
As you can see the sync signal is off but I could see a nice colour picture. This gave me initial hope that the PPU’s were not to blame for the grey faint picture.
Taking this unit apart was a bit of a pain with the SNES part being sandwiched in at the top but I got it out and looked for anything obvious.
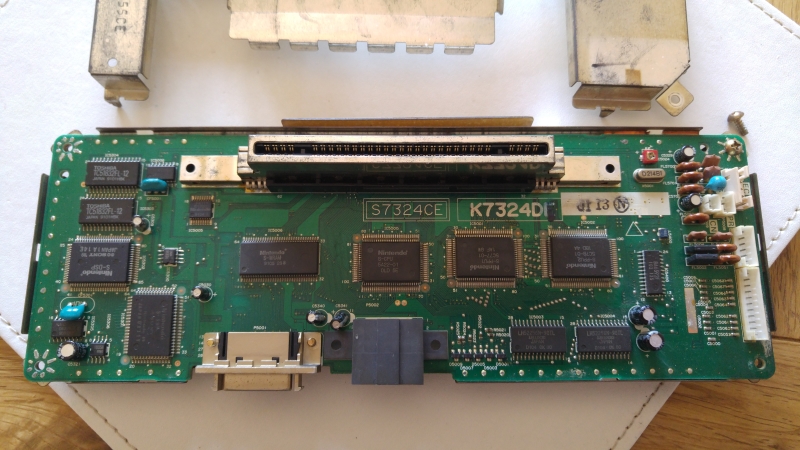
(Note that this PCB image is actually from the 14″ version. The 21″ version has a very similar PCB with only the connector location being located differently. I forgot to take a picture of that one.)
There was nothing obvious so start looking at the missing sync signal first.
The answer was fairly straight forward. The RGB cable I have here uses the composite signal for its sync. The SF-1 does not seem to output a composite signal at all instead it uses the combined HV sync signal on pin 3. Hooking this up instead gave me a nice picture on my test monitor which confirmed the SNES was working great.
So whats happened to my picture on the actual TV unit?
It turns out the SNES outputs separate Luma and Chroma signals to the TV for its picture and not RGB like we initially thought.
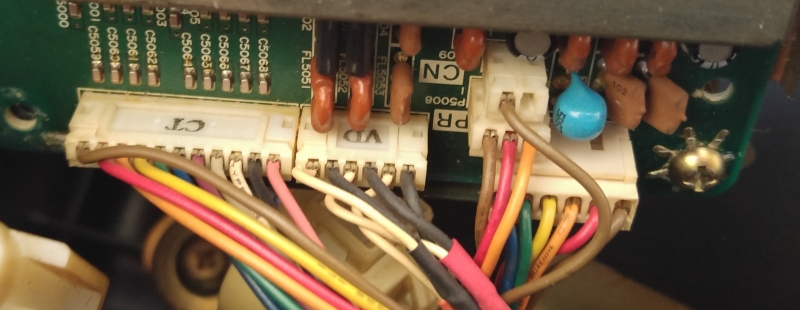
The connector marked ‘VD’ is the video signals. The black wires are all grounds and the white wires are signal. One of the wires however is the audio output. So there is Luma, Chroma and mono audio on this connector.
Now I know the signal isn’t RGB I can pretty much assume that the ‘S-ENC’ (BA6952F) is used to generate the signals i’m missing.
Using the scope I couldn’t find any valid signals coming from the chip. In my haste I was about to write the chip off but as the output signals were really weird I traced all of the pins. I found the GND on pin 2 wasn’t connected at all and it should have been. I tried reflowing the pin but still no connected so I added a jumper wire to the GND point next to it.
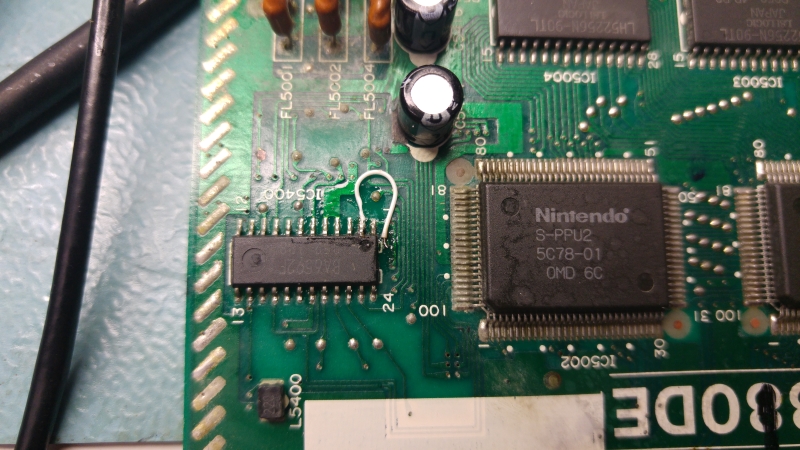
I was a little nervous about patching it as if the original track (that ran under the chip) had burnt out then what had happened to do that? It could have been a manufacturing defect, Ive seen a couple of those in my time but ground connections are generally quite big compared to signal traces. I didn’t want to remove the whole chip just to check for a burnt trace so I just check resistance between GND and VCC. It looked fine so I powered up to test.
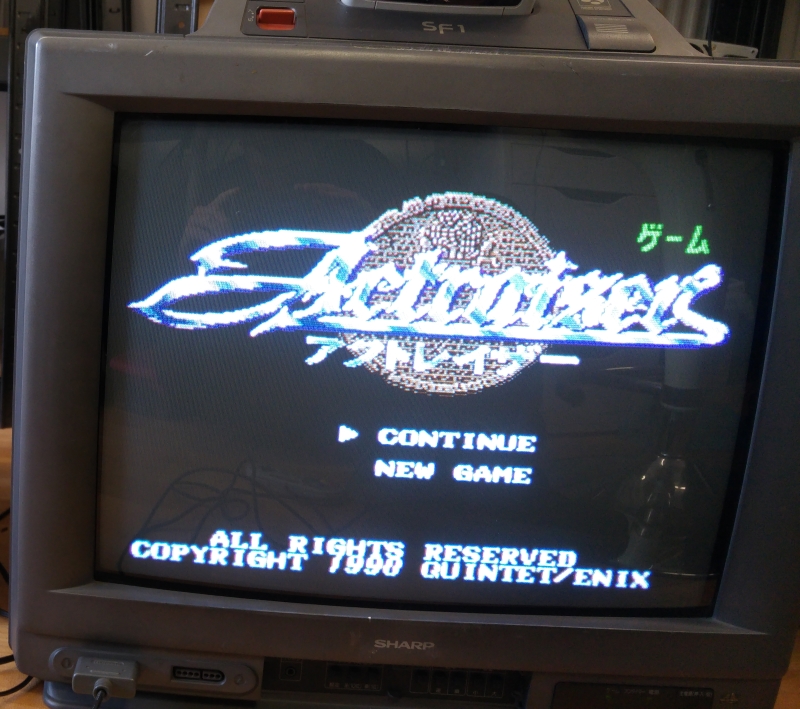
An absolutely perfect picture! Seriously this picture is really good quality.
I tested all the controls and they seem to work fine too so time to box this up.
One Response to “Sharp SF-1 (SNES TV) repair log #1”
Sorry, the comment form is closed at this time.

What a lovely bit of kit they are. I’m really surprised to see it doesn’t use a RGB signal!
Interesting to see what’s inside too. Well done fixing both!