Defender repair log #3

 PCB Repair Logs  Comments Off on Defender repair log #3
Mar 112019
 

Again my Defender boardset had developed another fault.

I had already repaired here:

Defender repair log #1

and here:

Defender repair log #2

This time after the screen “Initial tests indicate all unit OK” it rebooted in an endless loop.

The diagnostic LED were flashing two times correctly before resetting, so I thought it was the ribbon cable.

After spraying and moving the cable , game still reset itself after the initial test but after a while it didn’t produce anymore the classic startup sound and all the LED were always stuck lit.

The 6821 PIA on the romboard should send an \IRQ signal to the main CPU after the ram test but the signal was missing, that’s why the watchdog kicked.

Also the 4 LED stuck lit is an evidence that the PIA died.

It’s known to be not very reliable, so I decided to desolder it , put a socket and test the only one PIA I had for spare which luckily made Defender to boot again.

Game was  fixed without any problems ( for the moment )

Defender repair log #2

 PCB Repair Logs  Comments Off on Defender repair log #2
Nov 302017
 

After reparing my Defender ( see this log: https://www.jammarcade.net/defender-repair-log/ ) I noticed that the screen had some horizontal lines of different brightness.

At first I didn’t give much attention but then I decided to look at this issue deeper.

Moving the screen left and right with the monitor commands I noticed these defects:


Having the experience of a similar problem on my Burnin Rubber ( https://www.jammarcade.net/burnin-rubber-repair-log/ ), to me it was clear there was a video blanking problem

With the schematics in hand I found this circuit:

Signals from 7420@5C were good so I started probing the 7400@4B


All signals were good except that pin 10 was floating.

Looking at the above mentioned schematics, pin 10 is tied to the nearby pin 11!

I checked the board and found out that actually the pcb has no trace connected the 2 pins togheter!


No broken traces, it is actually simply not there!

I connected the two pins and…..


Game fixed!

Now I am wondering if my CPU board revision has a production error.

Searching on internet I haven’t found a similar problem therefore I would like to have a feedback from other owners of Defender if their pcbs has the trace or not.

May 252017
 

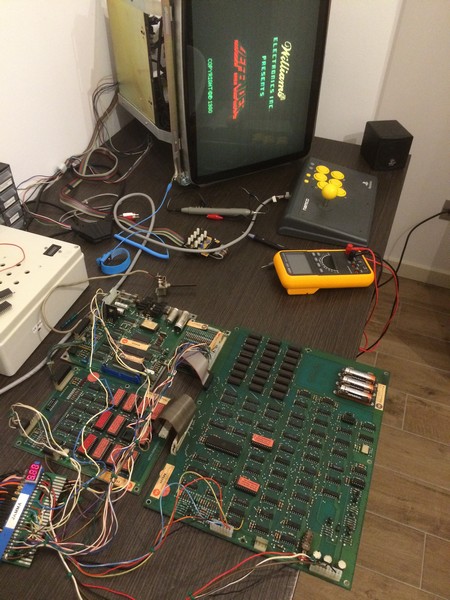
I got for my collection an untested boardset of Defender which was really in great conditions with no battery acid leak.

The boardset is the newer revision of Defender with the red label roms.

The game is very difficult to find it in working conditions nowadays because it has several weak points, expecially the 24 drams 4116 which are very unreliable to due the fact the run very hot and they require +5V, -5V and +12V to be applied at the same time, otherwise they will be damaged.

The old Williams PSU become defective and often they ruin the drams.

After converting it to Jamma and triple checked all the power supply lines I booted it up but the game appeared to be dead.

Fortunately Defender has a lot of bibliography and a very good manual which is also a troubleshooting guide.

I check the clock and it was working correctly, but after checking the reset line I saw it was pulled low all the time.

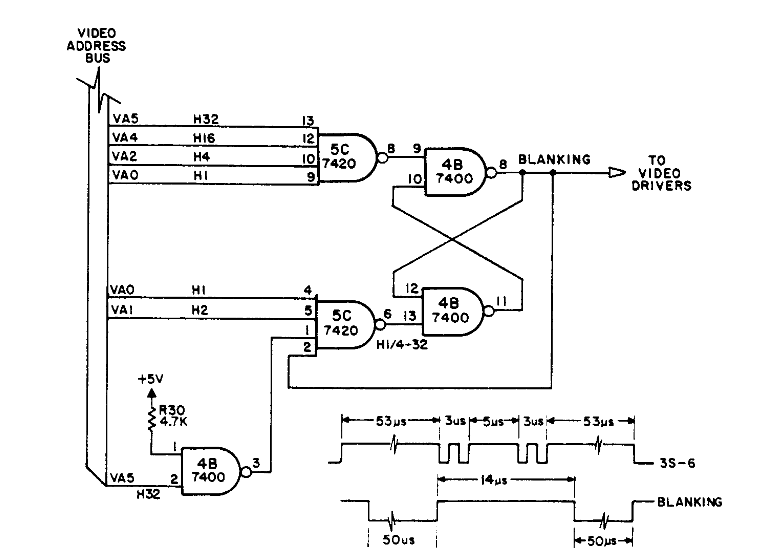
To make it short, Defender has two +12V power supplies, one regulated and one not.

You have to supply +12V also to the not regulated one because it is needed for the power on reset.

After adding that +12V t, the game booted but as soon as the message ALL UNIT OK was displayed it reset in a never ending loop.

I found out that the problem was caused by the ribbon cable , after reseating it a couple of times, the game booted correctly.

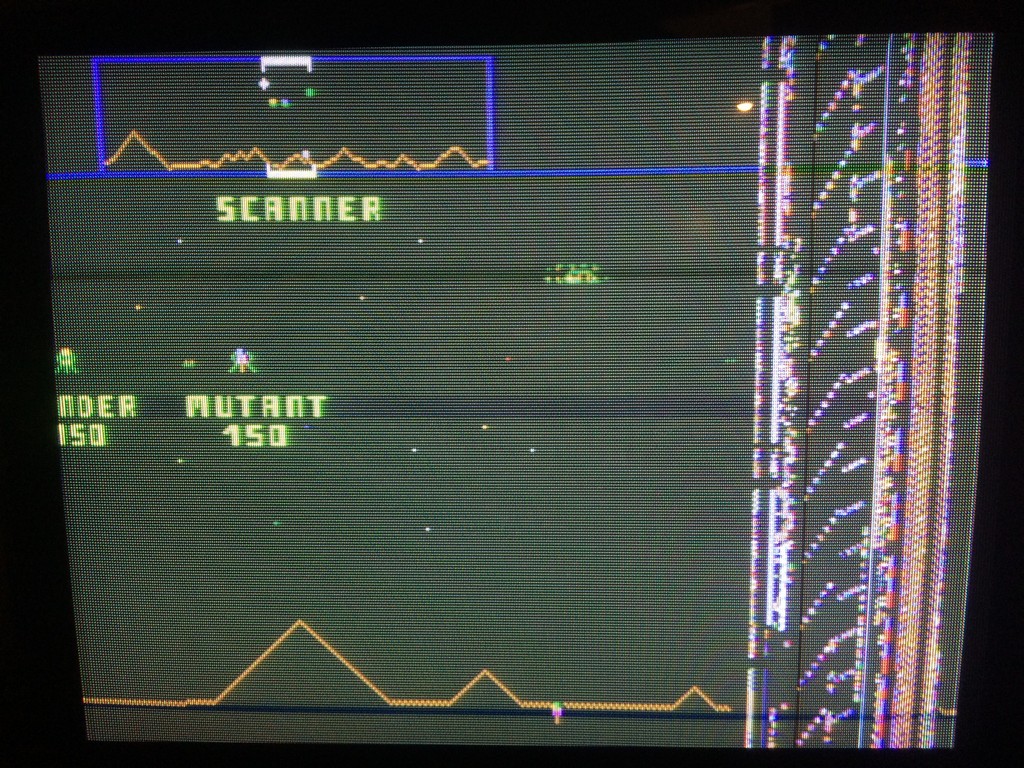
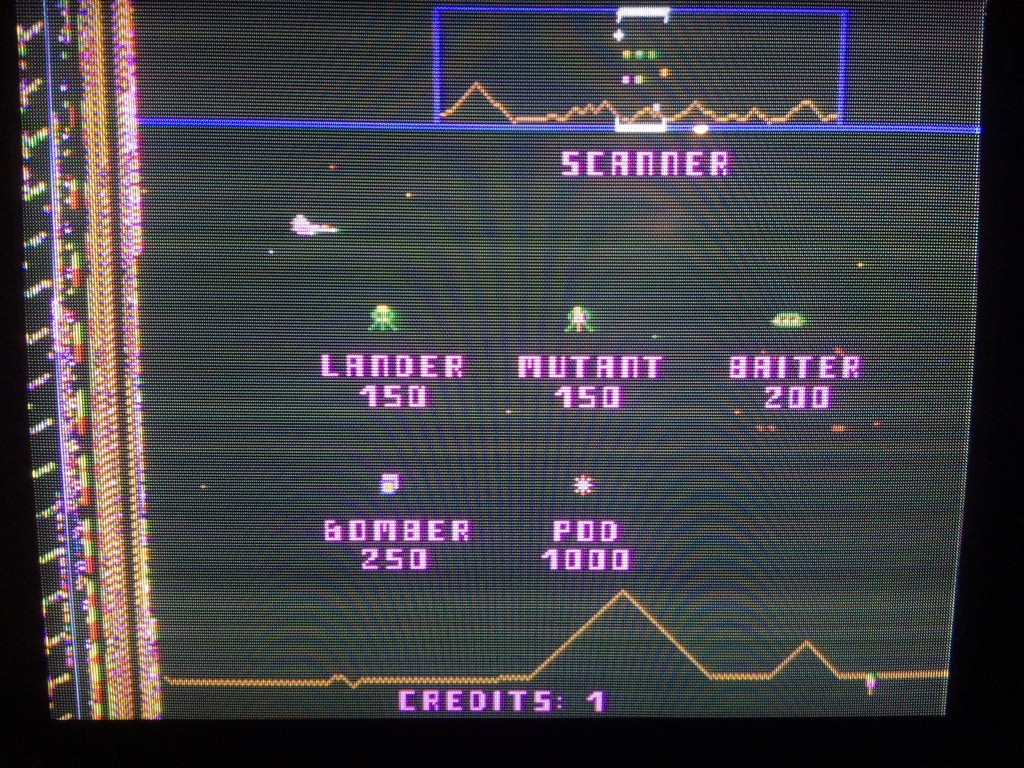
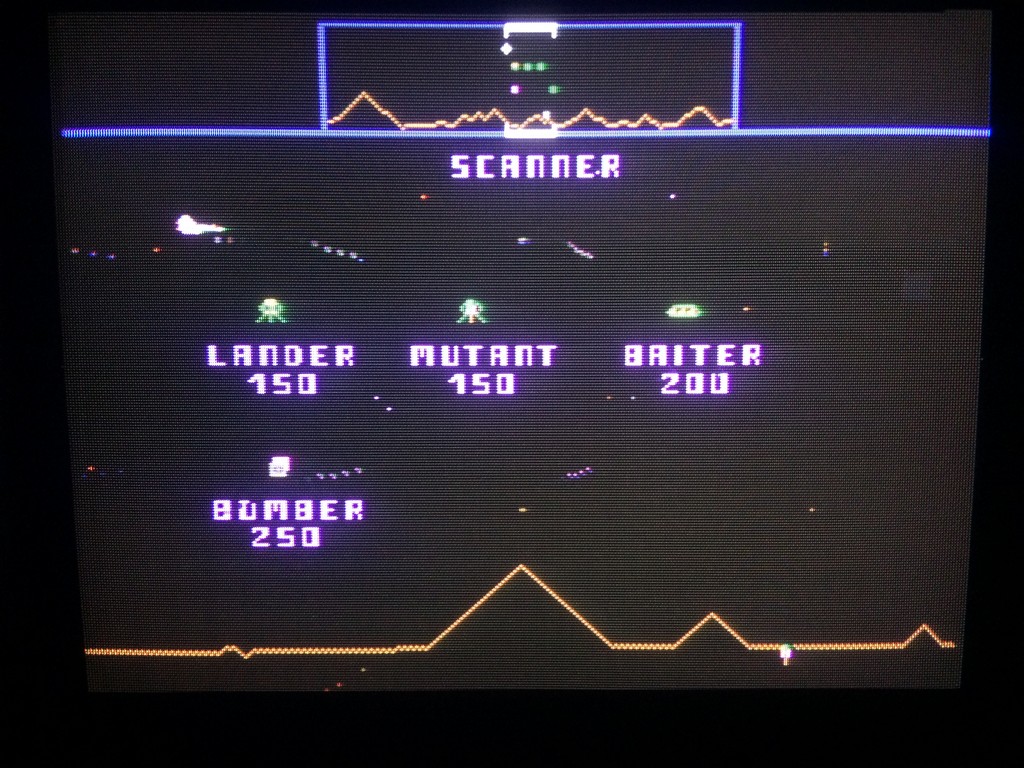
I started the game but the ship kept always going down.

With the test menu , it reported that the down direction was always pushed.

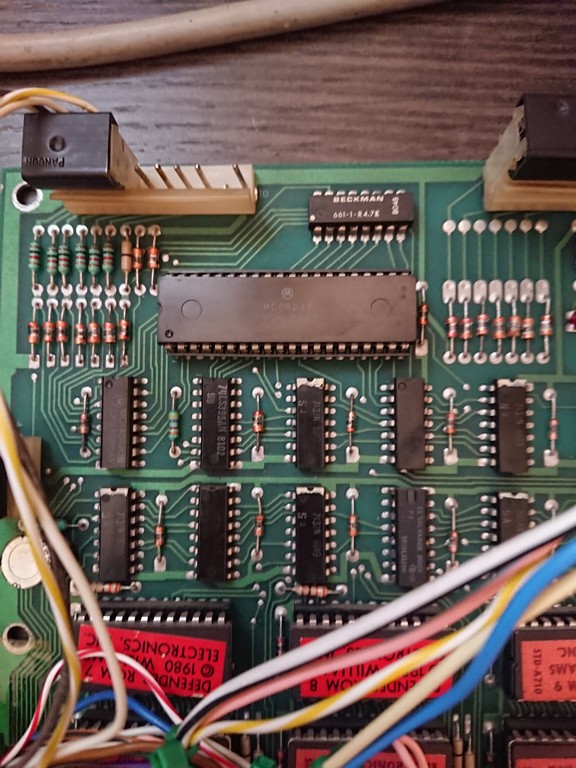
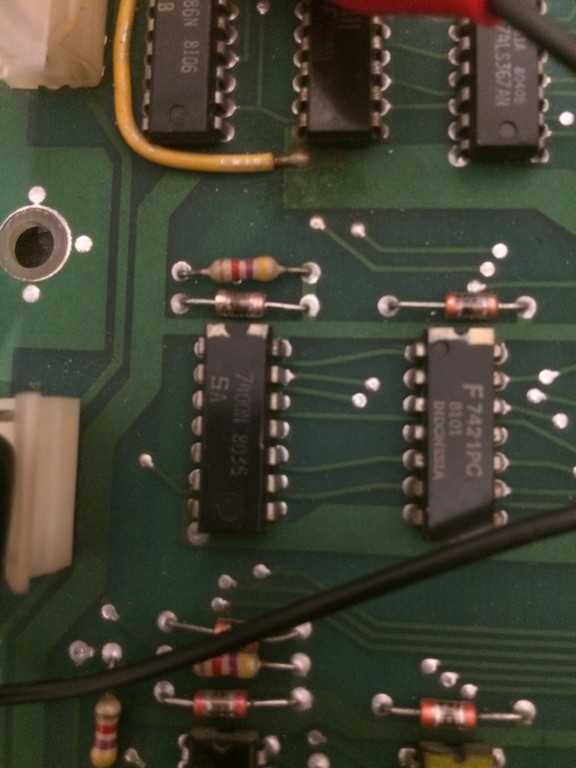
I checked the interface board which has the circuit for the inputs. the hex inverters 4049 were all toggling correctly, the pull up resistors were good therefore there was only one chip to check: the Peripheral Interface adapter 6821P.

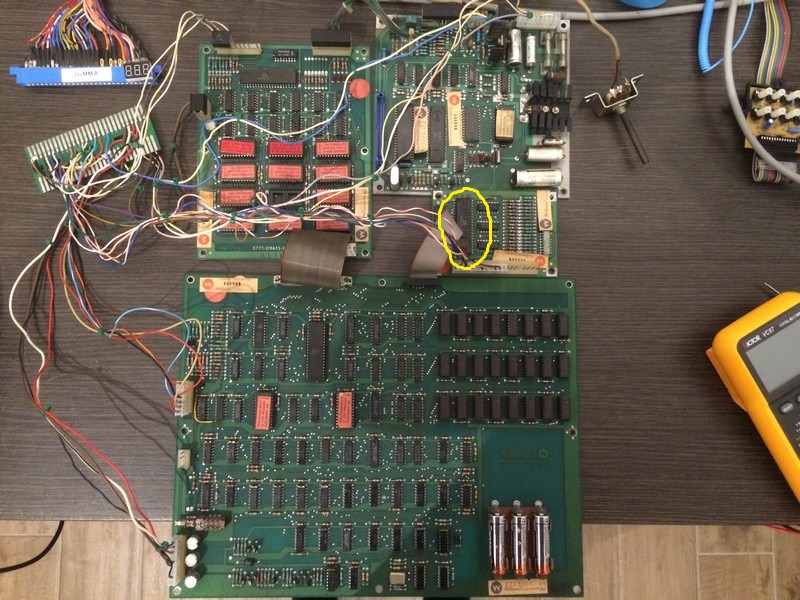
I desoldered it and installed another one I had on stock taken from another arcade games.

Since I had no way to test it, I decided to put a 40 pin socket just to be sure I could easily swap it with another one in case it was defective.

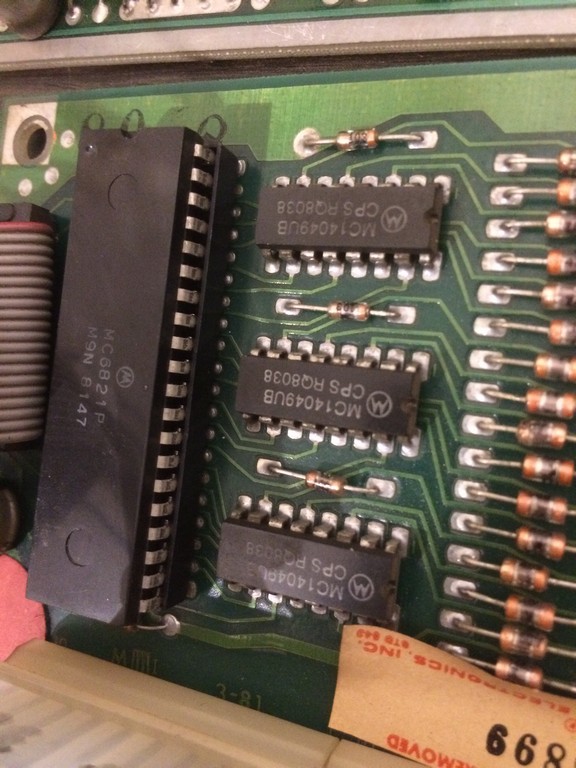
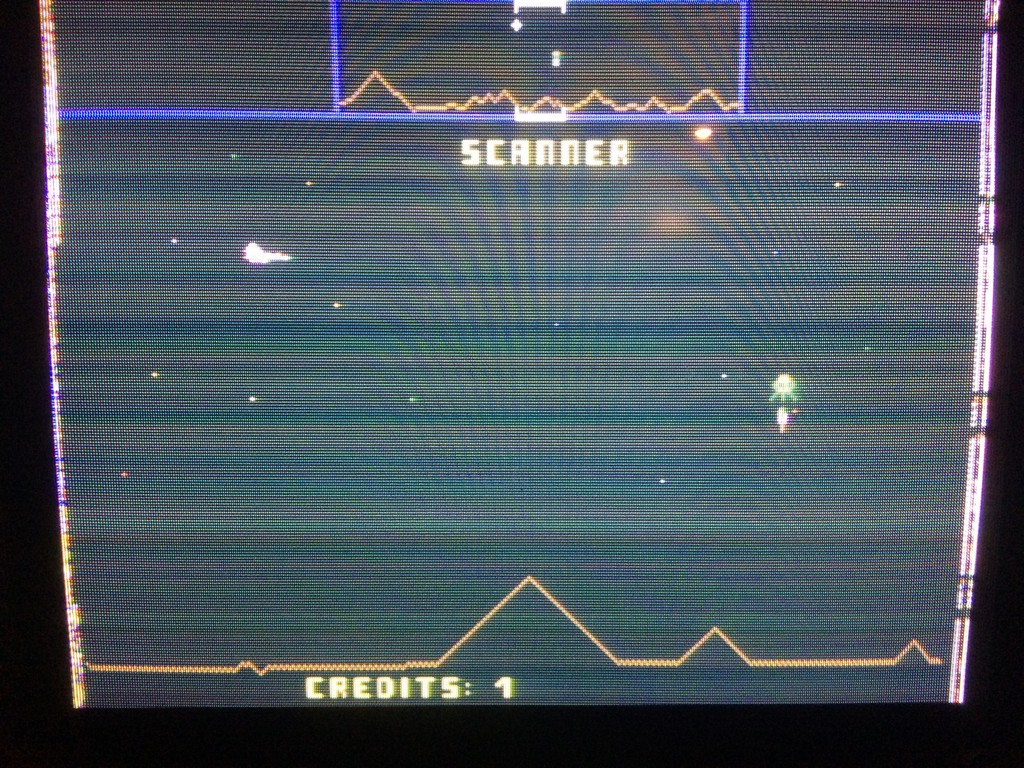
Luckily the inputs were now correct, thefore I could declare the board fixed.

In the end I was very lucky because the game had only the input problem and no other issues.