Programming a Timekeeper RAM with Arduino MEGA

 Arduino, Guides  Comments Off on Programming a Timekeeper RAM with Arduino MEGA
Apr 062015
 

There is a lot of people out there that need to program a Timekeeper RAM but don’t have the necessary hardware to do so.
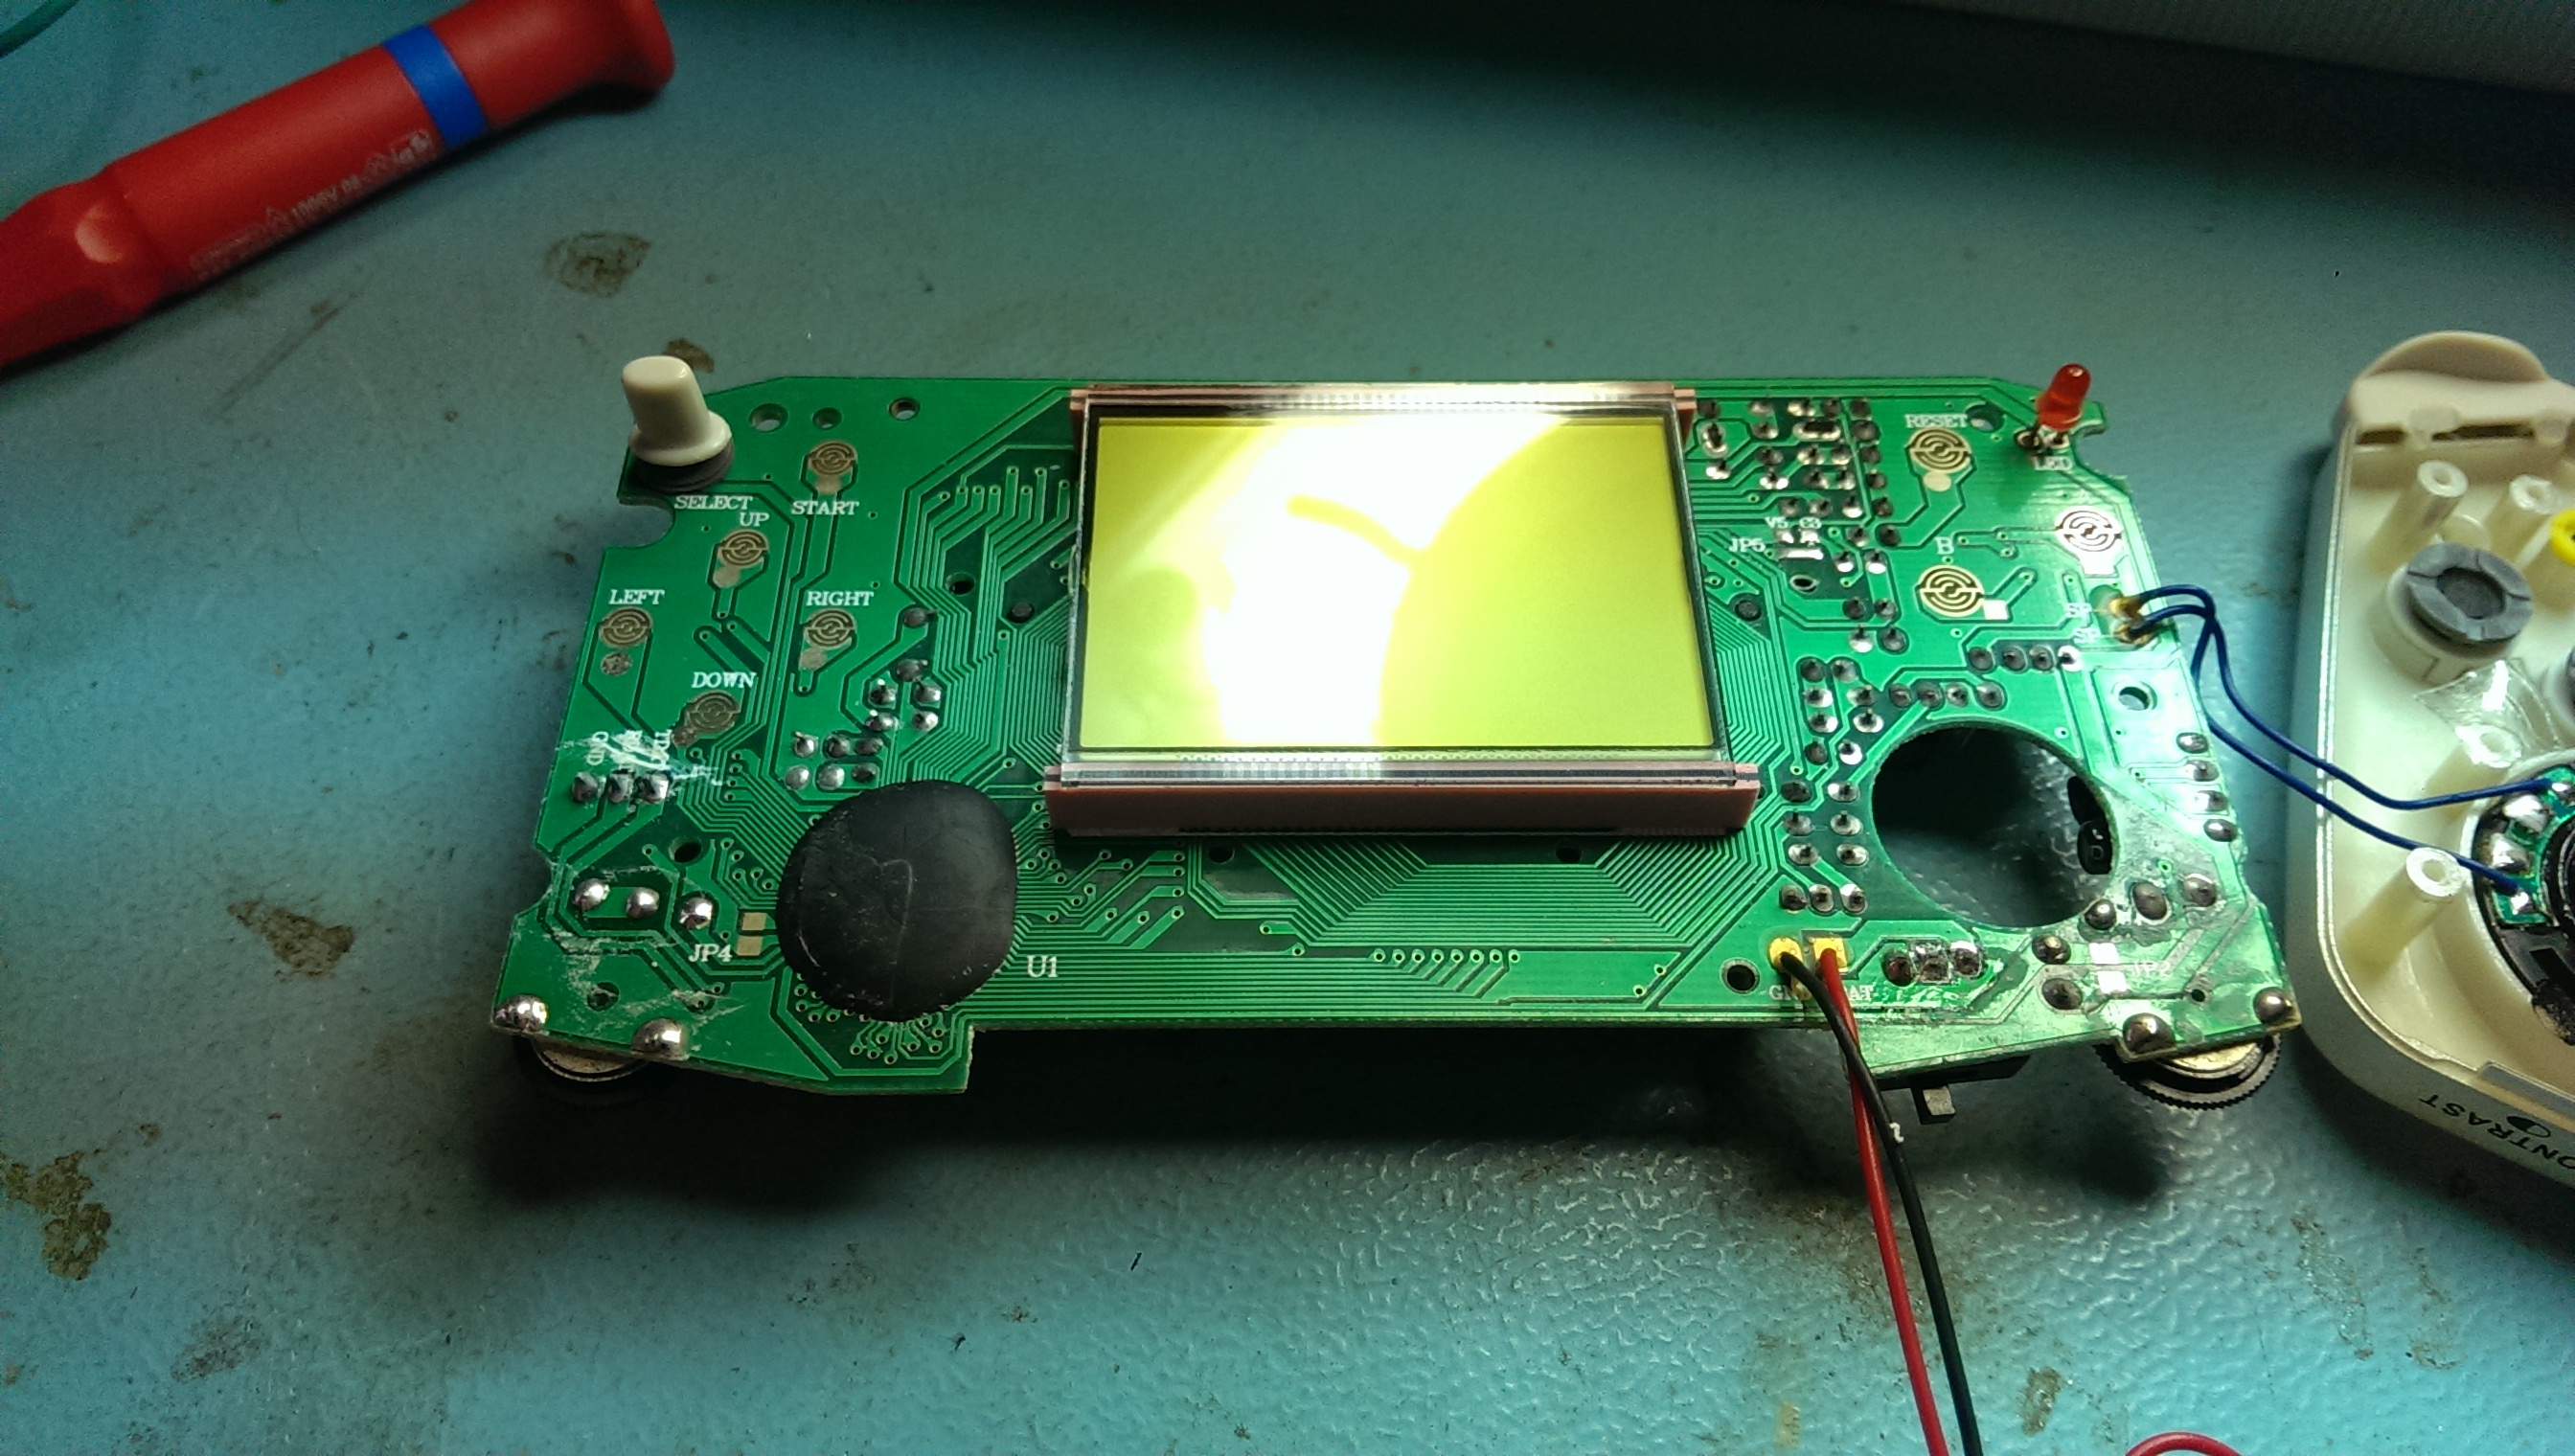
Silent Scope 1 & 2 both use one of these and if it dies will display the infamous 11P error.

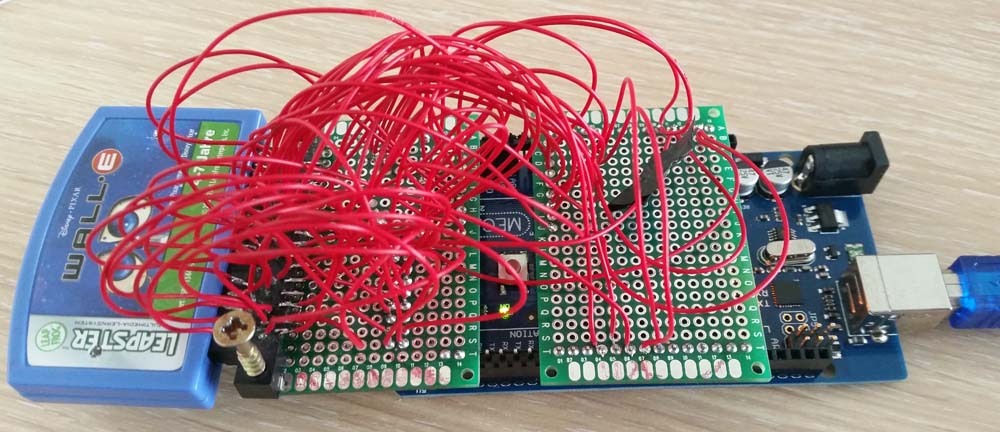
Recently I decided it would be good to write an Arduino program to do this job.
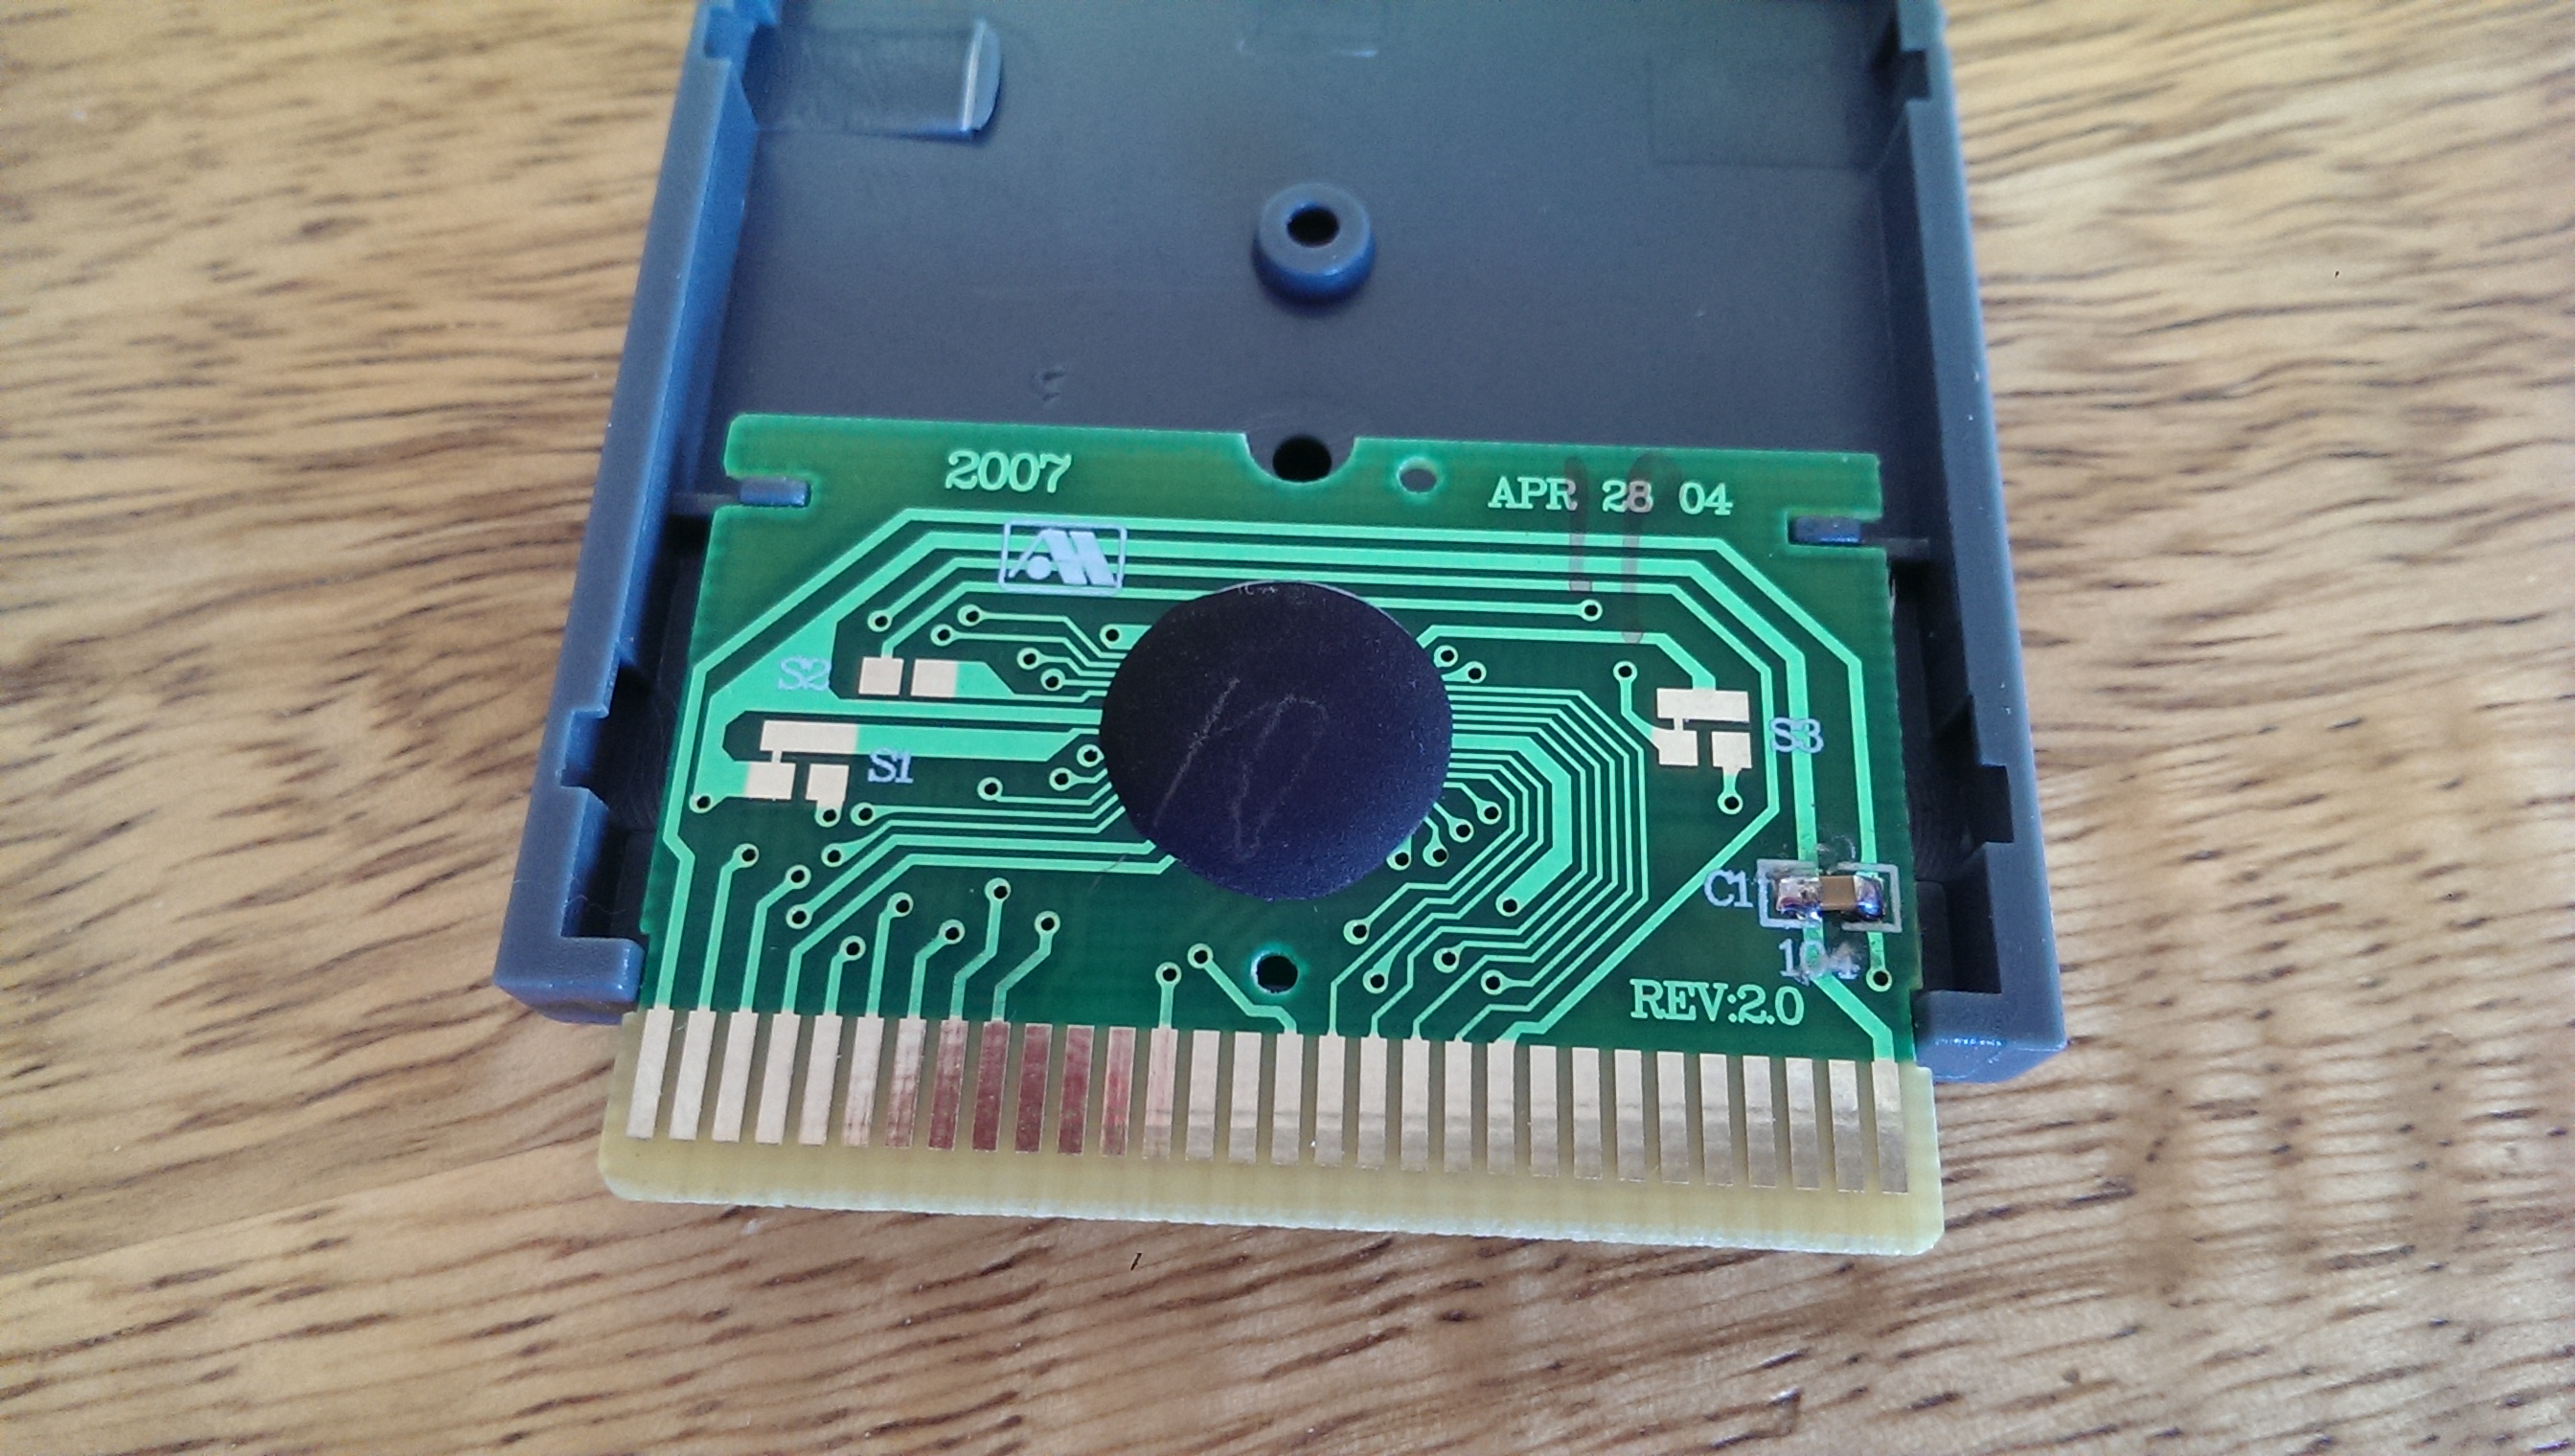
I have only tested this on an M48Z58Y chip which is almost identical to the M48T58Y only the later has an extra CE (active HIGH) line.
While this worked well for me on the former, it may have issues that need addressed. I have also NOT tested this in any Silent Scope hardware. While the correct data was programmed I have no idea if Silent Scope requires any of the extended functions the Timekeeper RAM offers.
To put it bluntly, this may or may not work for you. If it doesn’t then I have no real way of testing how to make it work with the hardware.

Its a pretty rough program and it is more of a proof of concept than a finished product. Hopefully it will be a starting point for someone to finish or rewrite it.
IMAG1227

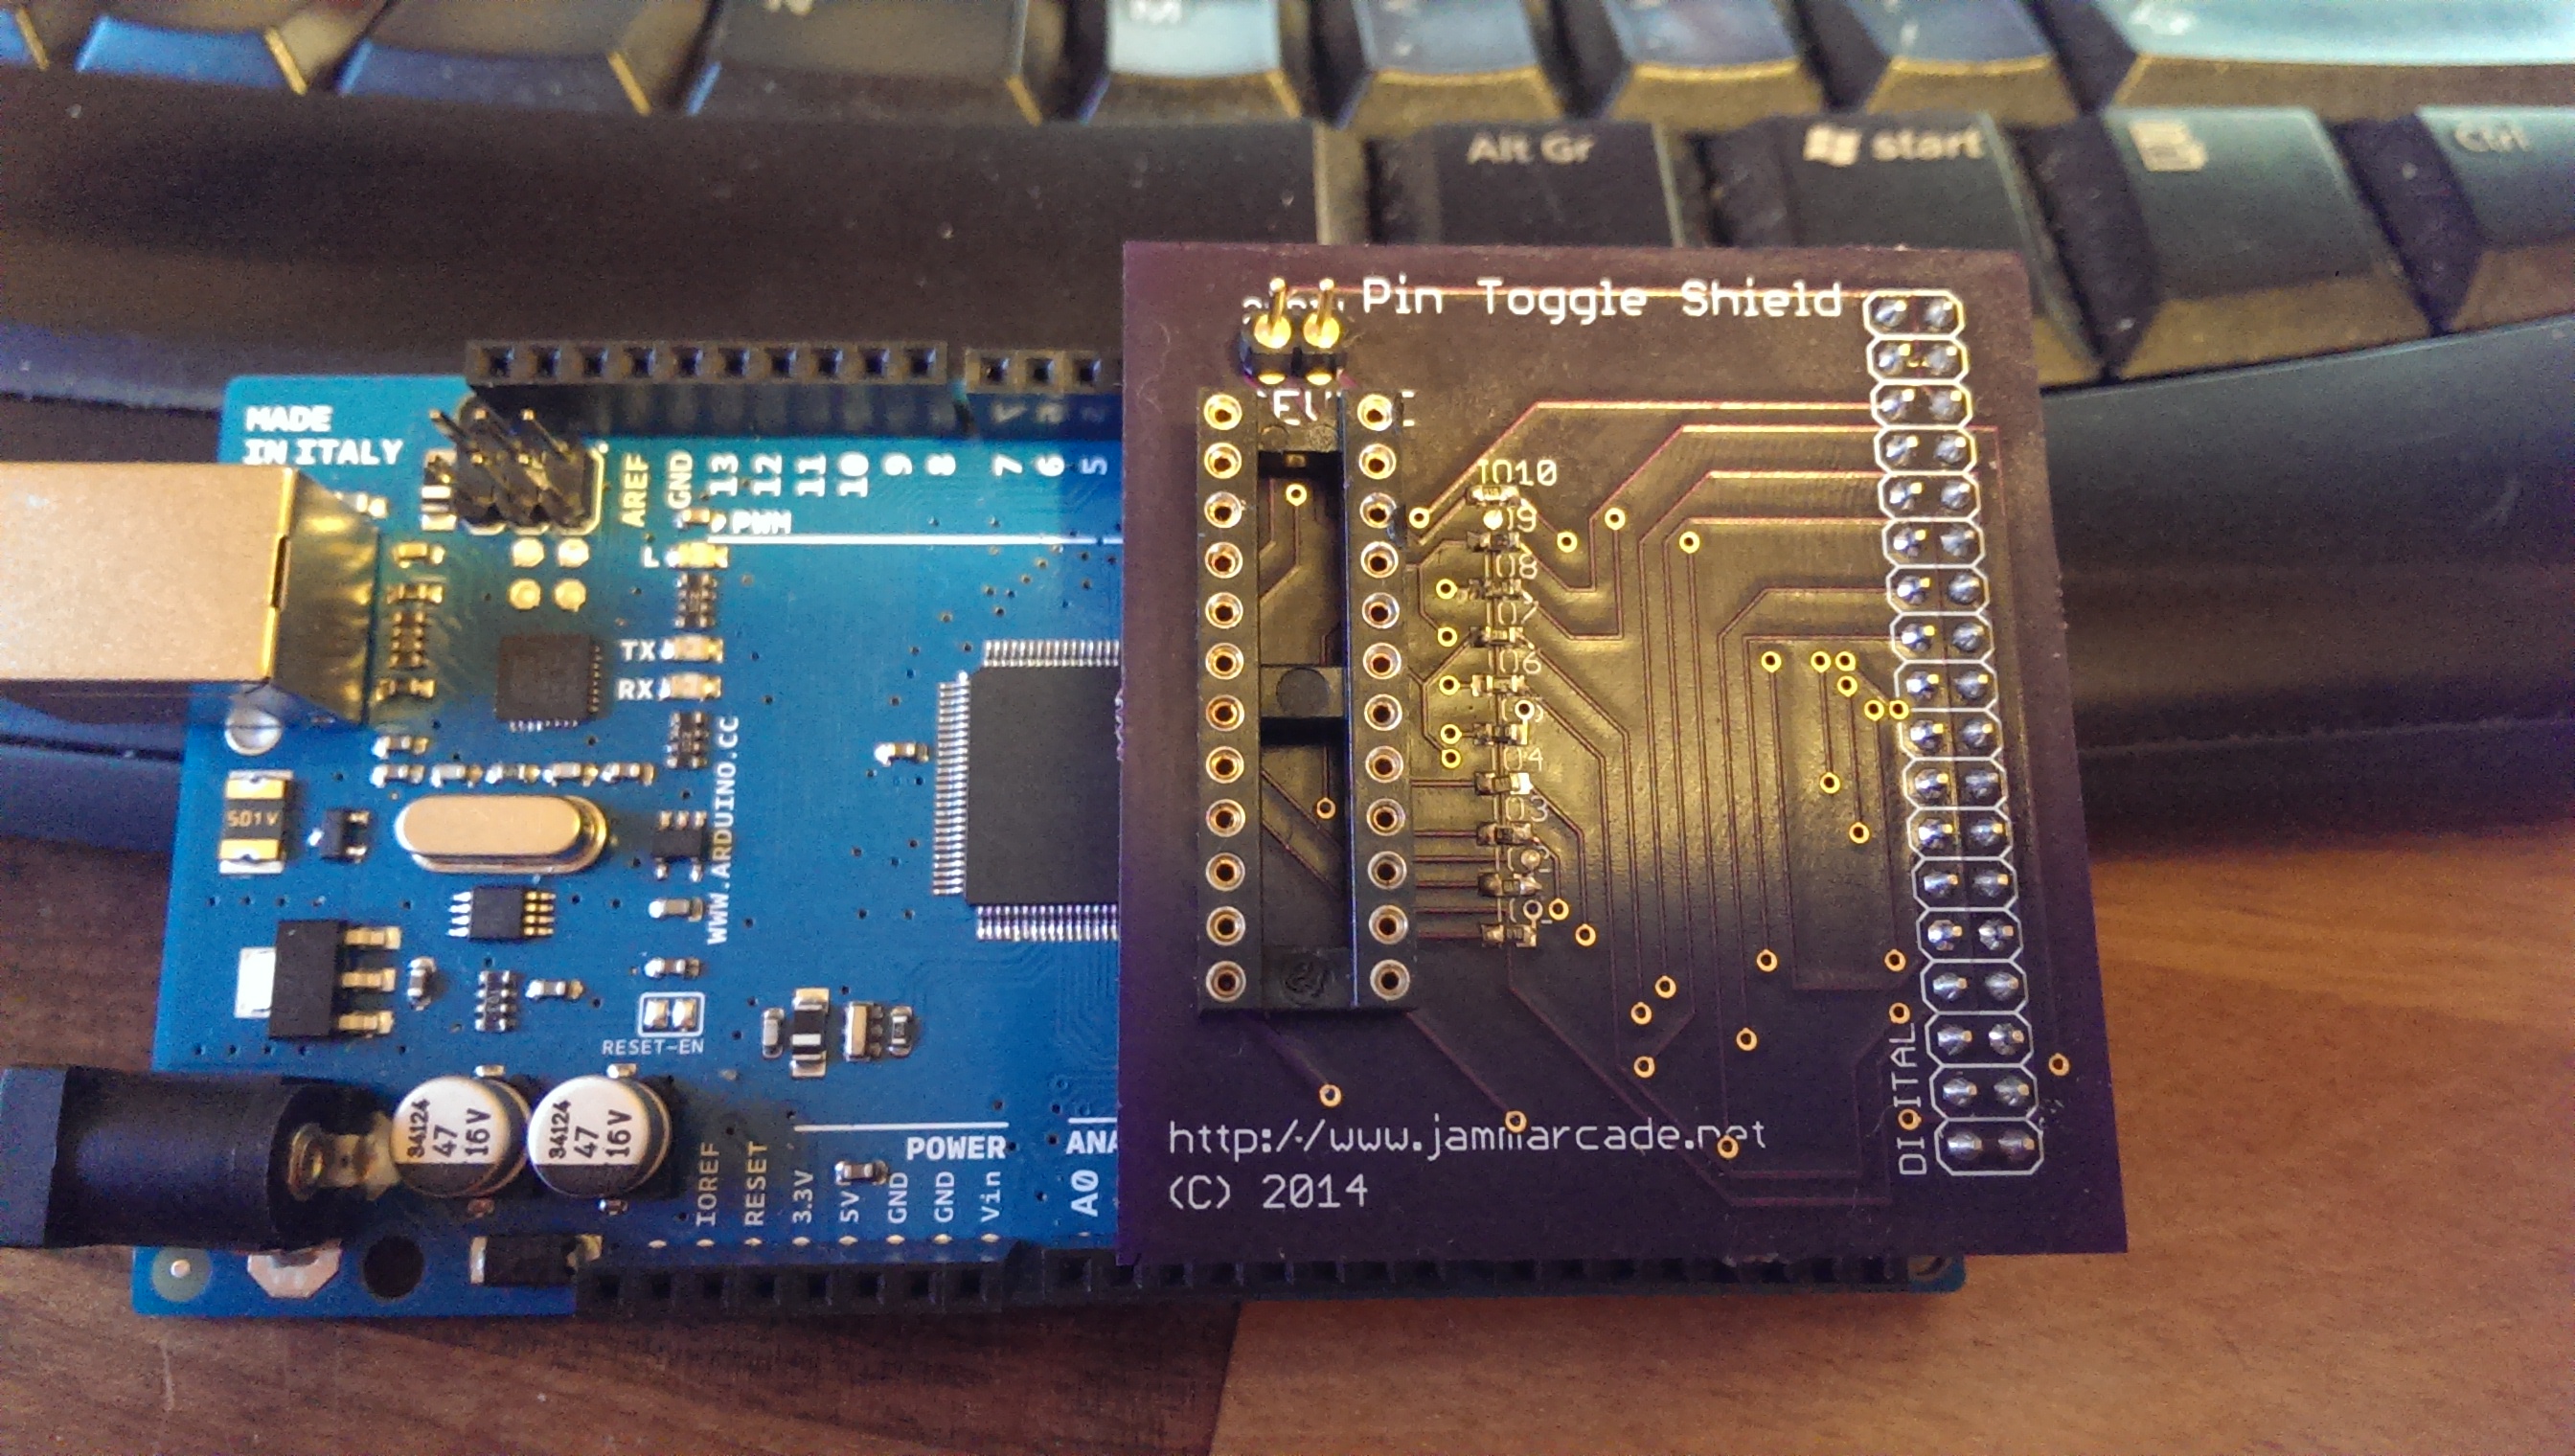
The basic setup requires:
-Arduino MEGA 2560
-SD card breakout board
-Timekeeper RAM
-A valid NVRAM dump (named as “nvram.bin” in the root directory of the SD card)

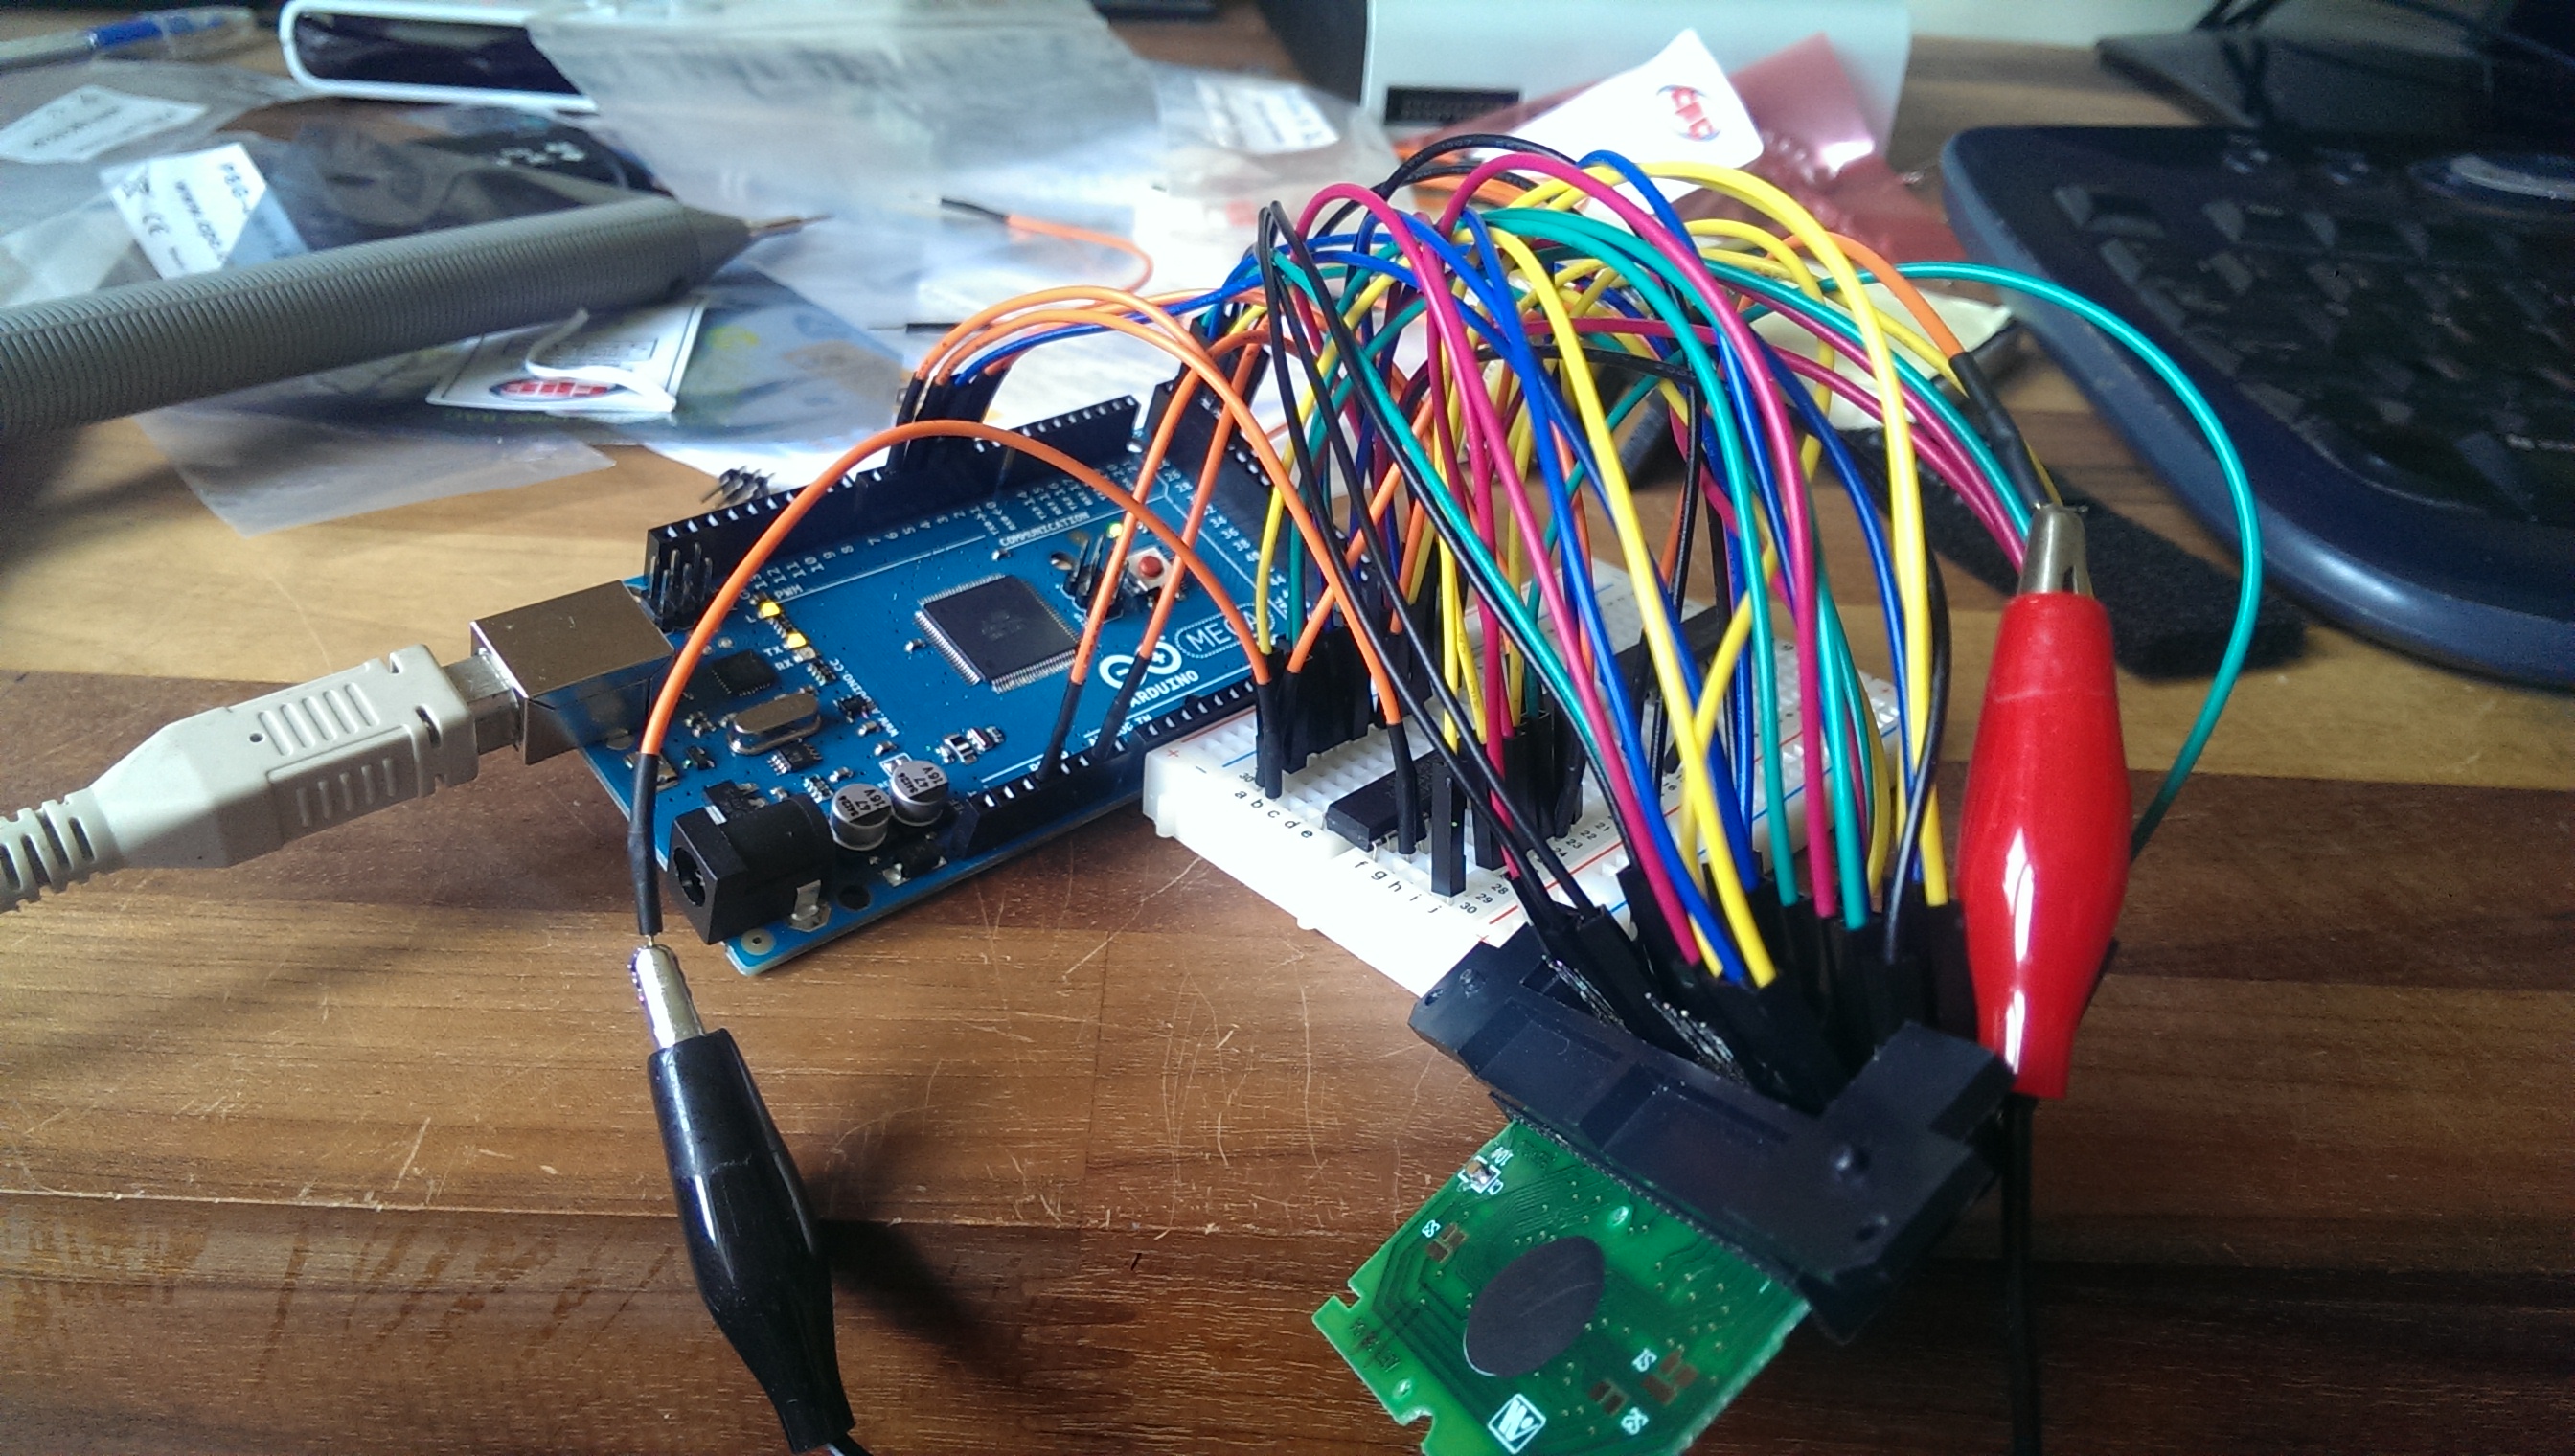
I Wired up the connections as follows:

ARDUINO -> Timekeeper
38 -> A0
36 -> A1
34 -> A2
32 -> A3
30 -> A4
28 -> A5
26 -> A6
24 -> A7
25 -> A8
27 -> A9
33 -> A10
29 -> A11
22 -> A11

40 -> D0
42 -> D1
44 -> D2
45 -> D3
43 -> D4
41 -> D5
39 -> D6
37 -> D7

23 -> /WE
35 -> /CE1
46 -> CE2
31 -> /OE

The SD card was wired as follows:
53 -> CS
52 -> SCK
51 -> SI
50 -> SO

Don’t forget to wire up you VCC and GND for both of these too.
All these pin assignments can easily be changed in the program if you wish.

Once the ‘sketch’ has been loaded up from the IDE if you open the terminal window (9600 baud) and everything is configured correctly you should see the following text.
ssprog

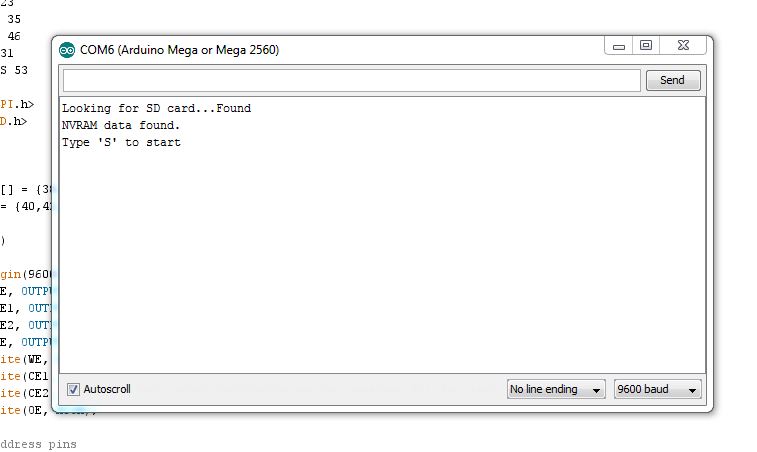
Send an upper case S and a few seconds later it will hopefully have finished and the chip should be programmed.
The ‘sketch’ can be found in the Arduino download section.

 Posted by at 2:56 pm

Arduino game cartridge dumping

 Arduino  Comments Off on Arduino game cartridge dumping
Nov 232014
 

Continuing on from the Gameking post I made yesterday. I have been working with Team Europe recently to help dump some cartridges for inclusion into MESS from the Leapster range of devices.
I adapted my Gameking dumper program a little to be more suited to the Leapster but in doing so I believe it made it more generic and therefore easier to be adapted to other devices too.

First off this program relies heavily on two additional IC’s being used in the circuit. These are 74HC4040‘s.
These chips are binary counters and they are great in the fact that they only require 2 inputs each from the Arduino and they cover 12 address bits out each too. So a simple bit of maths tells us that by using 4 output pins from the Arduino we cover 24 address pins. For those of you that thought my Gameking dumper wasn’t possible due to the low number of pins used on the Arduino then this is the reason why.
They are also good to use as they are both 5v and 3.3v tolerant and as a lot of these cartridges only use 3.3v its ideal.

If you are even just slightly familiar with how to hook up a ROM for reading then you will have no issues in wiring this circuit up.
Here is the circuit drawing made by Team Europe
dumperdrawing

And here is the circuit
dumperwired

Of course all of this is useless without the Arduino program itself which you can DOWNLOAD HERE
If you use this program for anything useful then please let me know and also please give credit where credit is due.

Thanks to Team Europe too for their testing, feedback and providing the pictures used in this post.
You can visit Team Europe’s blog here https://team-europe.blogspot.co.uk/

Oct 122014
 

I recently came across a nice looking IC that I wanted to try out.
The actual device in question is the AD8400ARZ1 from Analog Devices and is a digital potentiometer that in a narrow SOIC package.
As Im wanting to use this with some Arduino projects I wanted to be able to use it on prototype board which requires a DIP package.
I made a nice small board up in Eagle and am currently waiting on the boards coming from OSHPark. It ended up costing me something like 70p for 3 as they are tiny.
soicn

EDIT: Mike kindly pointed out in the comments that I should have checked eBay first. This is a very good point and ive got into the routine of not checking eBay for anything these days but when there are big savings in both time and money to be made then its definitely worth a go.
Thanks Mike for pointing this out. At least there was no great amounts of cash spent on it.

 Posted by at 1:44 pm

Pin Toggle “Shield”

 Arduino  Comments Off on Pin Toggle “Shield”
May 312014
 

The pin toggle PCB I made finally came and im quite pleased with it. I had to make a couple of changes in software to accommodate an error I made but that’s the beauty of having full control via software.

It works well but I wish I had added a reset switch on top and also wish I had given access to a couple of the other IO pins across the top because right now I have to add a link you switch between 20/24 pin devices.
Maybe ill make a revision 2 sometime but I have no real need to do so.

 Posted by at 9:37 pm

Dumping Gameking cartridges

 Arduino  Comments Off on Dumping Gameking cartridges
May 182014
 

Got my hands on a Gameking with 13 games recently.
The Gameking is a bad handheld device from the East and all the games are a ripoff of something already released.

This little project represents the first attempt at I made at dumping a ROM using the Arduino.
It’s also the first time I used the 74HC4040 to generate the addresses. I used these binary counters because they offer 12 outputs and it only uses 2 outputs from the Arduino. They are also tolerant of both 3.3v and 5v so interfacing with different voltage chips is a lot easier.

On with the dumping.
There is a guy called Brian Provinciano that once had a website that contained a lot of nice information about the Gameking. Fortunately it can still be found here

So armed with the pinout this should be easy right? Nope. The physical cartridge pinout is a 2×30 pin affair and I could not find one. Nothing left to do but desolder the original cartridge connector from the Gameking unit itself.

So now I have everything I need. Time to hook this thing up and test it out.

I had each byte spit out to the serial port and then used my makerom.exe program to create a binary file the log file.
The end result looks pretty decent. I can see the header of the file.

I can also see all the game graphics using Brian’s editing tool available from the link above.
Unfortunately that’s as far as I can go with it for now as there are no emulators available. There is one for the NDS but its worthless in terms on usage.

This was a great project that was pretty easy to build.