
Yet another Operation Wolf repair and this one gave me trouble.
First test we had watchdogging. All ROM’s checked out fine in the programmer and seeing nothing else obvious I removed the work RAM both of which failed.
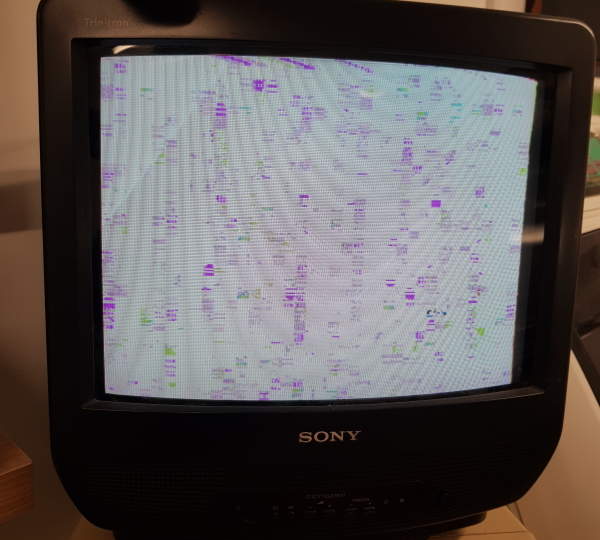
Now on boot up I got a screen seemingly running game but all the screen was garbage.
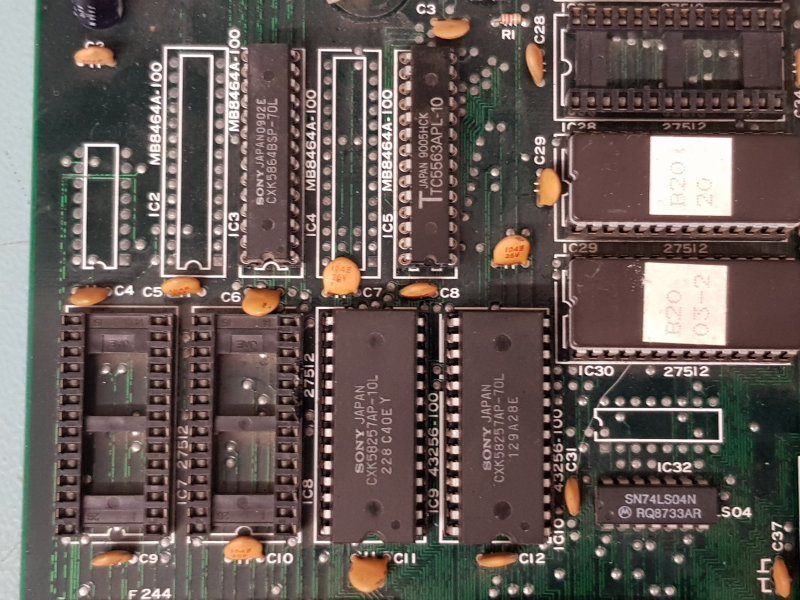
Probing the data lines of the screen RAM show pretty much all of them across two RAM chips were dead. I desoldered and replaced them both.
Now I got a running game but the colours were messed up
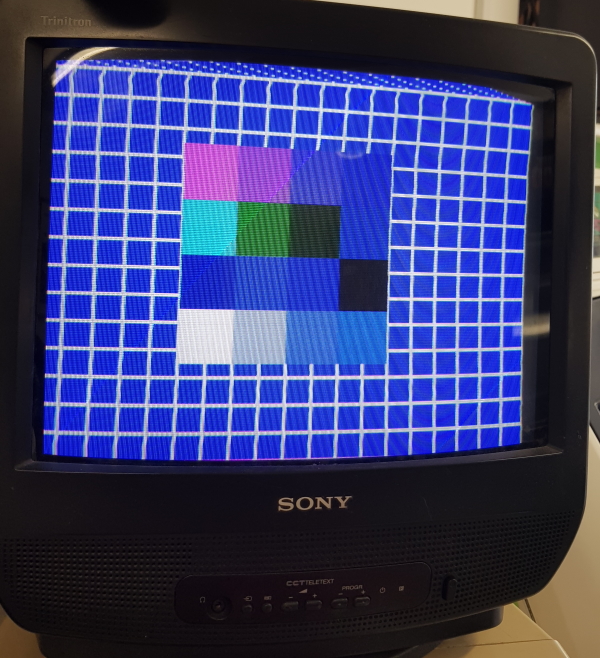
There are two 74LS245’s attached to the data lines of the colour RAM at location IC78 & IC90. Probing these revealed stuck bits on IC78. Replacing this gave me perfect results on the colour test screen in test mode but dull colours in game. Other issues in-game showed me all the sprites were missing and the screen doesn’t scroll when entering a game.
Stupidly I chose to ignore the colour issue and concentrate on the other two (I will get back to this later).
The sprite and scrolling issue worried me because these areas are related to the PC080SN and PC0900J custom chips.
Paulcan69 sent me a scrapper PCB so I could rob the customs off it if needed so I started out by replacing the PC0900J.
Replacing this brought my sprites back but the scrolling issue was still present.
I didn’t enjoy replacing that IC so I started checking around to see if the scrolling issue could lie somewhere else.
I found nothing wrong so removed the PC080SN custom and replaced it with the spare but it made absolutely no difference. A lot of work time and effort for nothing.
I spent time over the course of the next few days looking into this but found nothing.
Eventually I got sick of looking at the washed out colours on screen and replaced IC90 to fix the last of the colour issues.
I couldn’t really believe it when this fixed my scrolling issue as well.
I still don’t understand why this chip caused the scrolling issue but I’m really glad it did.
All issue are now fixed on this board.
Onto the sound PCB.
The original sound PCB that came with this board was a complete write off. Every chip I pulled from this board was broken and both amps were also burning hot.
Among all the other boards that Paulcan69 had sent me he also kindly sent me a spare sound PCB for Muddymusic to have.
There was a sticker on this board saying “No Sound”.
On first test I found that the music played but the volume was really low. Turning the volume up to the maximum made the sound audible but not nearly enough.
I checked the resistance of the volume pot and found that if you move the pot off maximum setting then it read megaohms. I tried cleaning it but it didn’t work so I replaced it.
This made the sounds much better but like with most of the others I’ve repaired some of the samples were scrambled and didn’t stop playing when they should.
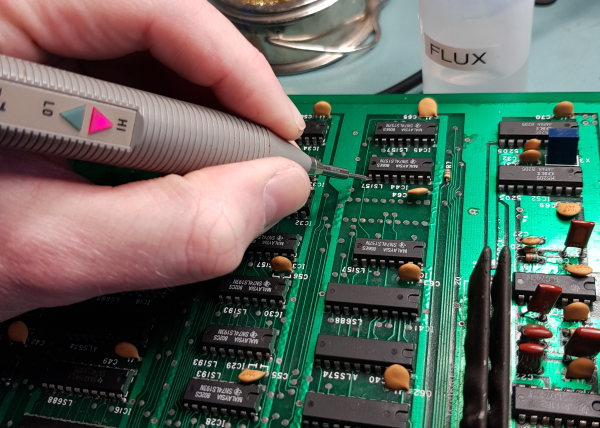
I quickly found another 74LS688 that was dead. Replacing this made the sounds stop when they should but the samples on channel A were scrambled.
Looking at the schematics shows where the sample data goes.
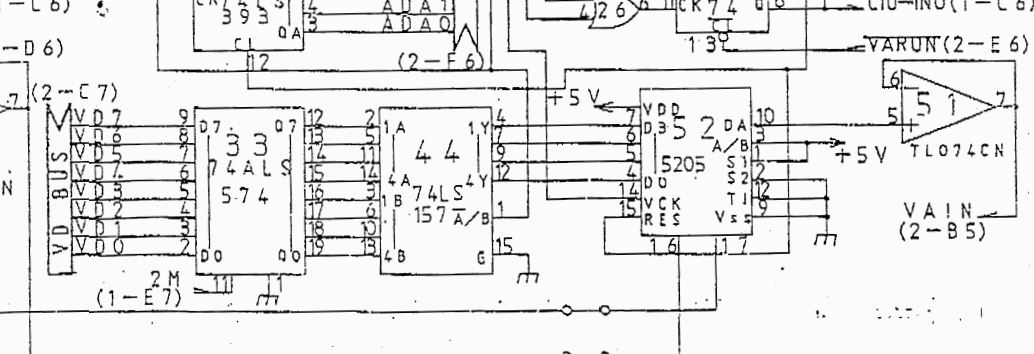
Using an audio probe I checked the output at pin 10 of the 5205. The sound was the same. This ruled out issues caused by bad caps and things like that.
Next I checked the 574 at IC33. Both the input and output looked good so moved onto the 74LS157 at IC 44.
Probing all the outputs with a logic probe showed pin 9 was stuck HIGH
Replacing this fixed all the samples.
That’s the last one fixed
Big thanks to Paulcan69 for the spares board. Without it this board would be scrap too.
2 Responses to “Operation Wolf repair log #5”
Sorry, the comment form is closed at this time.
Good job!
So IC90 is one of the 74LS245’s?
They are connected to something called CD Bus, what is that?
i dont know for sure. I always assumed it was Colour Data or something but its just a guess