
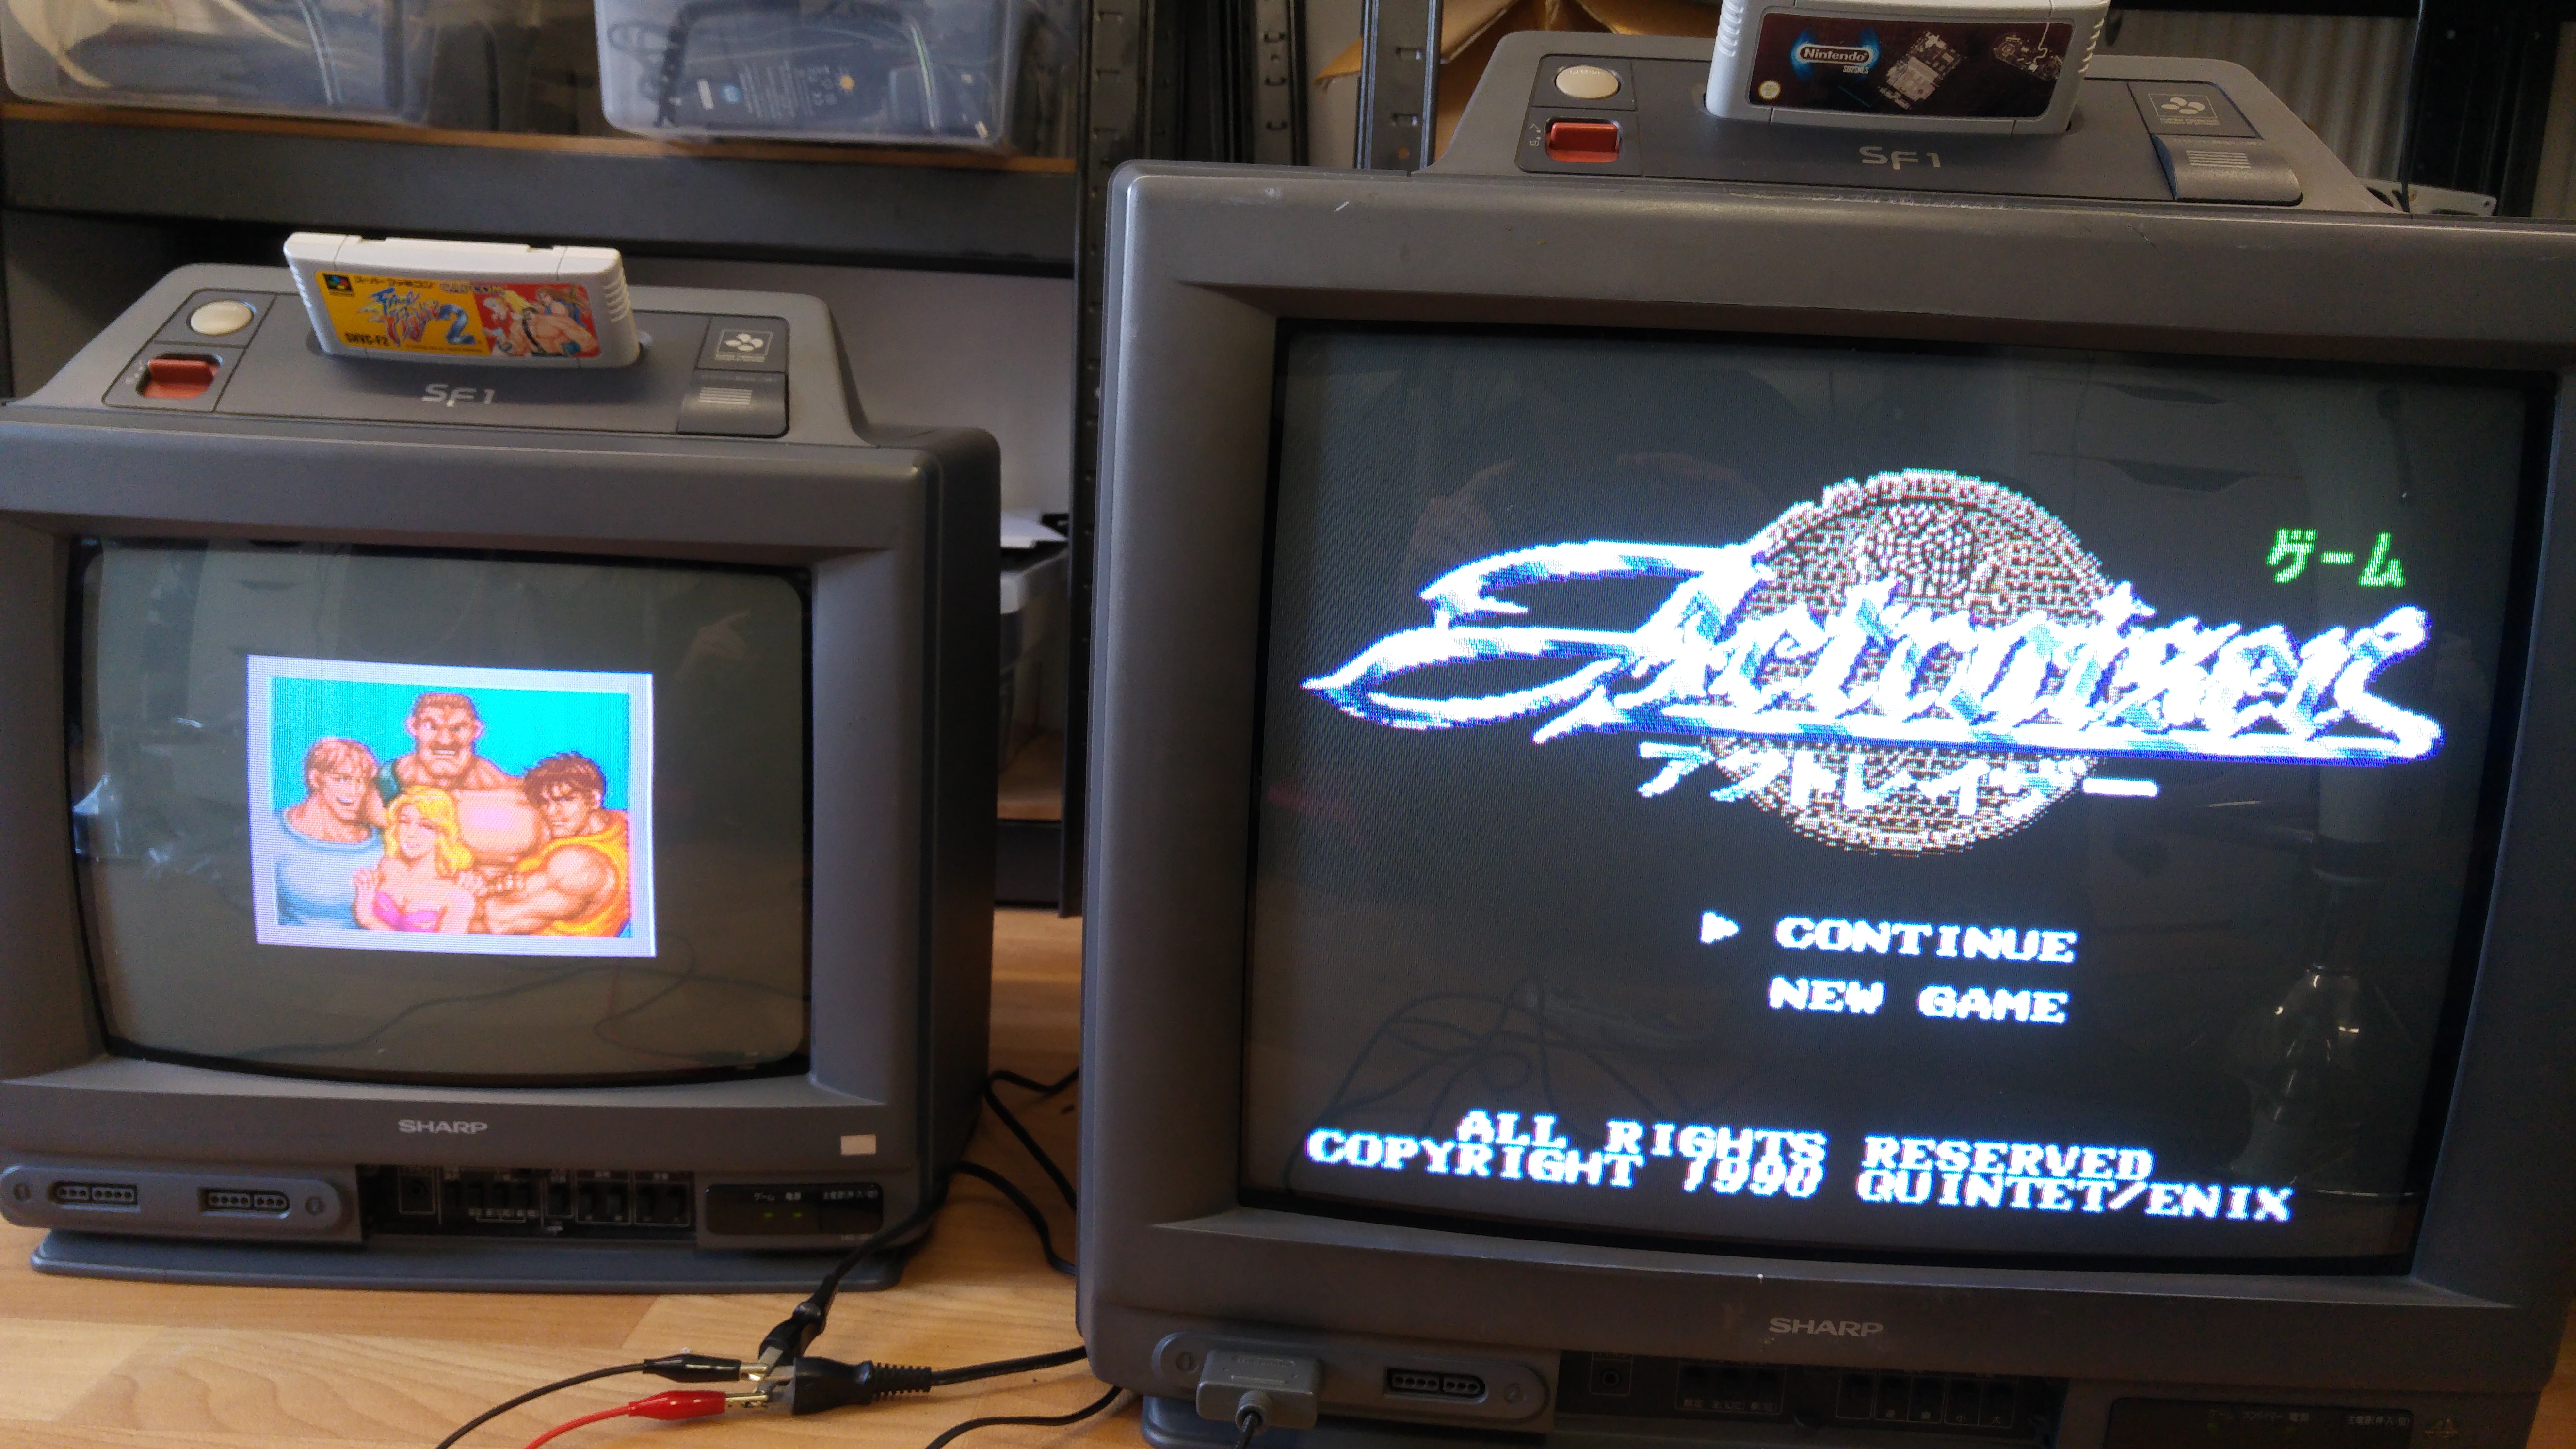
The 14″ TV is up now.
This one was a lot more involved.
Before starting on this one I had tested the previous PCB with this TV so I knew for sure the TV part was operating fully.

When powering this up I got no audio or video, just a black screen. Using the external A/V output also gave me nothing.
I couldn’t find anything obvious visually on the PCB itself.
Ive read a lot in the past about SNES repairs and the CPU’s seem to be a weak point. I started prodding around the CPU with the scope and even though all the voltages and clocks looked good I could see any activity.
I had a known working spare SNES which I opted to sacrifice for parts.

I replaced the CPU and once again checked for signals. This time I had life but it gave up after a few seconds and still didn’t give me any output. This cycle was repeatable on resetting the machine.
I next opted to replace the ‘S-WRAM’ (work RAM) positioned next to the CPU.
Replacing this gave me audio but no video so at least I knew the game was running which was great to hear.
At this point I tried the external A/V connector again and got a good picture.
Probing the ‘S-Enc’ chip yielded no outputs at all despite all inputs being as expected. I replaced this and everything came up good. Time to reassemble and reclaim some bench space.
Thats both of these rare units fixed up.
Sorry, the comment form is closed at this time.