Aug 302015
 

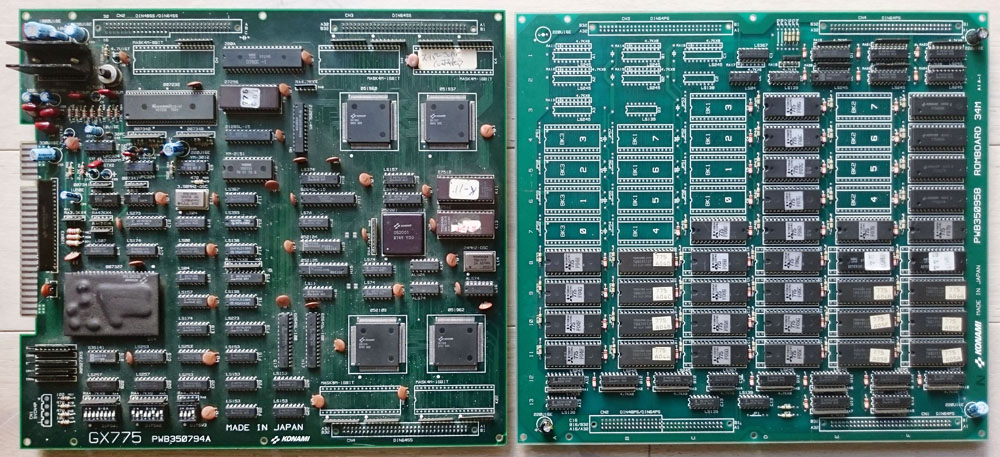
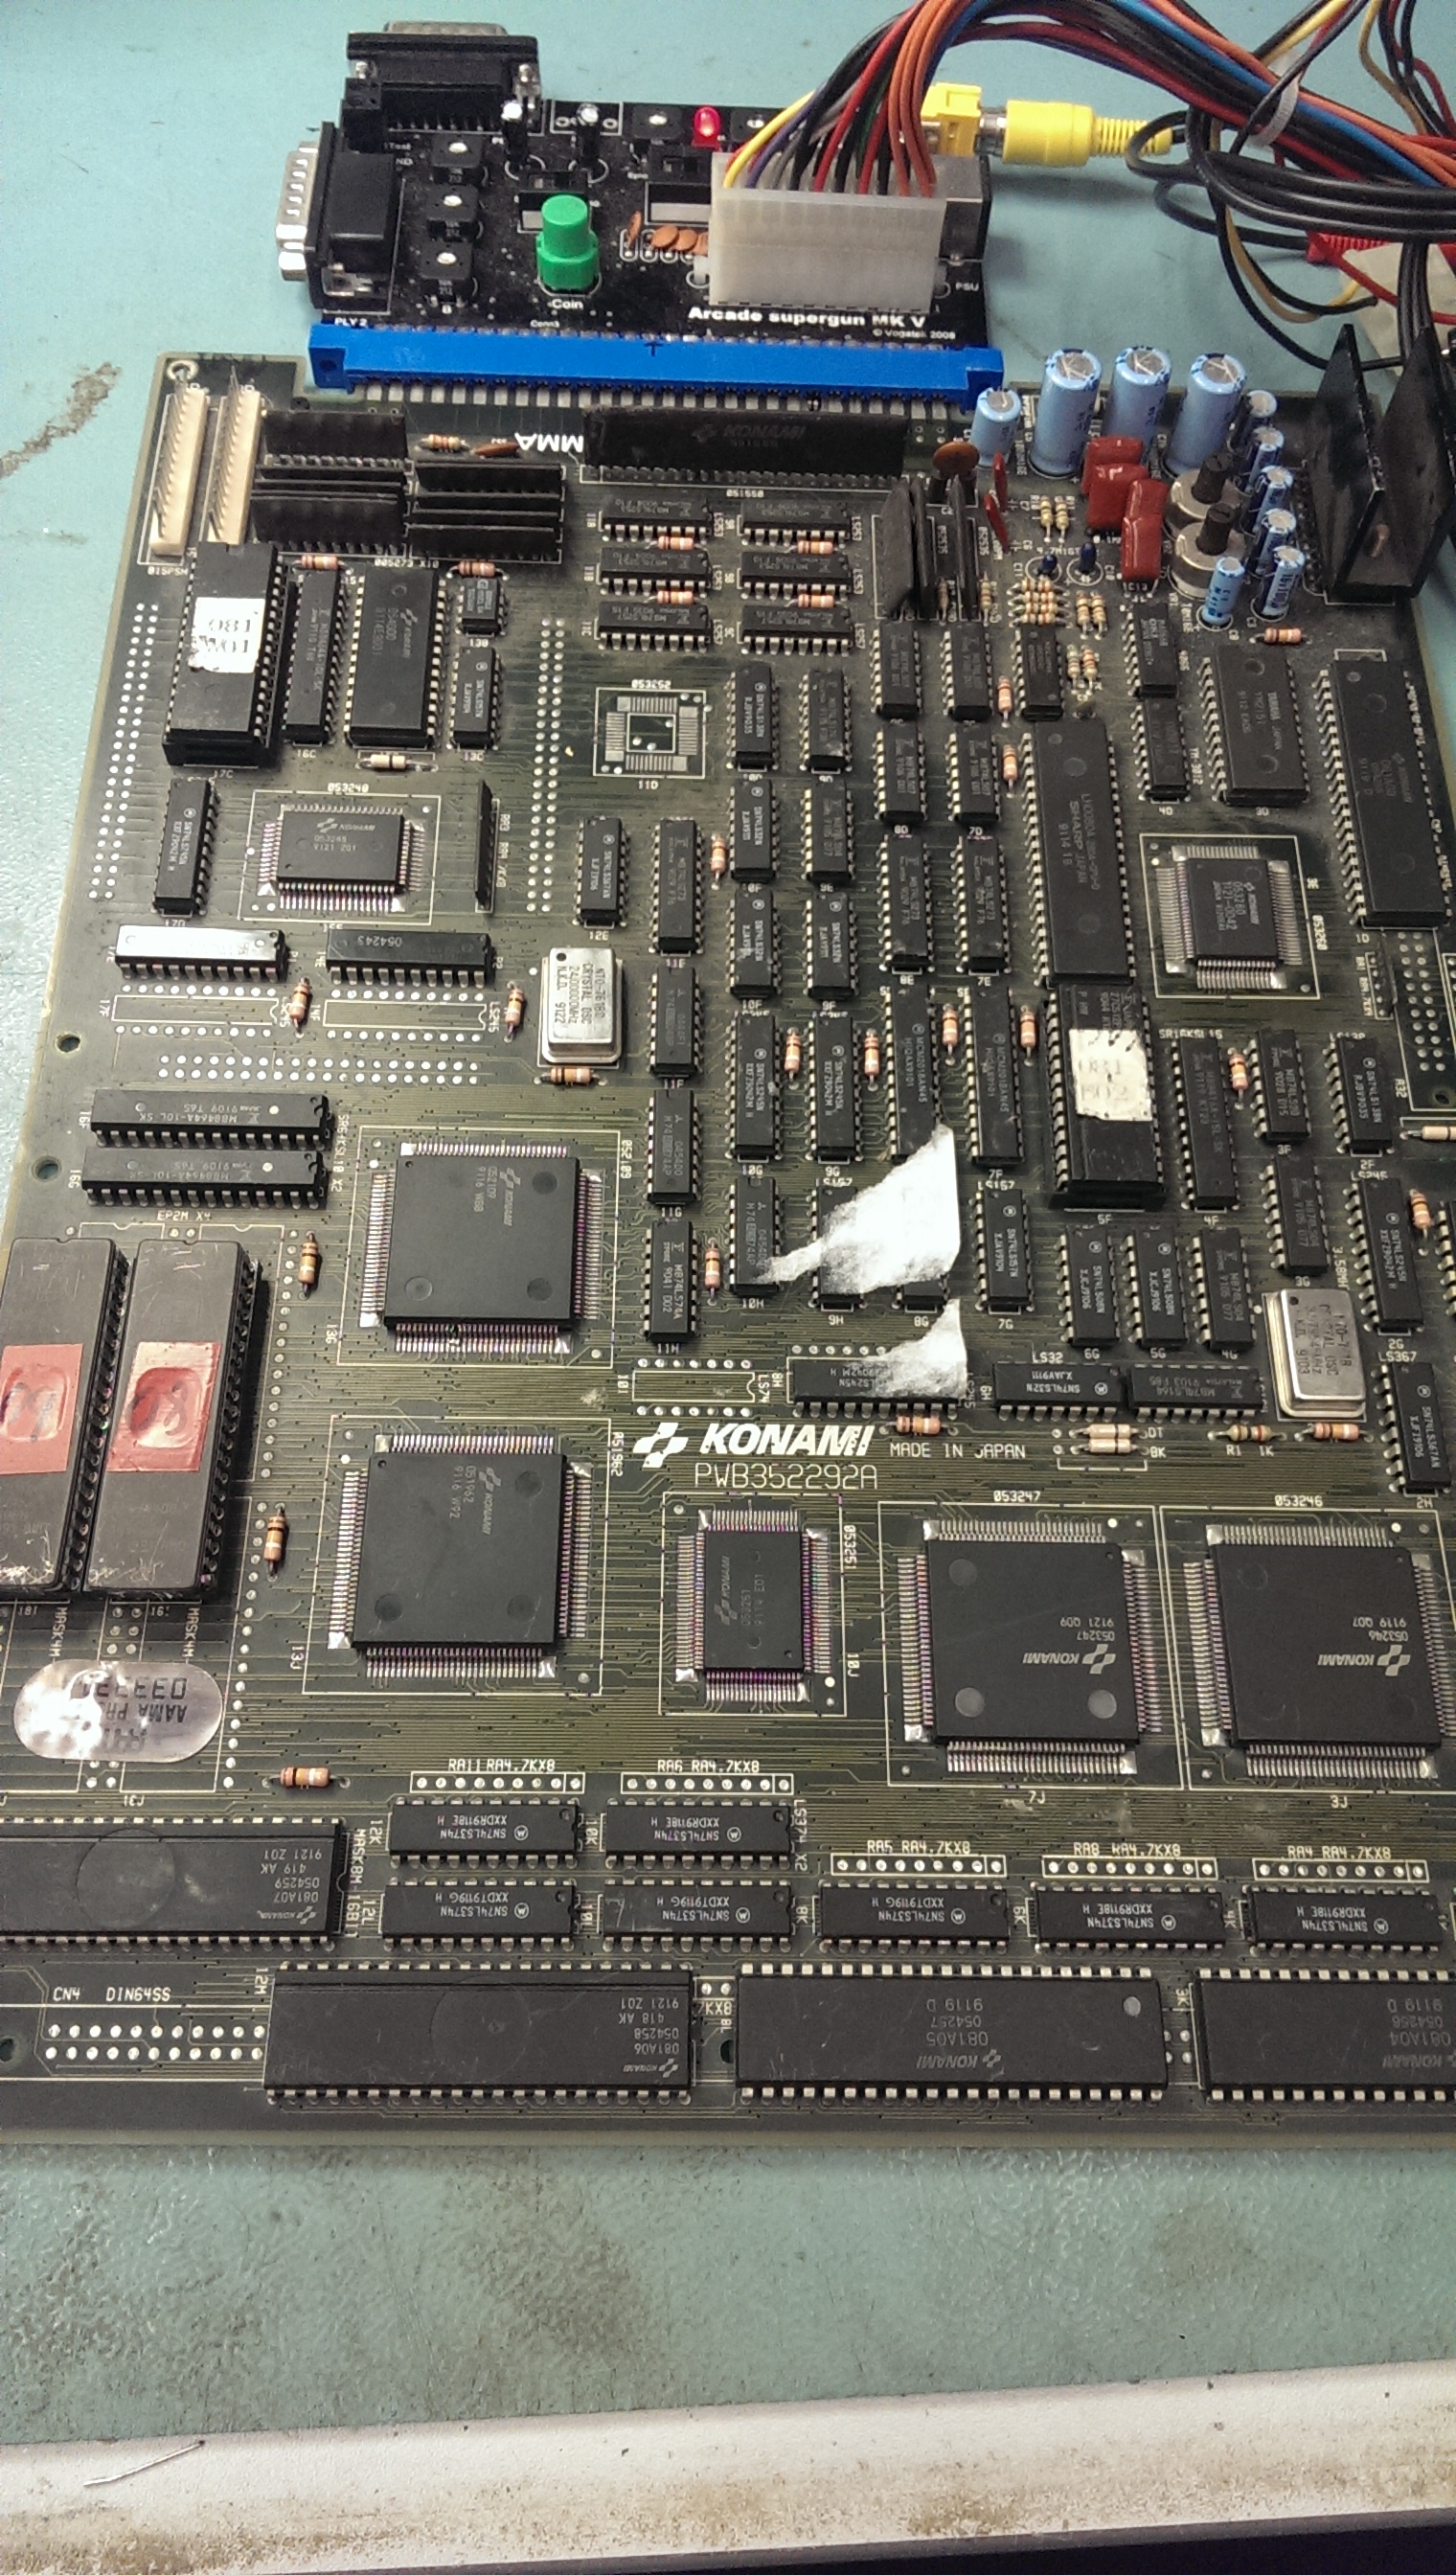
I bought a dead Rastan PCB for a fair price on a forum.

rastan1

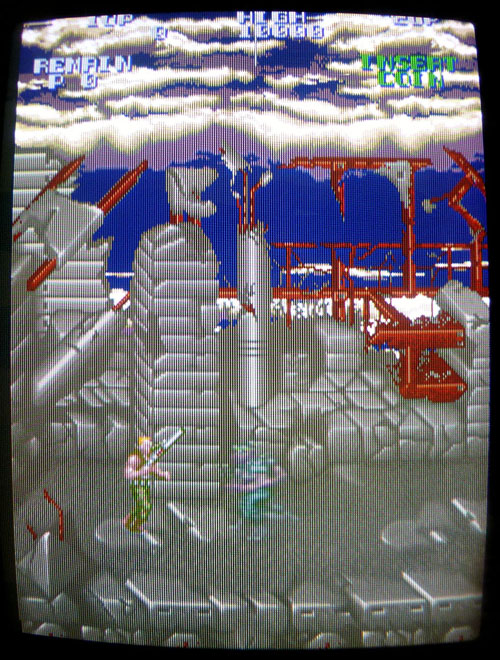
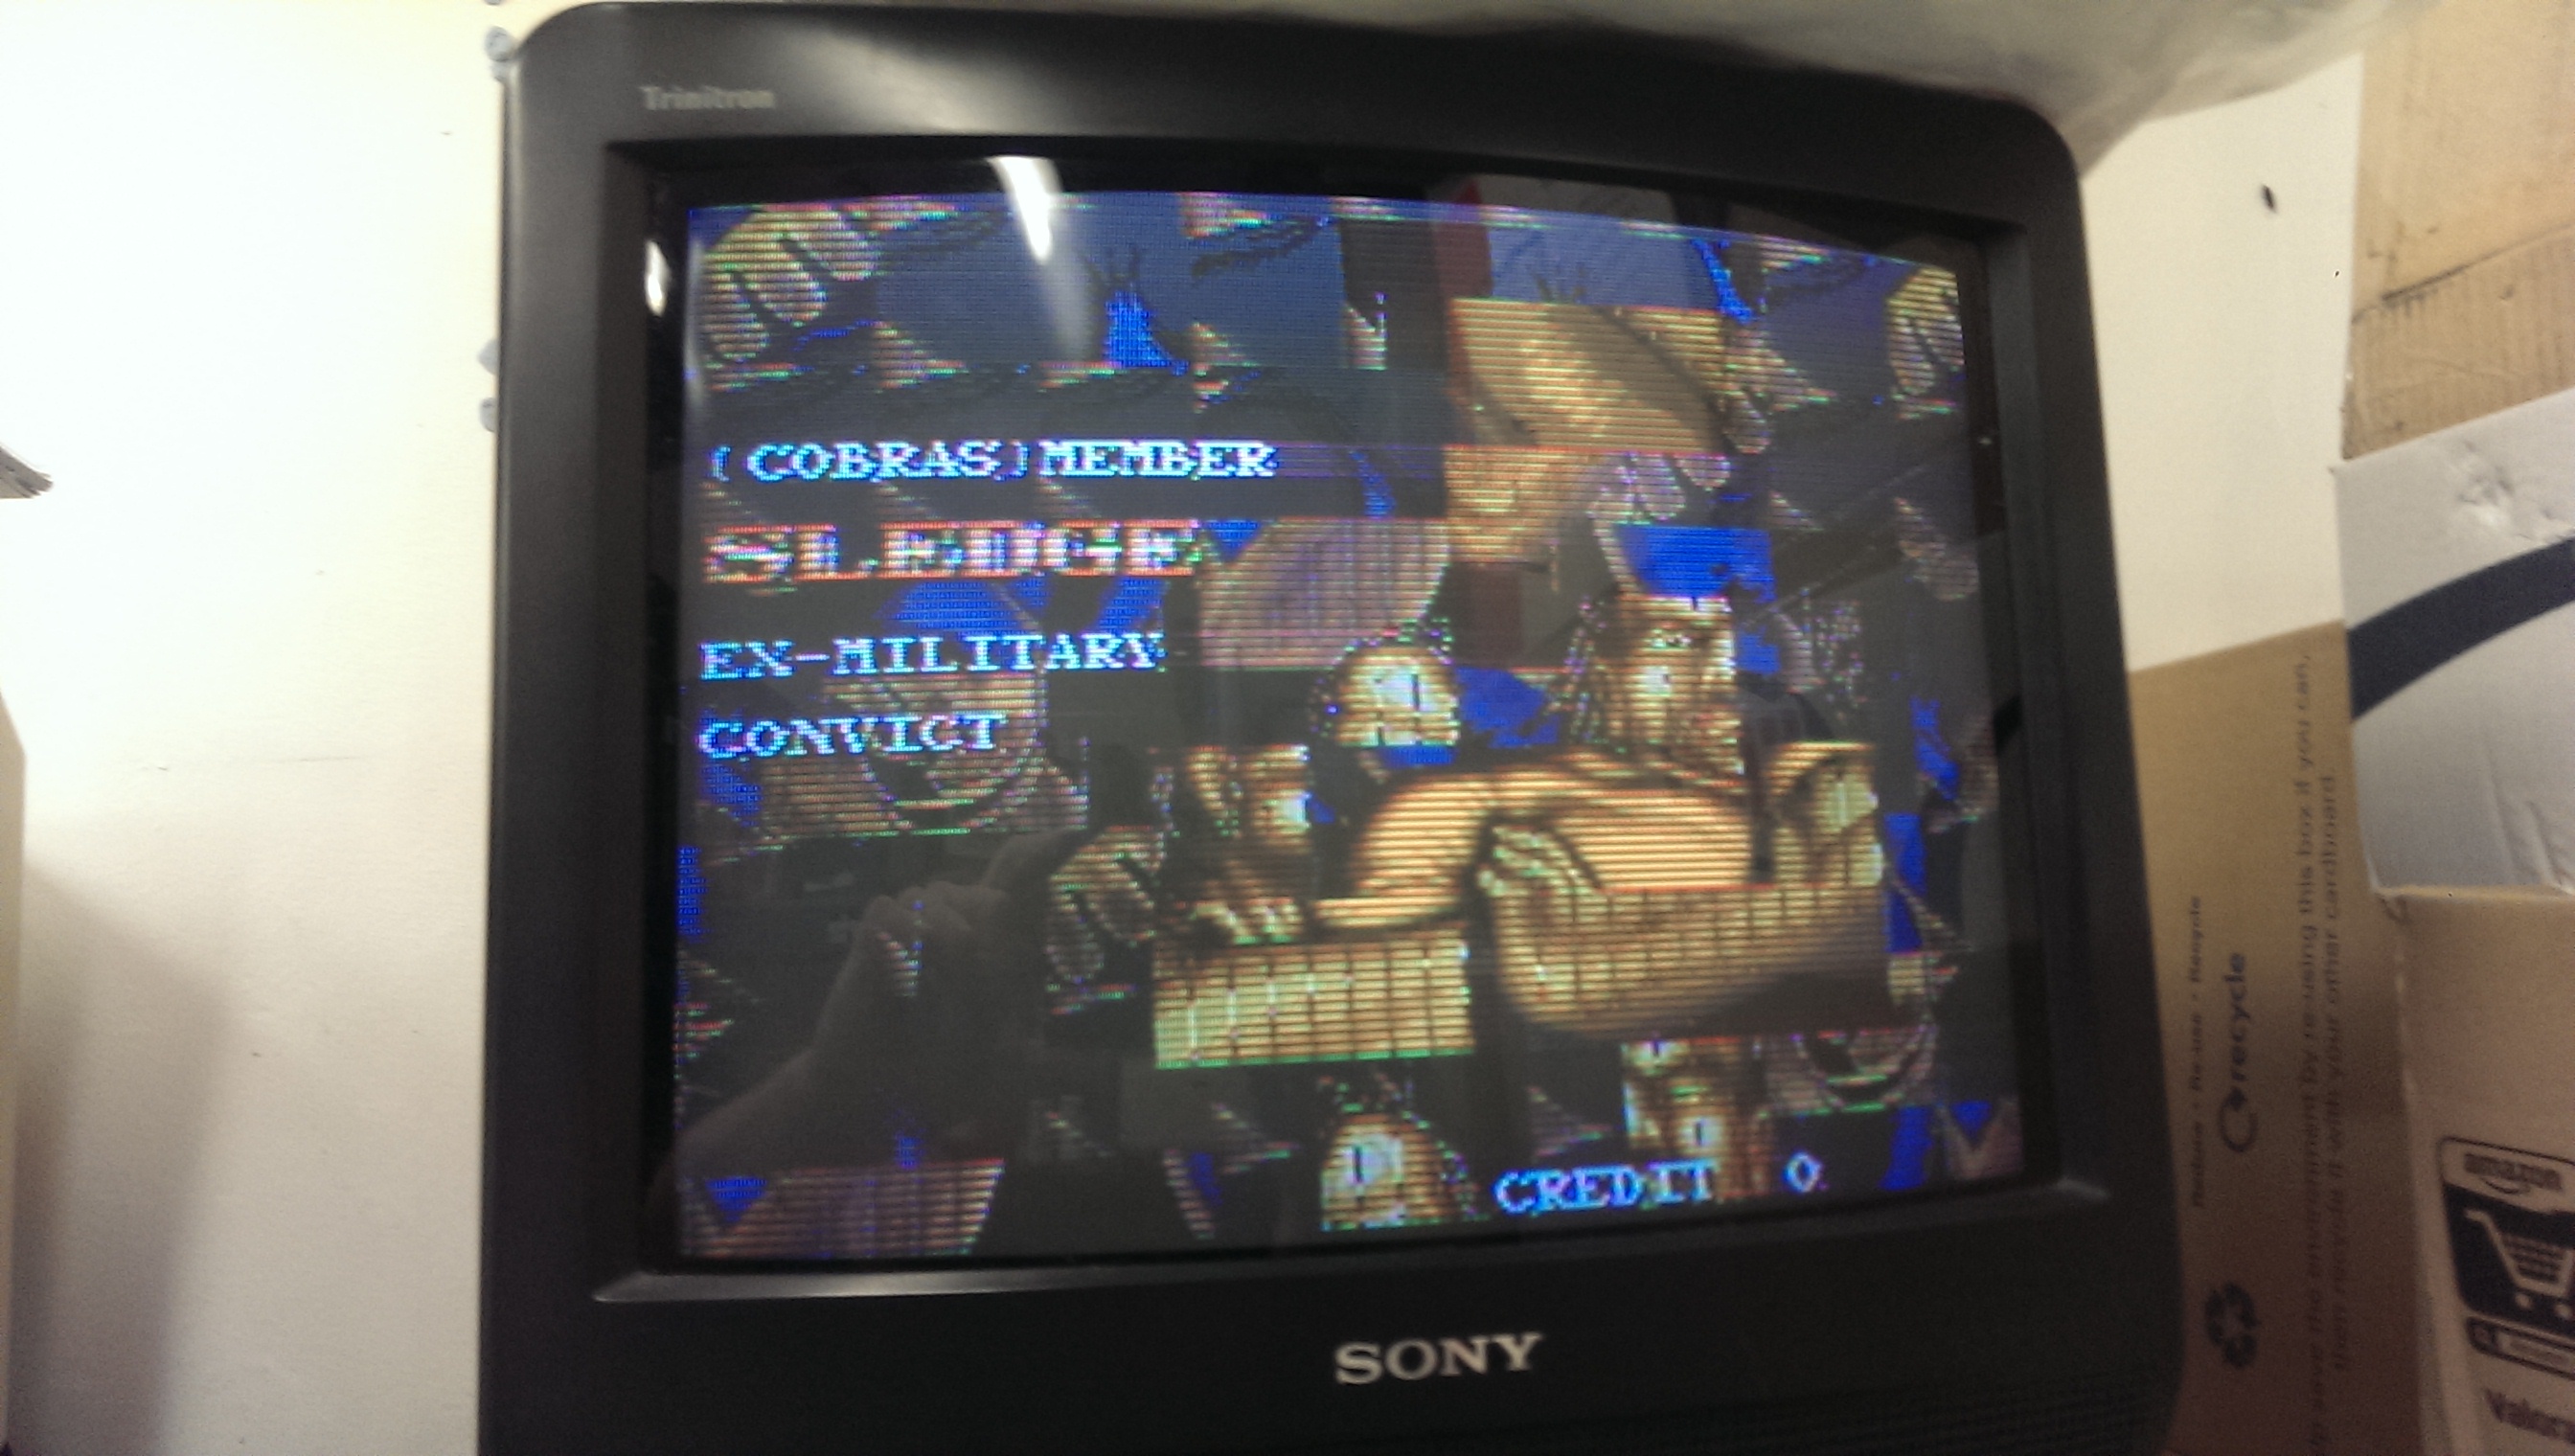
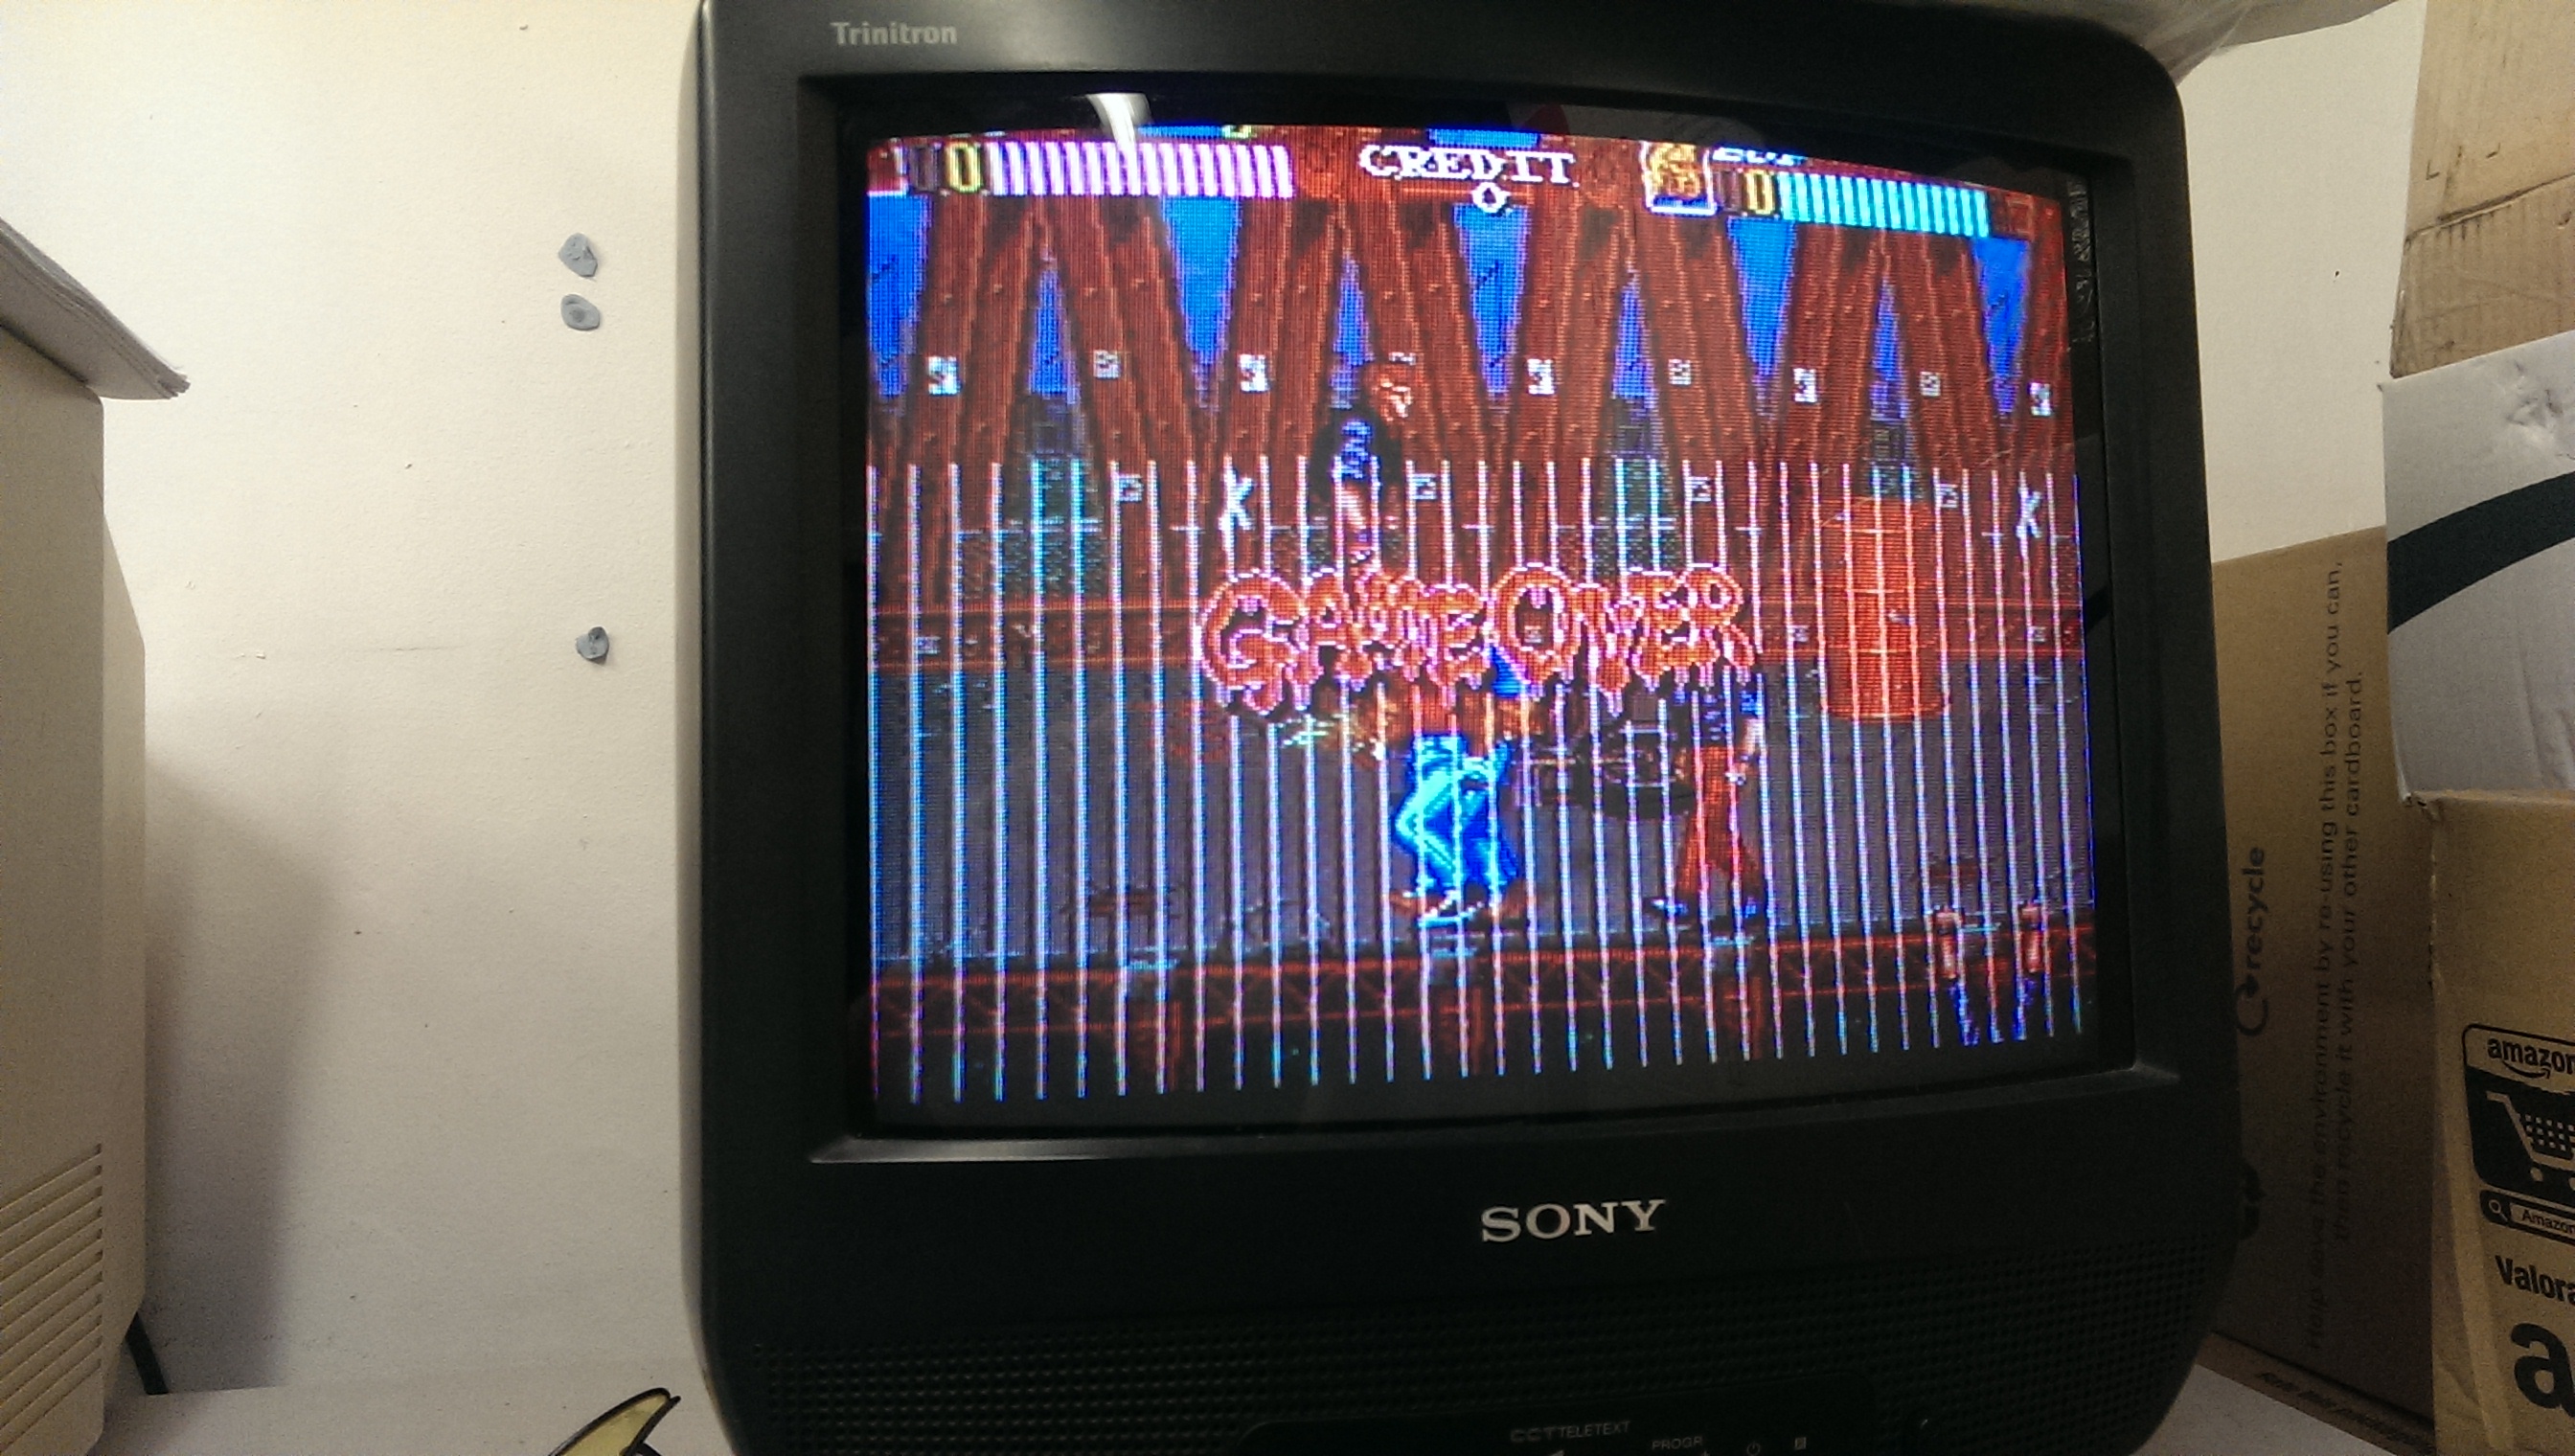
All I got was a screen with garbled graphics on boot:

rastan2

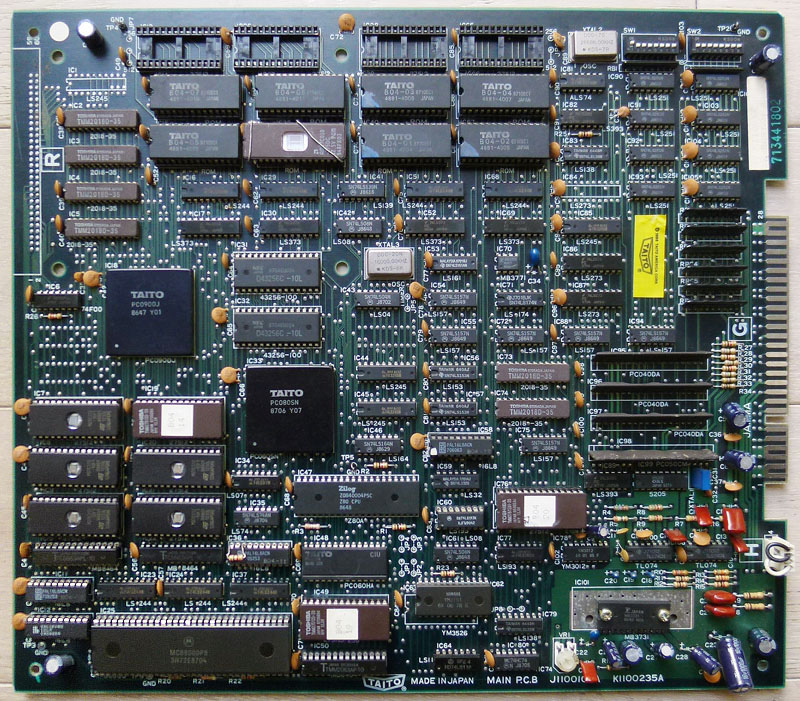
Luckily, schematics are available online for this board. Anyway, I spent hours with my scope trying to find why there was no activity at all in the CPU area. I desoldered the two RAMs and the 68000 (all were tested OK as well as the ROMs).

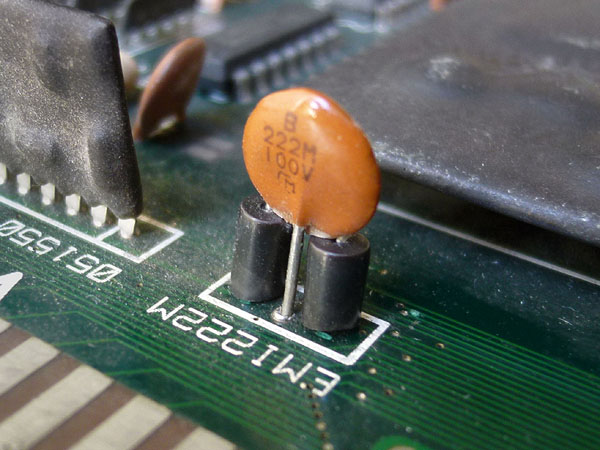
Next, I desoldered the 2 PALs that are involved in the address decoding (labeled B04-09 @ IC11 and B04-10 @ IC12) in order to check them and finally discovered that B04-10 was slightly cracked (it is the one at the bottom-left corner of the board, you could figure it was heavily bended there) and, with no surprise, it couldn’t be read on my programmer. See the crack in the middle of the chip, it was unnoticeable before removal:

rastan5

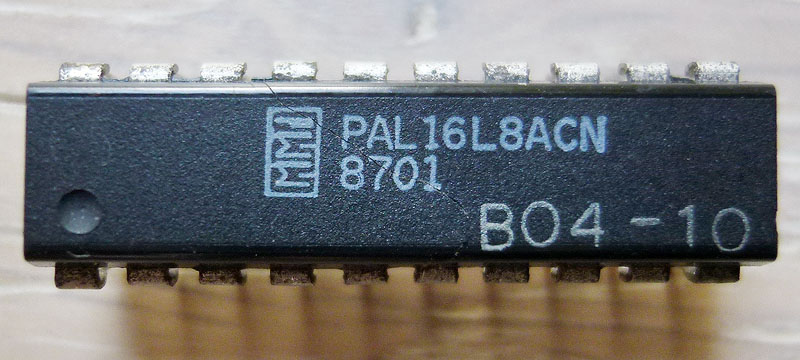
Fortunately, PALs for this game are available on JAMMArcade.net so I took a blank GAL and burned the equivalent file but then got a black screen… Ok, that was my fault as the file was an untested dump from a PAL16L8 and needed to be converted to GAL16V8 in order to work properly. I did the conversion with PALTOGAL.EXE, reburned it then the game booted !

Great… But my enthusiasm quickly stopped as I noticed some issues:

1) The game sometimes crashed then rebooted, it happened 1/3 times when I started a game.

2) There was no sound (I could sometimes randomly hear a voice looping then fading away).

3) A few sprites were garbled.

It turned out that both issues 1) and 2) were related to a defective sound RAM chip @ IC50.

System11 reports the exact same problem on one of his Rastan repair logs (corrupted sound with main CPU crashing randomly due to a defective sound RAM).

This was not easy to troubleshoot because that RAM @ IC50 had seemingly “normal” pulsing signals on every pins and piggybacking didn’t worked at first. After reading that repair log from System11, I tried again piggybacking and that time it worked ! (well, it partially worked and not all the time)
So I’ve replaced the chip and got it working fine with sound and no freezes !

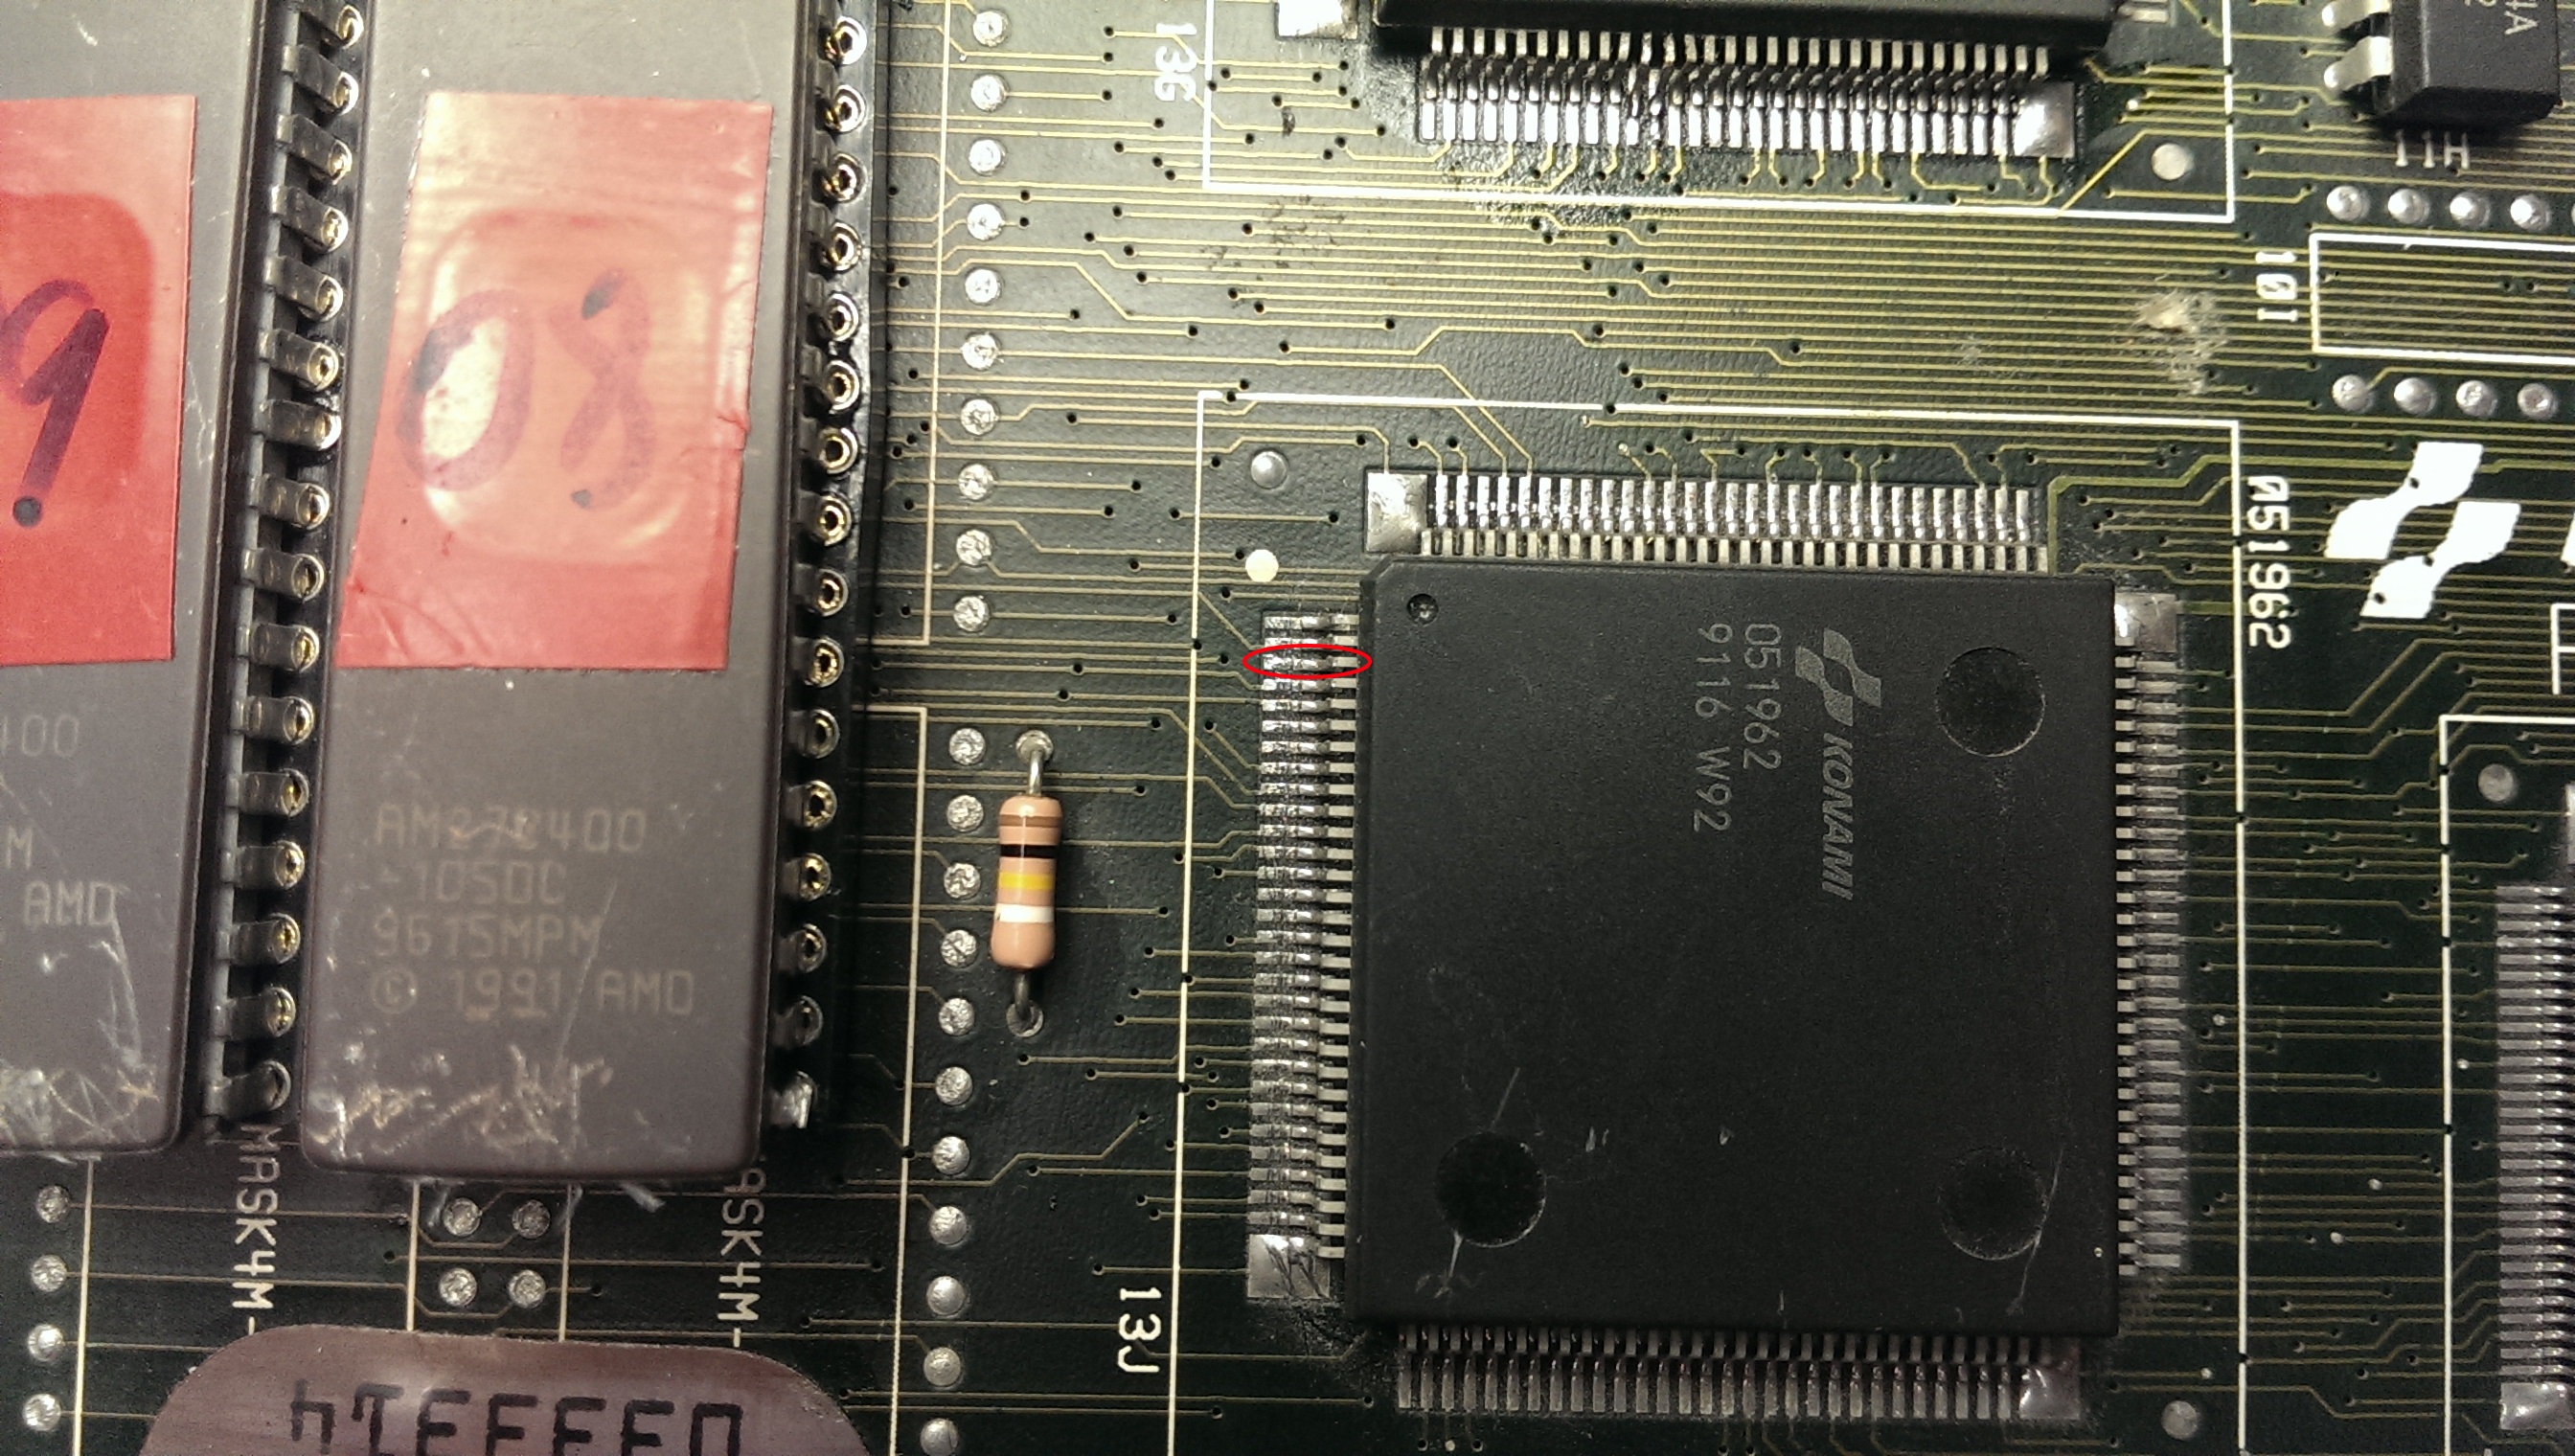
Only the issue 3) was remaining. The fault was most probably due to one of the gfx mask ROMs @ IC28 (1Mbit into a 28pins chip) that was replaced by an hacked 27C010 1Mbit 32pins EPROM. I could see things changing when touching a couple of pins on the EPROM. Here is a picture of it:

rastan3

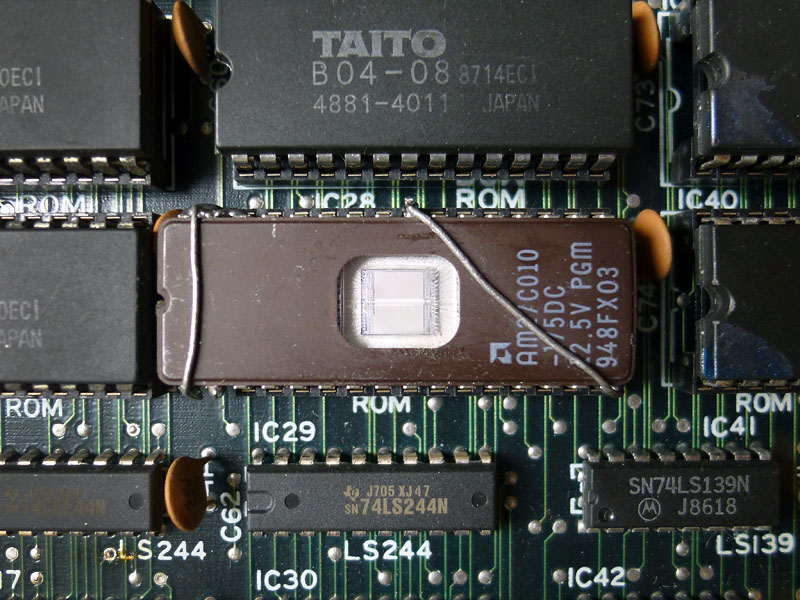
I could replace this bad looking hacked EPROM with a blank TC531000, LH531000 or a HN62331 mask ROM as they seems to have the exact same specs and size than the original mask ROM but it seems nearly impossible to find these chips nowadays.

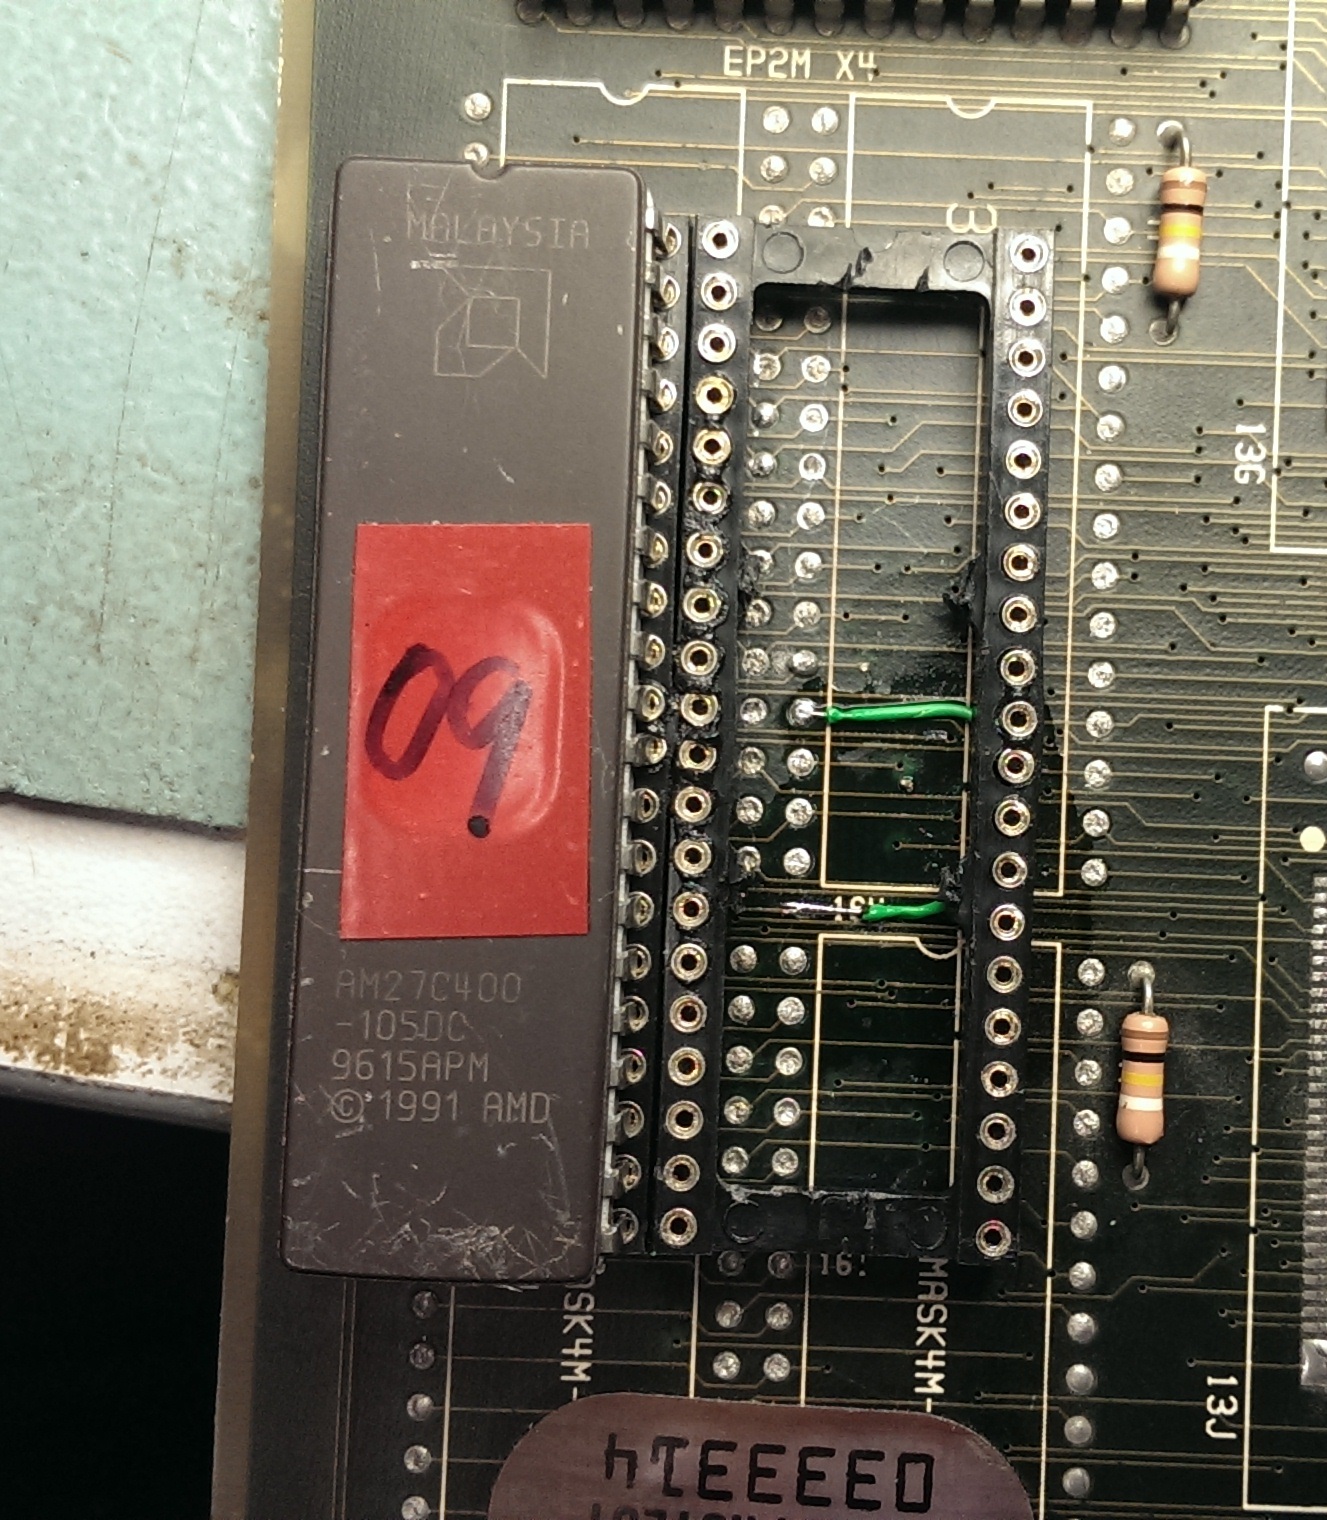
After comparing the pinouts between 1Mbit 32pins EPROM and 1Mbit 28pins MASK ROM I found what was missing on that hack: pin #2 (A16) of the EPROM was not going anywhere and it should be connected to pin #22 on the socket. I soldered a thin wire on the EPROM and plugged it underneath the chip on the socket.

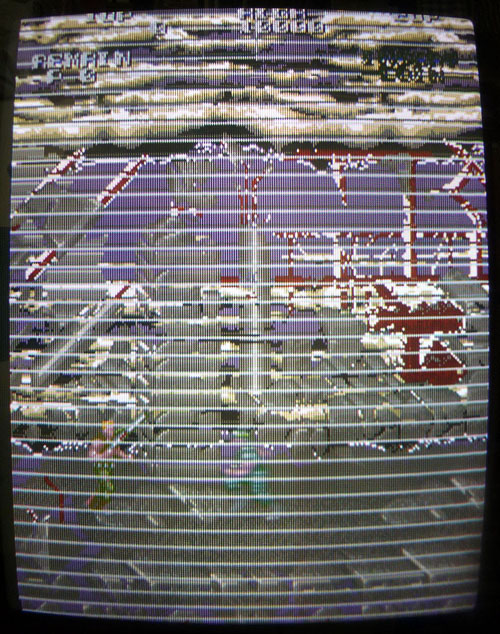
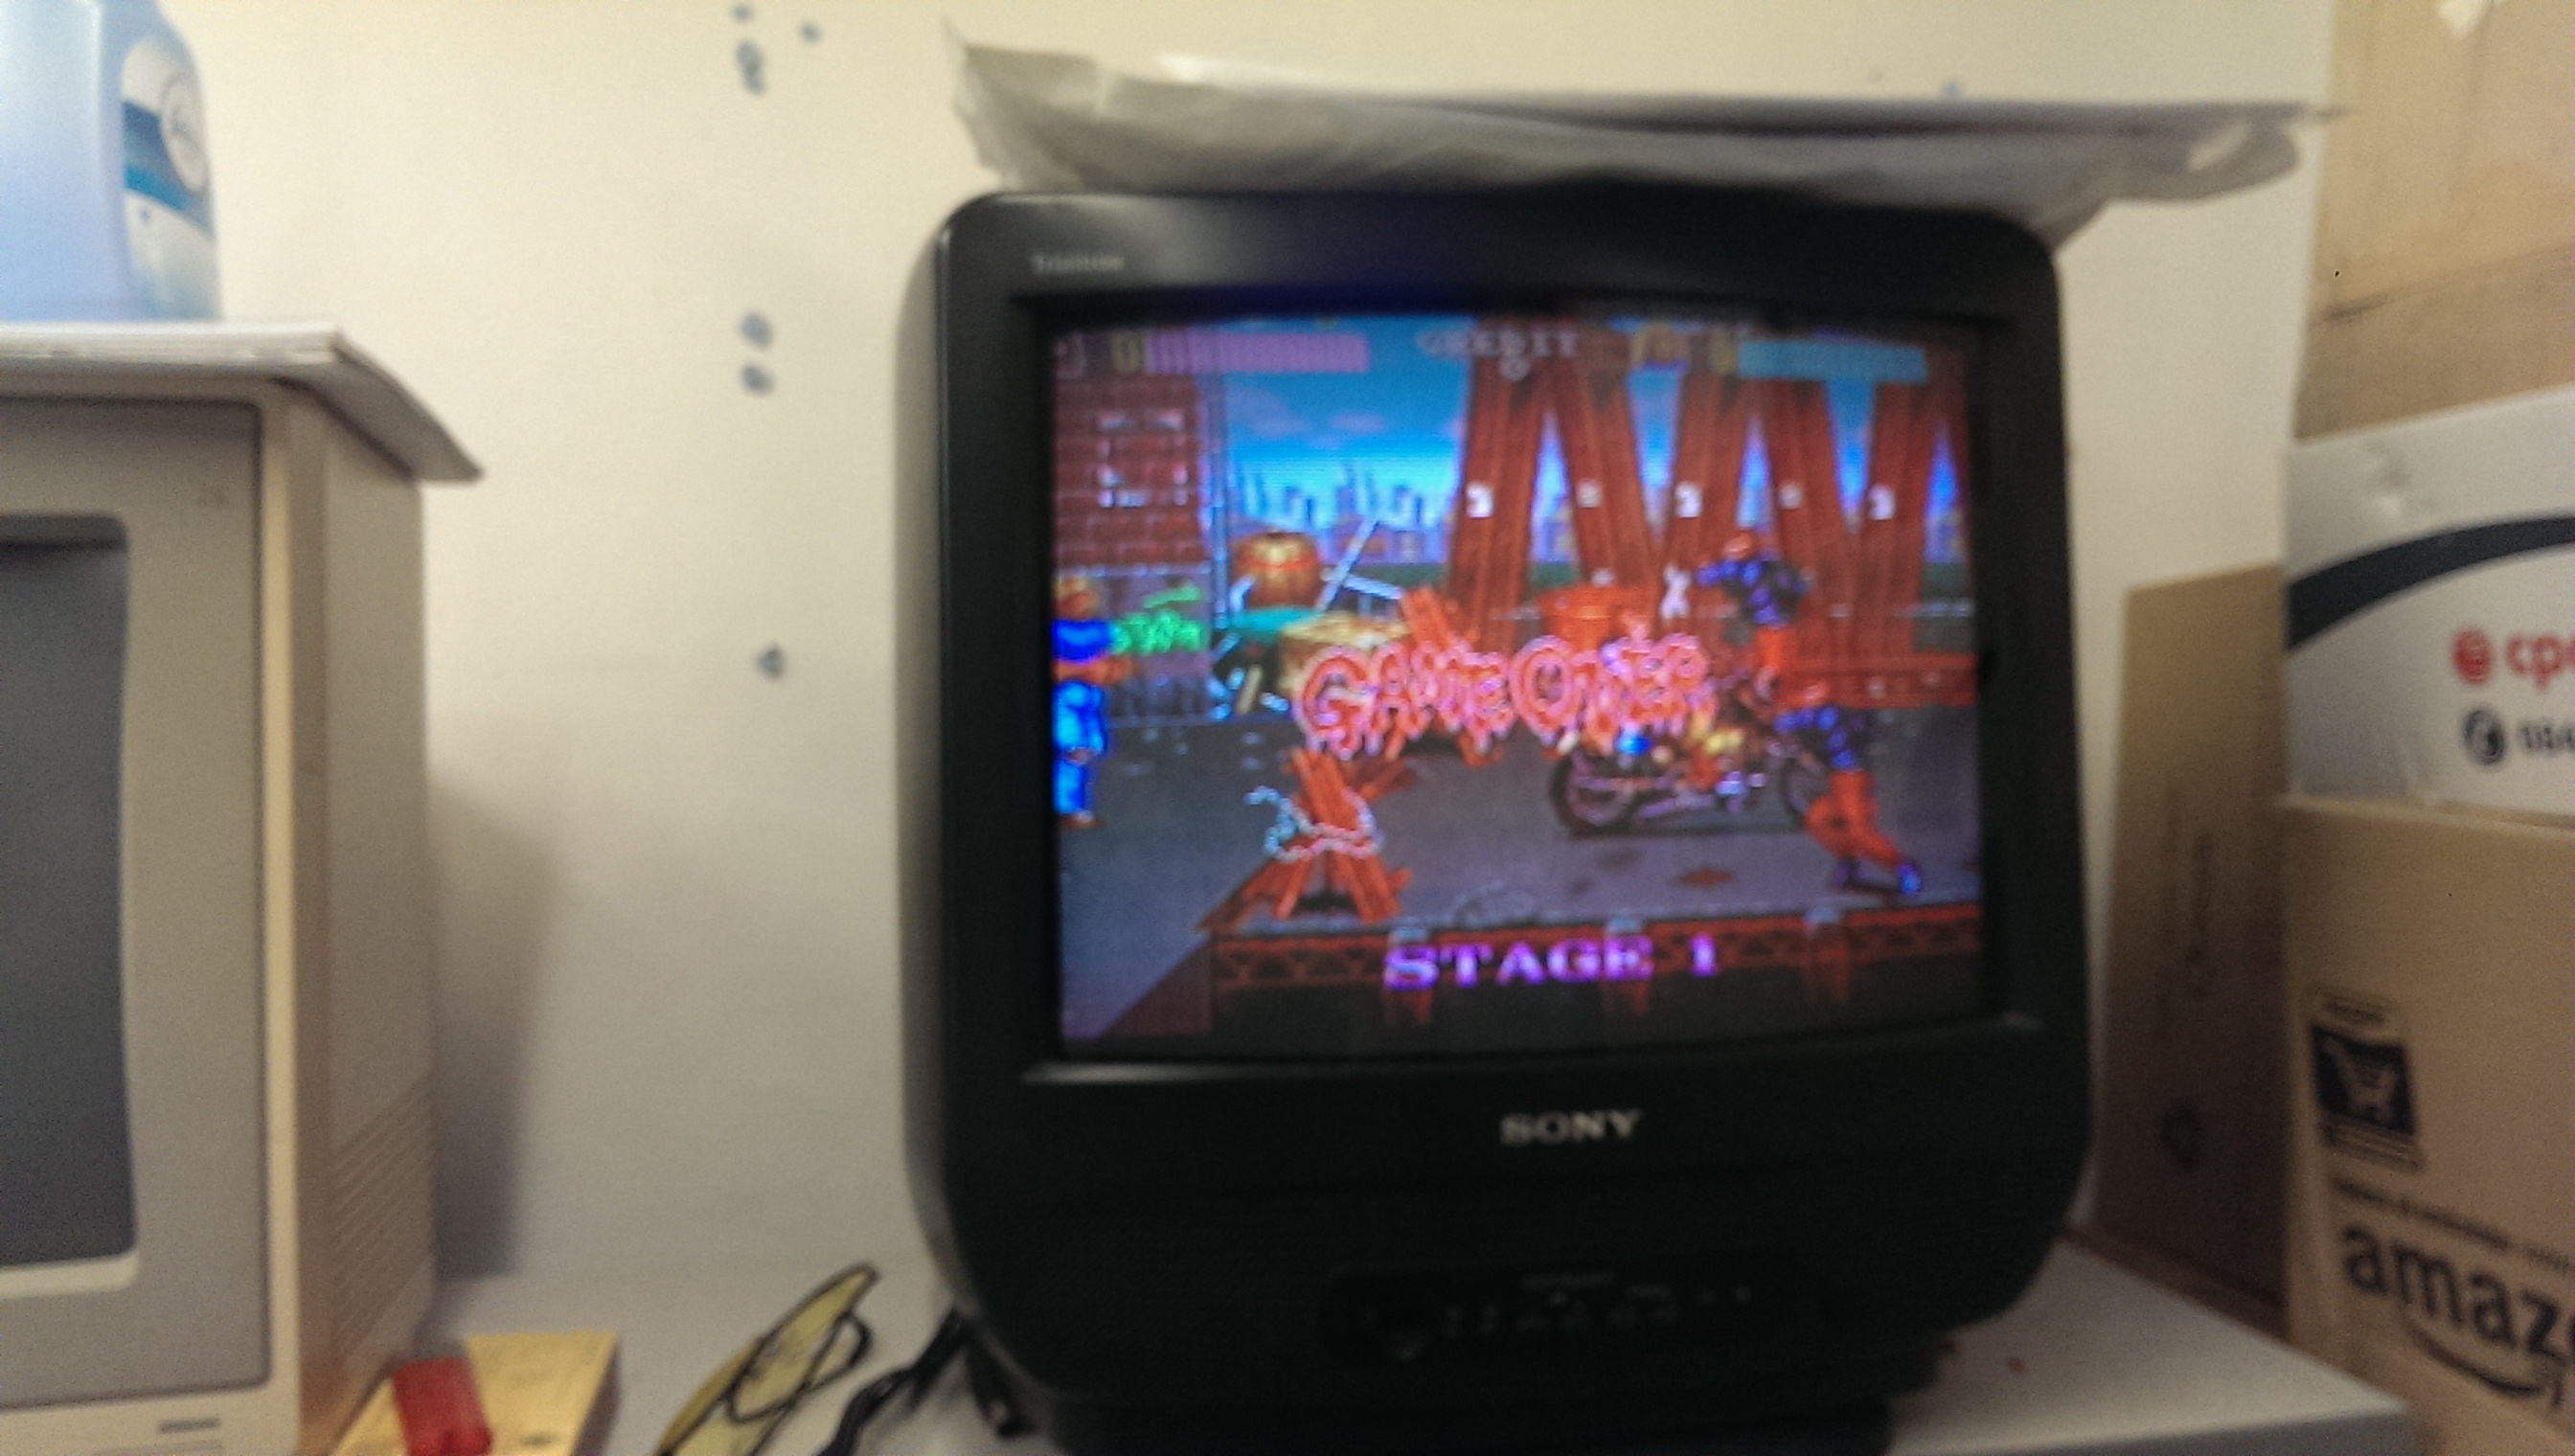
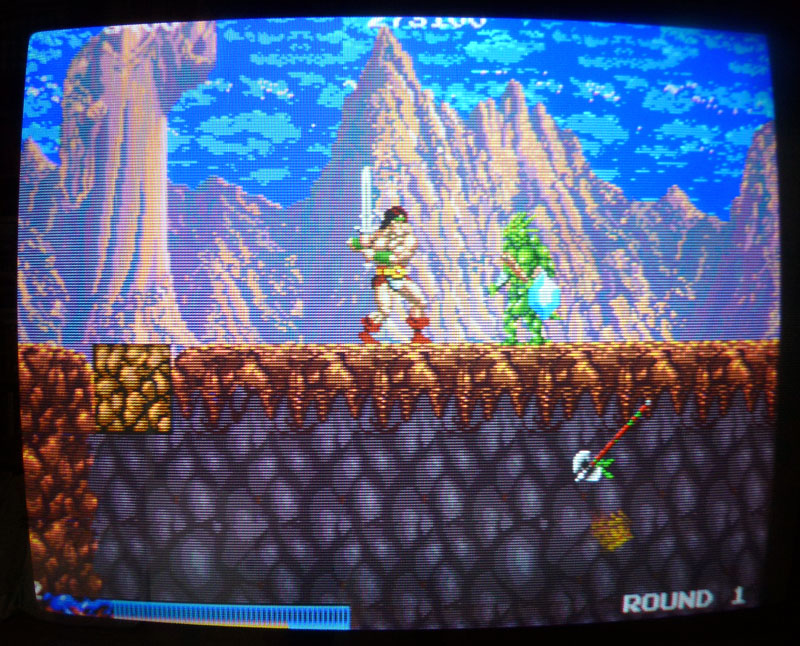
Plugged back the chip and the gfx were then fully fixed ! (as an example, this axe on the bottom-right corner was garbled before):

rastan4

Alright, BUT… After playing the game for a few minutes, I noticed when dying that Rastan’s voice was suddenly cut and looped 3 times along with his jumping voice. If I had to replace what I heard with words that would make: DYING/cut/JUMPING/DYING/cut/JUMPING/DYING/cut.
Well, that sounded weird so a verification in the emulator confirmed that was not normal.

The test mode features a sound test so I compared all the voices between my board and the game in MAME and there was 3 voices replaced by this looping sound of Rastan’s dying/jumping.

Alright, had to look back at the schematics…

This was (most probably) related to the voice generating part which is pretty small fortunately as it involves only a few TTLs as well as the Z80, one EPROM and one M5205 (ADPCM sound generator).
Sound ROMs were tested OK and every address and data lines looked fine.

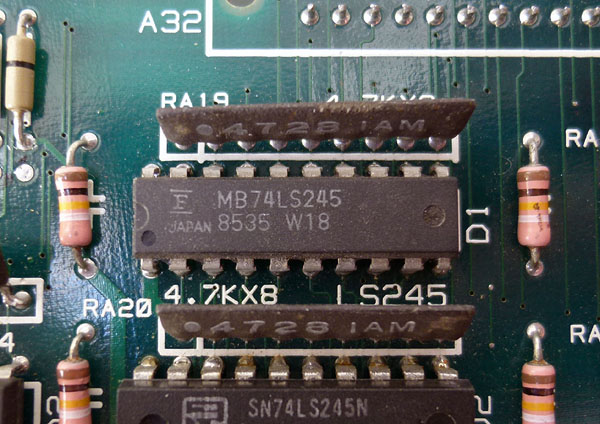
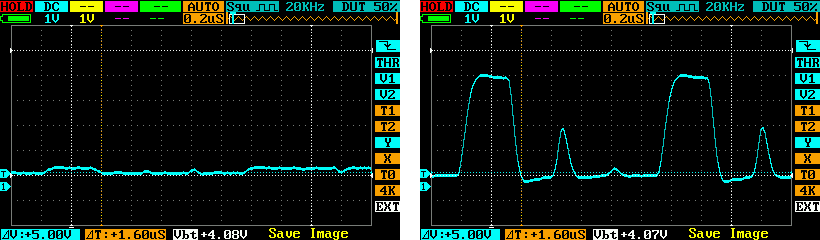
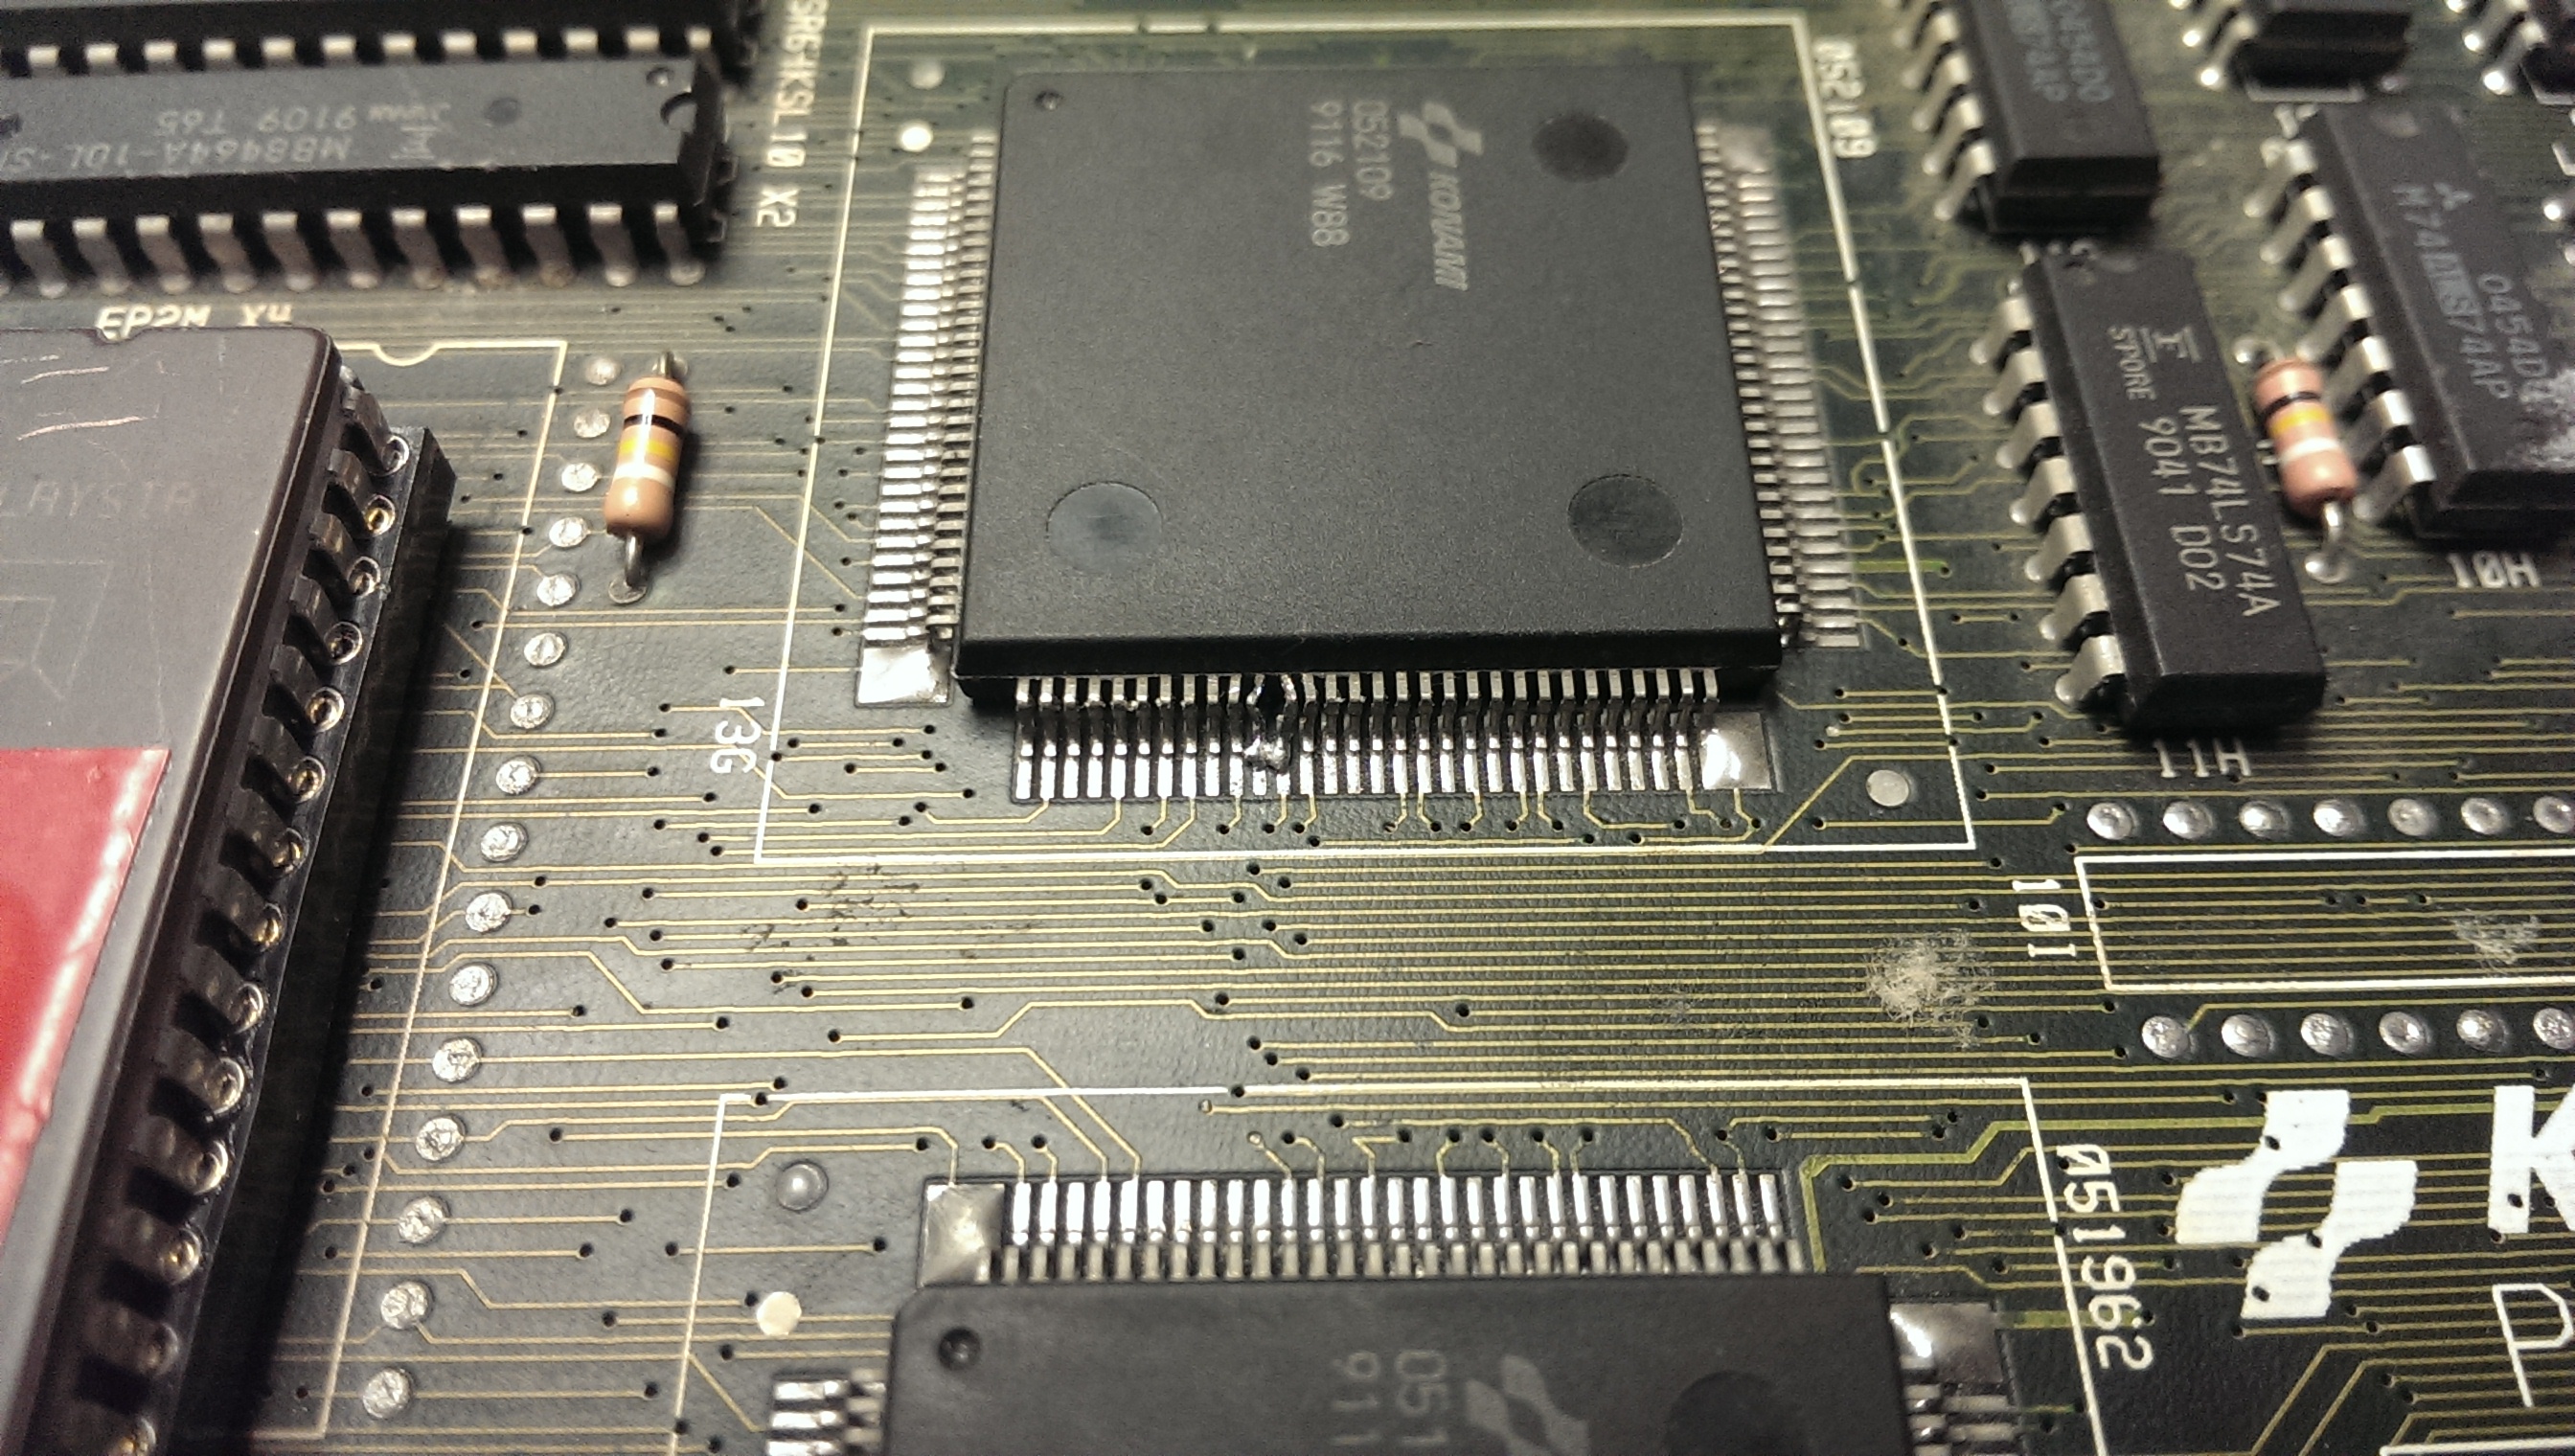
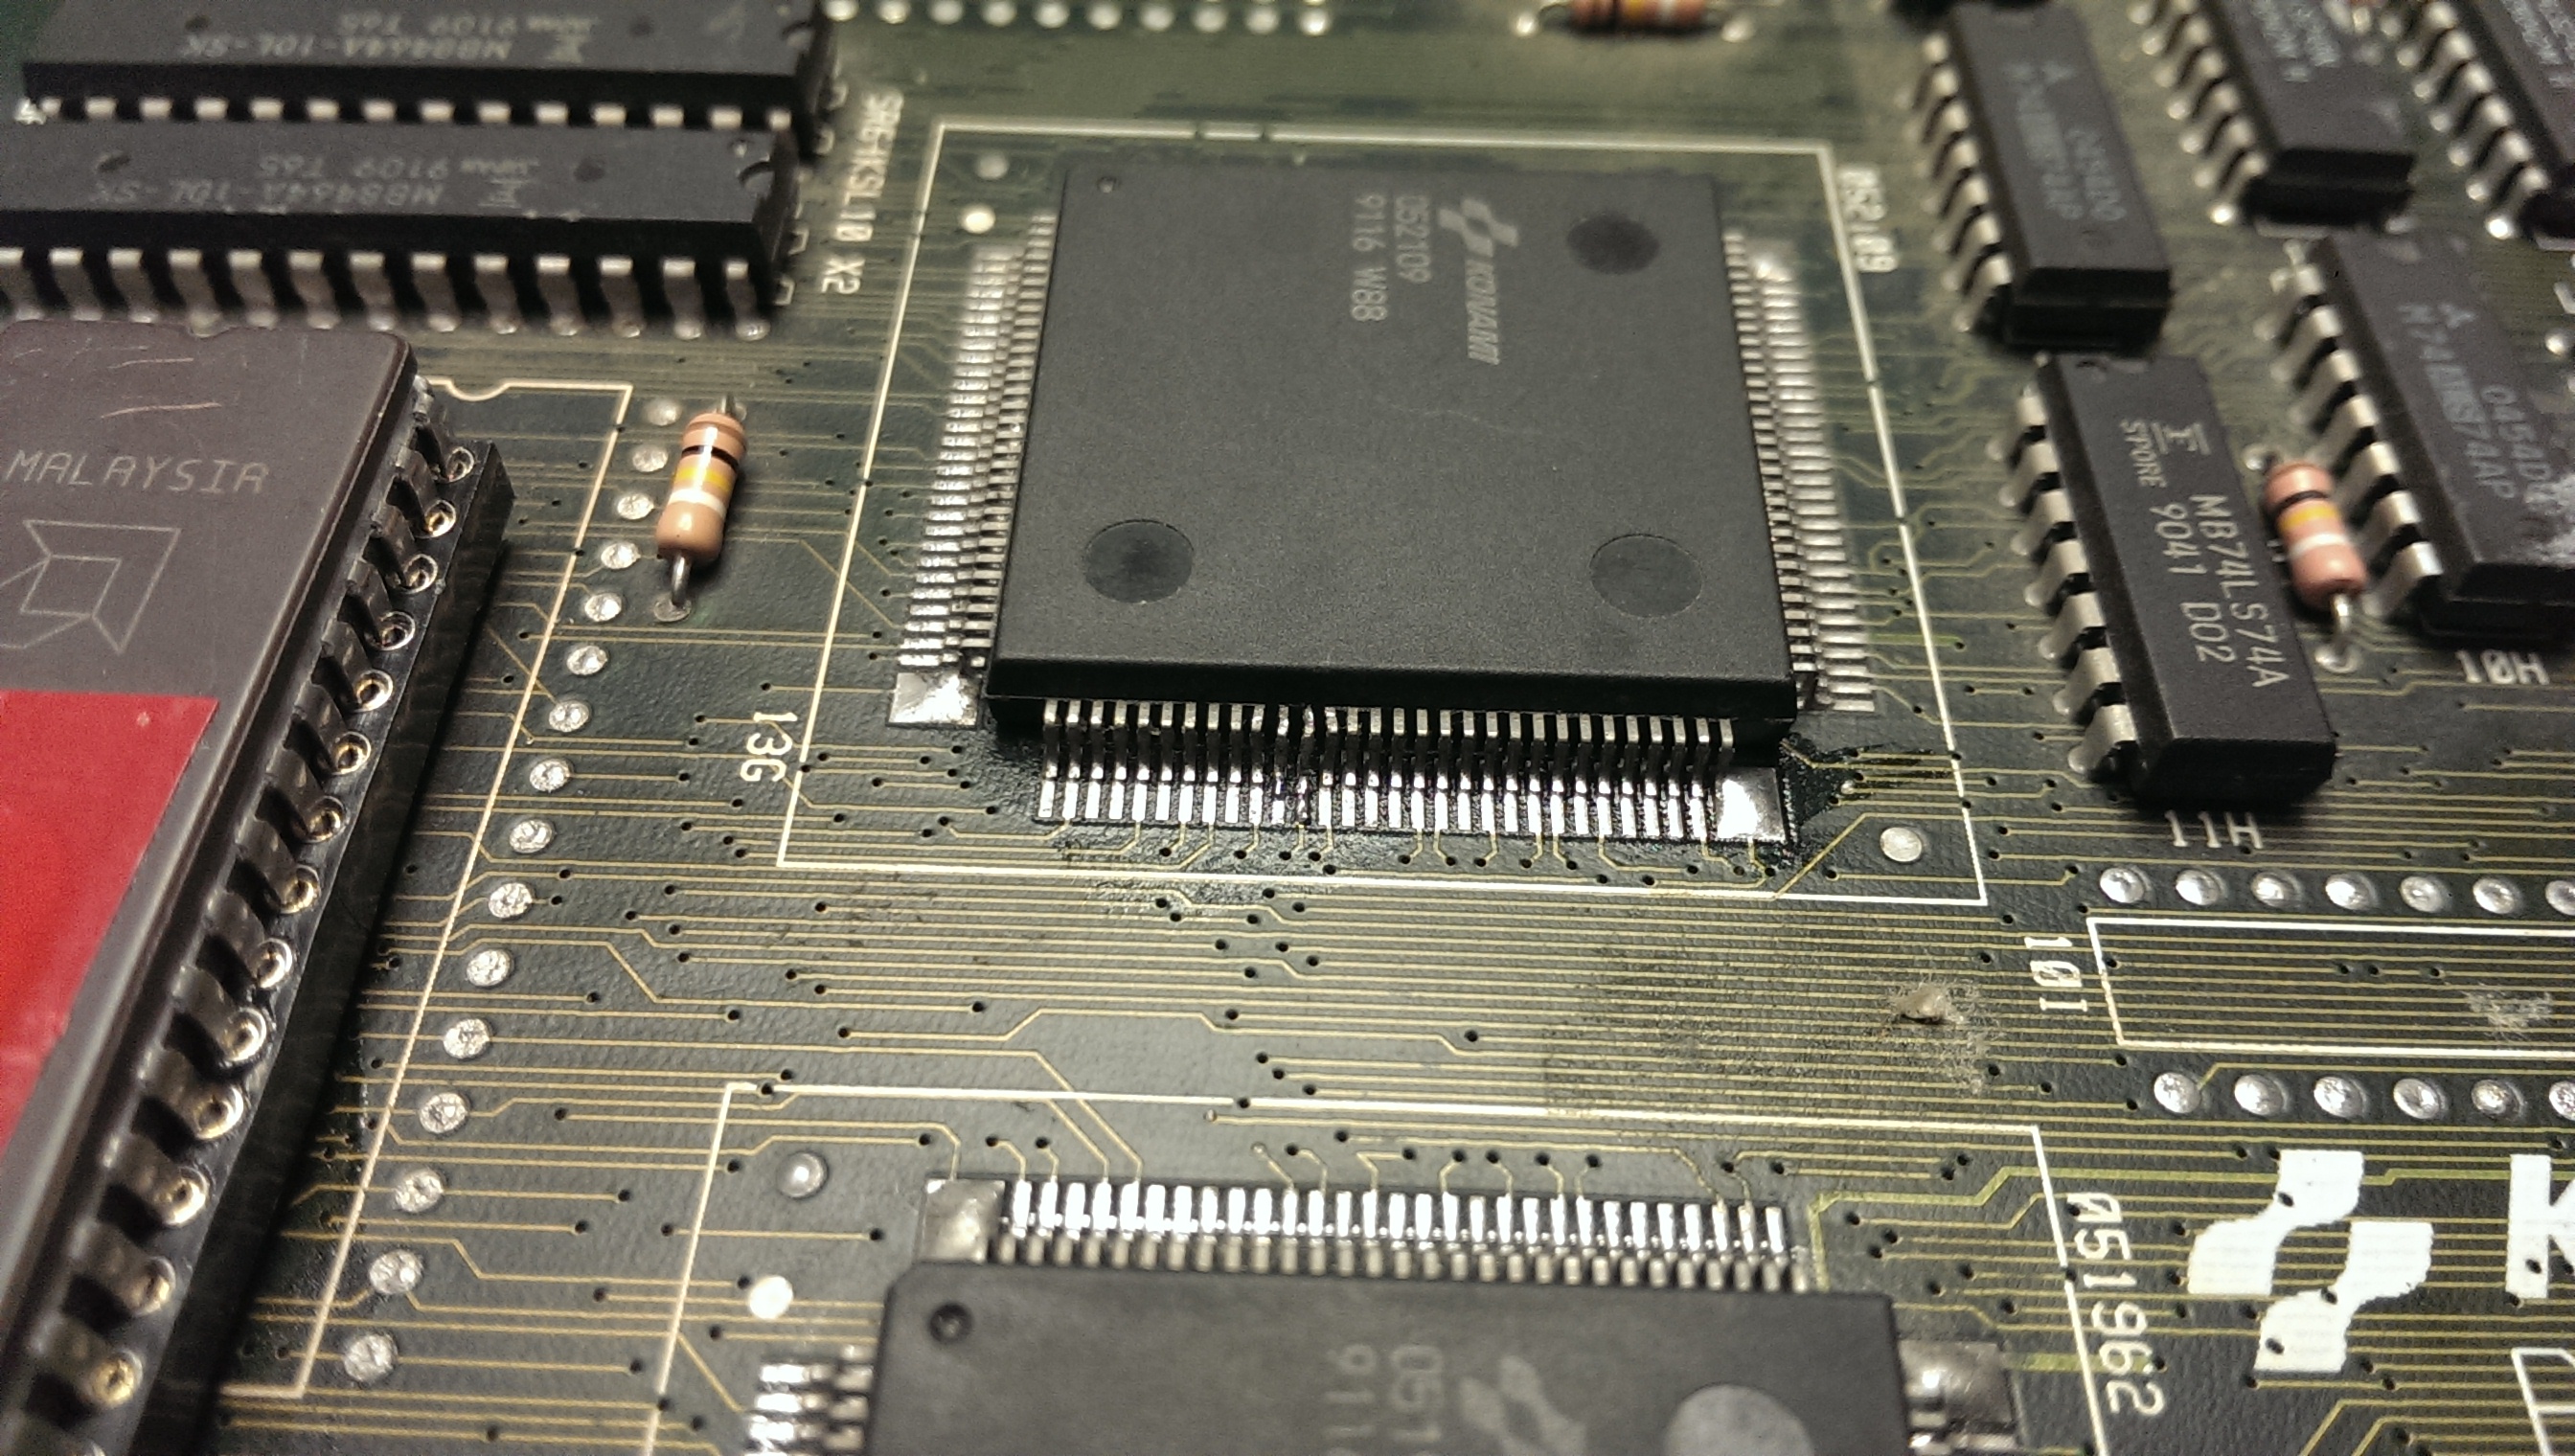
Checking the related TTLs with the scope, I noticed there was no pulsing signals on every of the 5 outputs of the 74LS193 @ IC60 while its inputs were pulsing. This chip is a counter and it is partially doing the link between the sound data bus and the voice address bus. There is another 74LS193 @ IC77 doing the same work for other address/data lines and outputs were pulsing when I pushed the button to generate one of Rastan’s voice in the sound test.

Piggybacking the chip at IC60 made the voices working fine with no weird loop. Also the other voices in the sound test were back. Replaced the chip and finally have now a perfectly working Rastan. (well, played it a few hours and it runs perfectly !)

Thanks to Porchy and Caius for their help on the PAL and hacked EPROM.

Aug 292015
 

A friend asked me if I could take a look at his dead Super Contra PCB which was a 2 boards version (the same game exist in a single board version where all the small mask ROMs on the sub board are replaced by bigger mask ROMs on the main board).

scontra1

All I got was a black screen with no sound. Checking with a scope around the CPU area revealed there was almost no activity. The CPU is a Konami custom 052001, hard to troubleshoot as I couldn’t find its pinout online.

While checking for possible loose connections on some chips. I found that bending a bit this small chip near the JAMMA connector (an electromagnetic interference filter) was booting the game:

scontra2

It was a bit loose. I desoldered it and found one of its legs broken. This was hidden behind one of these two small black ferrites. I repaired the leg and resoldered it.

Well, the game was now booting but graphics were a bit messy:

scontra4

ROMs containing graphics and voices are located on the sub board.

I started checking this part as it has a pretty simple layout (basically mask ROMs with buffers) and noticed 3 mask ROMs with corrupted signals on their data lines. These 3 ROMs were all connected on the same bus to pins 2 to 9 (A bus) of a 74LS245 buffer @ location D1:

scontra3

74LS245

There are several other 74LS245 chips connected to other mask ROMs on the board and they all seemed to have “normal” activity signals. The B bus of the suspected chip (pins 11 to 18) seemed inactive and was connected to a custom chip on the main board.

I first tried piggybacking that 74LS245 @ D1 but nothing happened. The lines were still looking the same with garbage signal on bus A side, which could be caused by the possibly faulty chip itself. I desoldered it and it was tested bad on my IC programmer. I put a new one in place and the problem was resolved:

scontra5

Here is what every signal on the A bus (pins 2 to 9) of the 74LS245 chip looked like with the faulty chip (left) then with a new chip in place (right). You can clearly see how bad the signal looked like on the left:

Pang repair log #2

 PCB Repair Logs, Repair Logs  Comments Off on Pang repair log #2
Jun 162015
 

Got a friends Pang PCB here for repair.
He had carried out the ROM swap (made by ArcadeHacker) to desuicide it but he had no output although we could hear it playing blind.
The board is very clean and a visual check revealed nothing.
On powering the board up I got this screen
IMAG1355

I could also hear the board did play blind so that’s a good sign.
I like to make little schematics for boards when I’m working on them and they don’t have any available and I quickly came up with this.
pang

I started probing back from the RED pin on the JAMMA edge connector and soon came to a RAM chip at location 8C. Probing this chip and its counterpart gave me some odd looking signals which I got suspicious about.
These chips are CXK5814 SRAM chips and they seem the be the most unreliable RAM by comparison.
One of the RAM’s had all its data lines stuck LOW while the other chips data lines were all dead despite all the enable lines working as they should and the address lines active.
At this point I was certain they were dead but one last test was to ‘piggyback’ a known good RAM chip on top of the suspected bad one. I chose the one with the dead data lines to avoid potential contention and I got a partial image on screen.

I desoldered both the RAM chips and replaced them. I didnt have any spares in my RAM bin but found a couple of skinny 6116 RAM’s on a scrap bootleg board.
IMAG1353
IMAG1359

Fitting these I now got this wonderful sight.
IMAG1356

IMAG1358

Job done.

Apr 142015
 

Had this board for a while now but hadn’t looked at it.
IMAG1239

On booting the board up I got completely messed up graphics.
IMAG1238

On my pre power up visual inspection I somehow missed the damage and solder blob on the 052109 tilemap generator.
IMAG1240

I removed the solder using solder braid and straightened the legs up best I could with some fine tweezers. It took a while as I didn’t want to snap the legs off but I ended up with something I was happy with.
IMAG1255

Fixing that gave me the graphics back but there were jailbars present.
IMAG1242

Jailbars are usually a sign of a failed ROM and as the two MASKROM’s have previously been replaced for a pair of 27C400 EPROM’s I thought it was best I check these out first.
Both turned out to be fine so the next step was to check the address and data line to see if they were active.
Again I could find no problems here.

I then found the test menu which runs a self test on these ROM’s. The ROM at location 16I gave a different checksum each time I ran the test. A changing checksum can be a sign of a floating data pin. I already knew the data pins were active and that the ROM’s were good so I set to work with the multimeter checking continuity between the EPROM and the 051962 tilemap generator which these data line go to.
Eventually I found data pin 8 did not make it to the 051962.
IMAG1243

I was able to patch this underneath the EPROM so it would be hidden (and protected).
IMAG1244

On powering up all the jailbars were gone and the board is fixed.
IMAG1253

Stun Runner repair log

 PCB Repair Logs, Repair Logs  Comments Off on Stun Runner repair log
Mar 292015
 

Had Muddymusic’s Stun Runner PCB for a long long time awaiting repair.
I put off looking at it because of how test bench unfriendly it would be to setup.
I did have most of the original loom to use but the audio section also used 13v AC and a test bench typically doesn’t have that.

I ordered a small 240v – 12v transformer and eventually set to work in hooking this thing up.
After half a day of messing around I had what I thought was a Stun Runner test rig.
While I had all the connections going to the right places and things like that I soon realised that the speakers I were using in now way suitable to check the sound and also my test bench monitors seem to be getting really picky about what they display properly.
In the end I settled for a black and white picture but I wasn’t too worried as the fault I was looking for was audio related.

The fault was that in game the music didn’t play and the engine tone played at a constant tone.
With my almost useless setup I could hear exactly this. I did a quick heat check with my finger on the audio PCB to check if any of the chips were getting hot and to my surprise all the sounds and music came back when I prodded the M6295.
IMG-20150310-WA0005

I powered down and reflowed the chip and all was working again.
I soak tested it as best I could and called it a day.

Muddymusic has now got it back and has confirmed the sounds and music are now good.