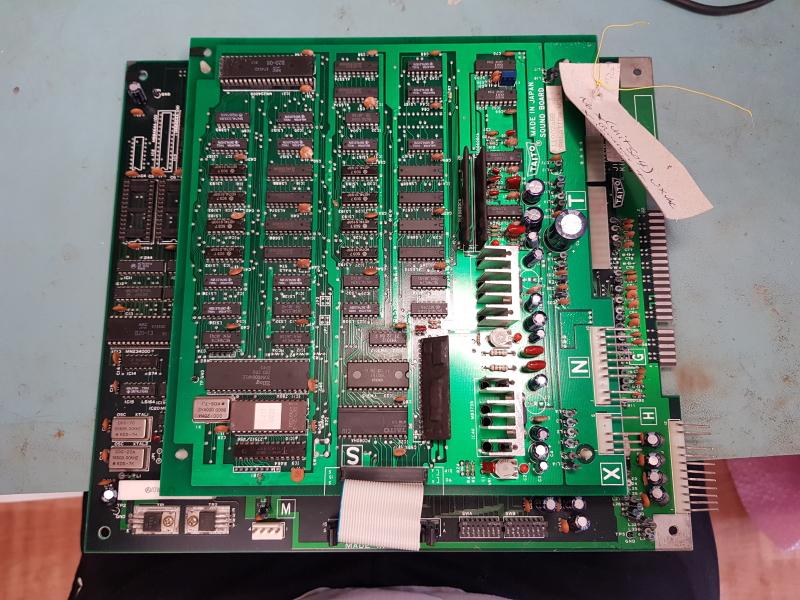
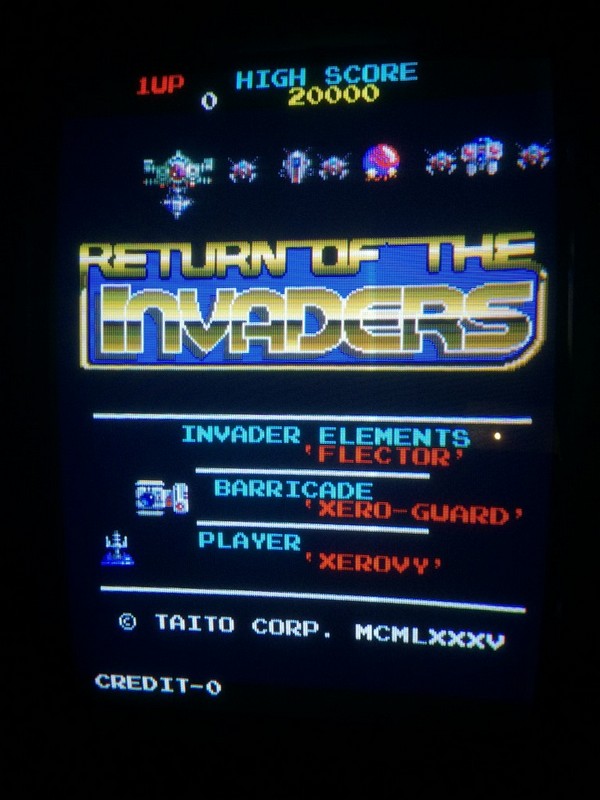
Recently I got hold of this favourite game of mine after a long searching. Apparently it is not so common nowadays, so when I saw a sales thread of this pcb in faulty conditions from an italian arcade forum I took immediately the opportunity and bought it.
The seller posted a video in which the sprites where wrong and the red and blue components were inverted (this latter problem was caused by wrong wiring of jamma adapter)
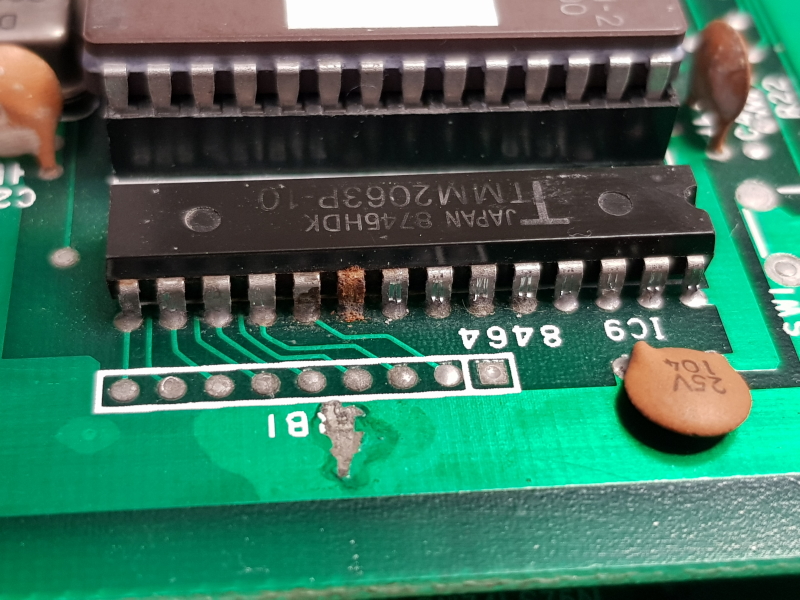
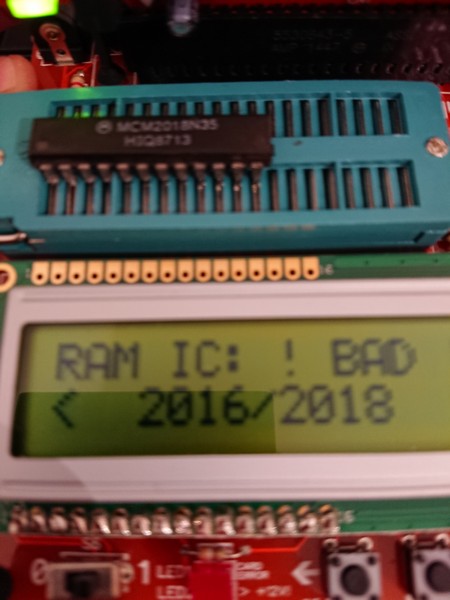
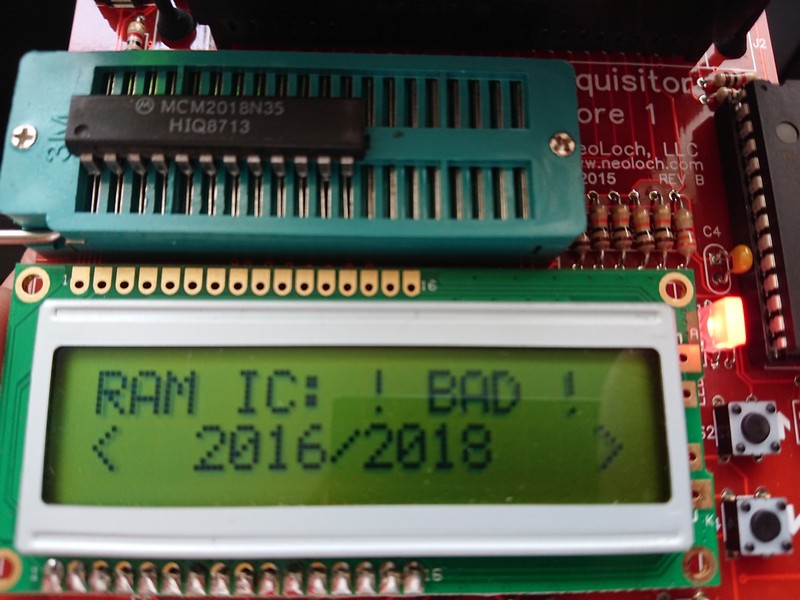
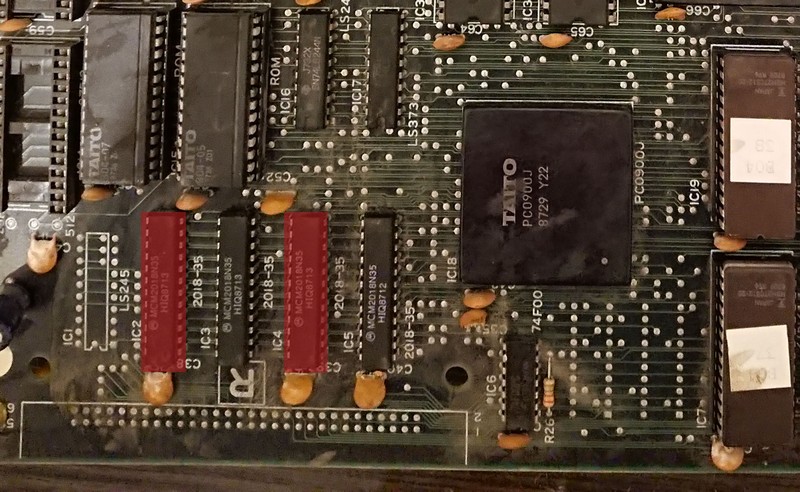
When the pcb arrived it was in very good conditions with all rams socketed in factory, therefore I immediately tested them out of circuit which unfortunately were all good (so no easy repair 🙂 )
It had also an horrible hack on the sound amplifier, more on that later.
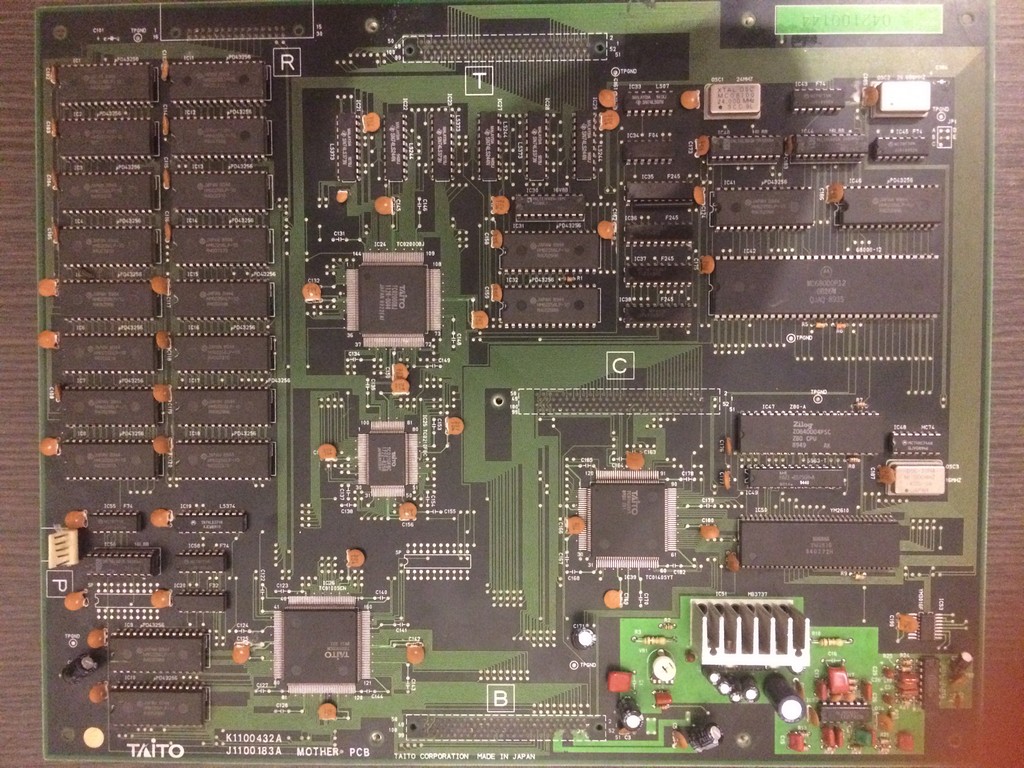
Therefore I started the troubleshooting without having any schematics and no similar hardware to look for.
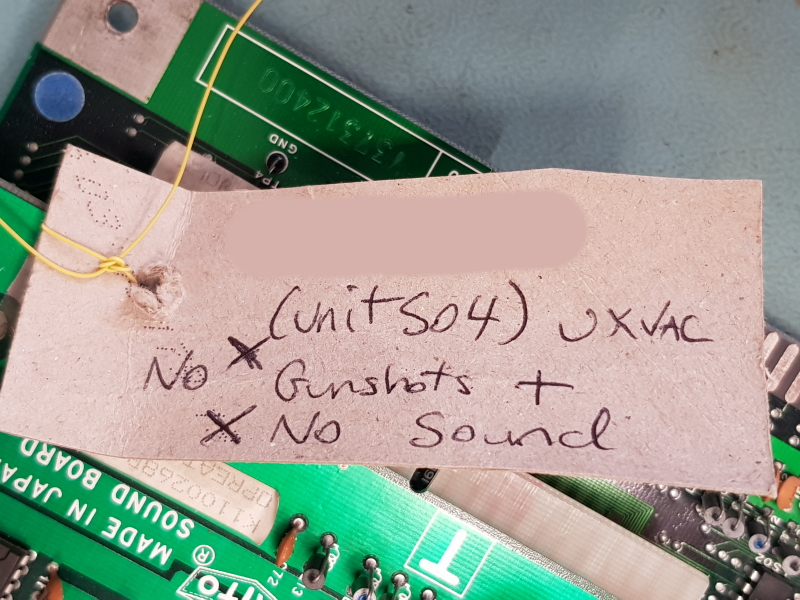
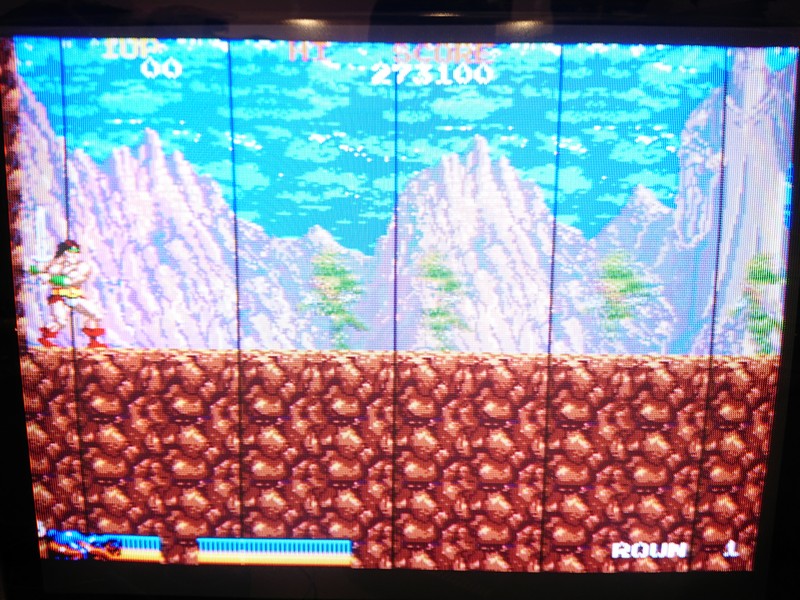
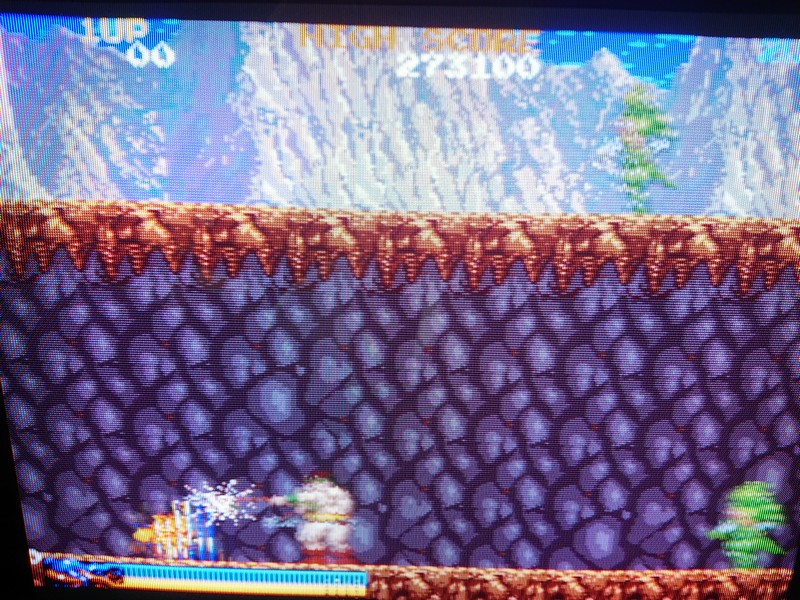
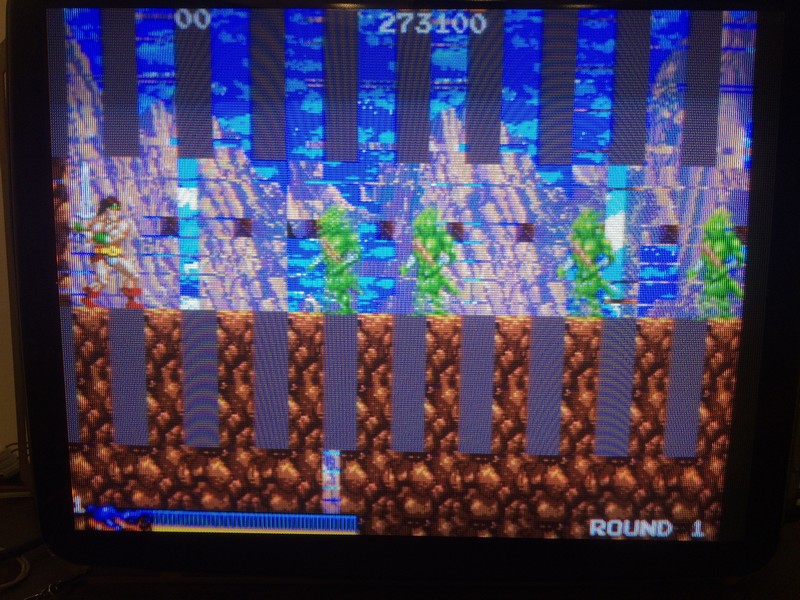
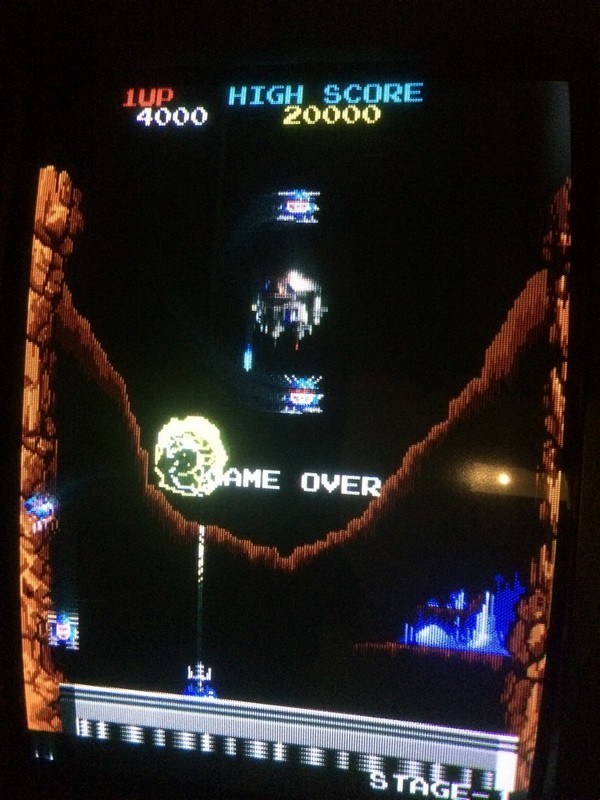
Game had this main fault:
and even if it was not seen in the video of the seller, sometimes I got also the logo and some other images messed up
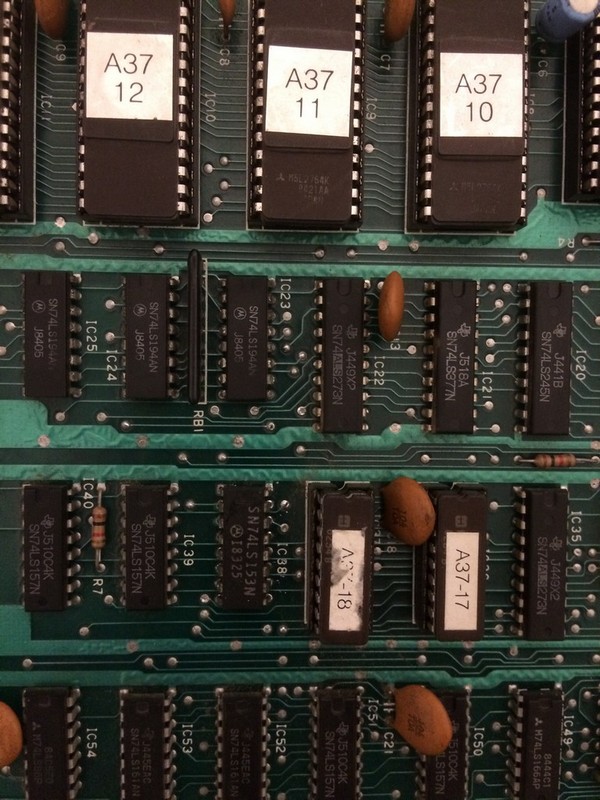
The sprite problem I was sure was caused by some wrong addressing of the sprite graphics, therefore I shorted some address line of the eproms on the video board to see which ones contained the sprite graphics and found the four responsible.
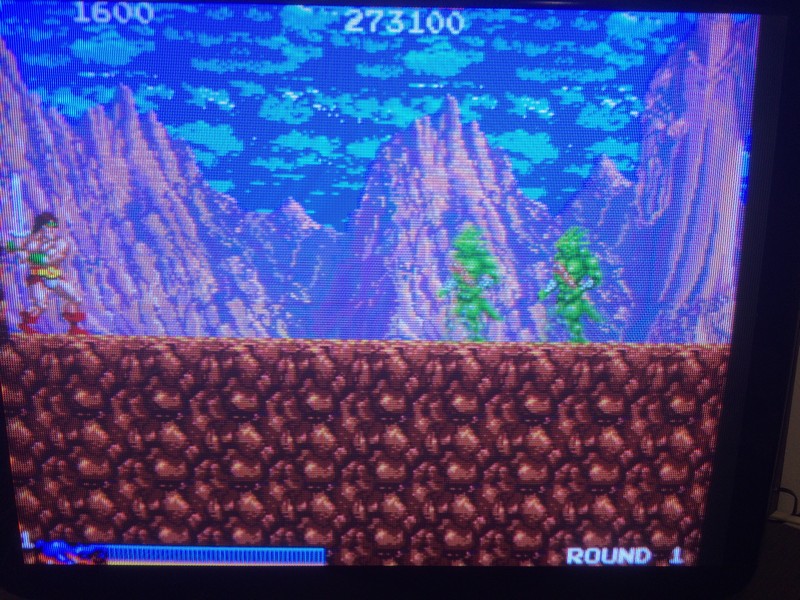
Addr 7 and 8 of the eproms 10 to 13 were fixed low. I traced back to a 74ls153@IC38 which had both outputs fixed .
Piggybacking it with a good one restored the sprites, therefore I proceeded with replacing it and fixed the sprite problem
The TTL was from Fairchild (not Fujitsu part!) and it was the oldest one on the pcb, dated 1979!
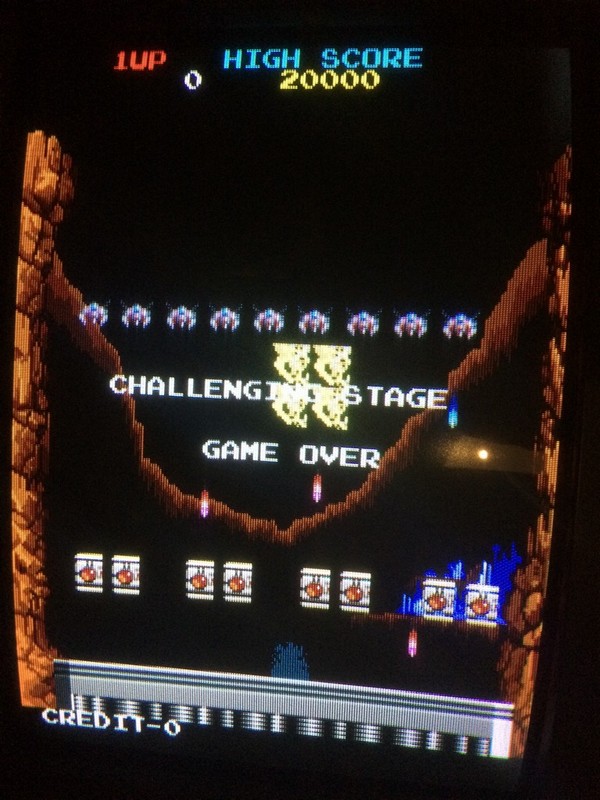
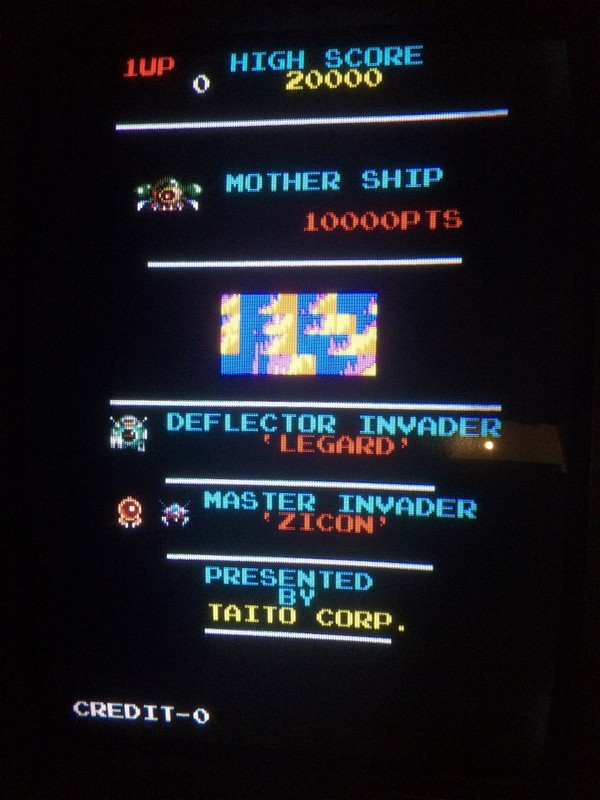
Now the logo problem, it was strange because sometimes it was shown right, sometimes bad.
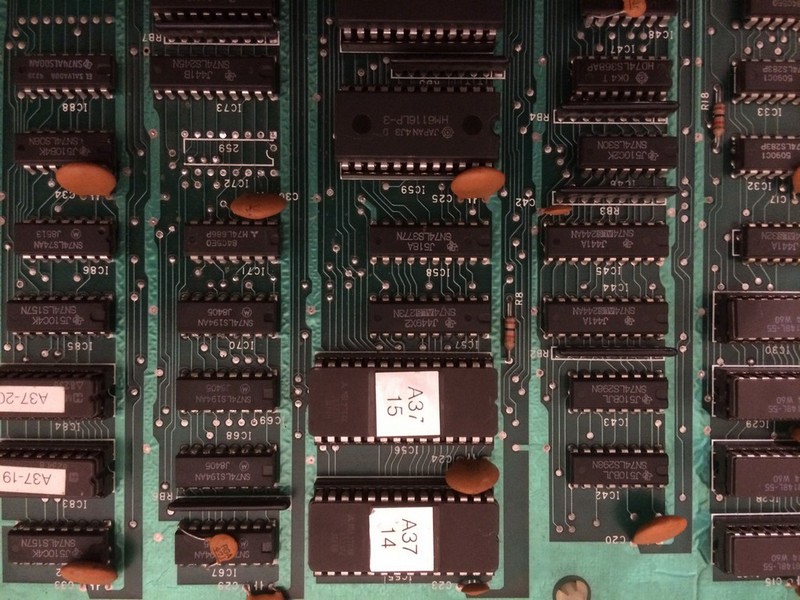
After some hours of playing, the logo was not shown right anymore, therefore I asked David Haywood (Haze of Mame fame) where it was contained and it pointed me in the eproms A14 and A15 (different bitplanes which were combined to form the final pic). Both eproms had to be addressed in the same time.
Also he told me that the graphic was bank switched, therefore some logic had to select a particular part of the memory area to show the correct gfx.
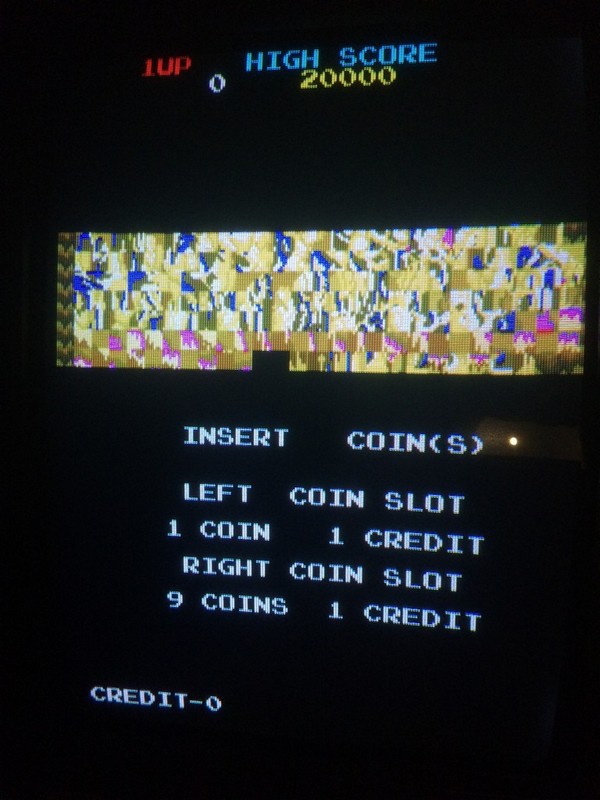
I probed their address lines and found the upper one A12, was always fixed low. I forced it high during gameplay and the backdround got corrupted but when the title was shown , the logo was there clear.
So the logo was contained on the upped half of the eproms and the logic was not selecting the A12 bit high or low depending on the situation.
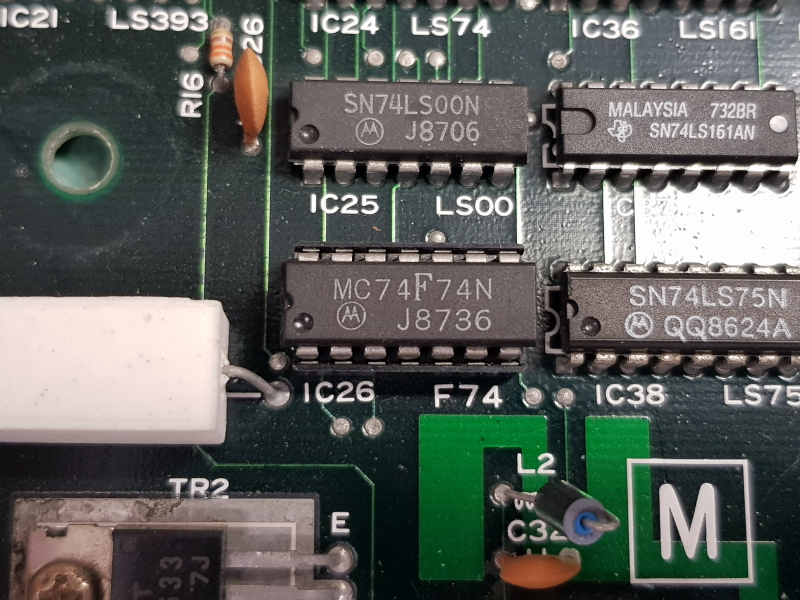
I traced back to the only Fujitsu ttl present on the board, a 74LS259@IC72, 8 bit addressable latch.
Before desoldering it, I tried to understand the datasheet of the part, which is not very common to see on arcade boards , and probes 3 select inputs which were oscillating and the enable line was pulsing everytime it changed from title logo to gameplay.
All his outputs were stuck low, and the HP logic comparator confirmed some outputs were at the wrong logic. Only few are used by the hardware, but I expect in later levels I could get other wrong graphics…
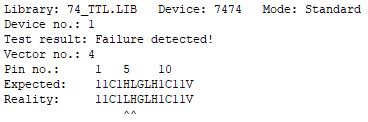
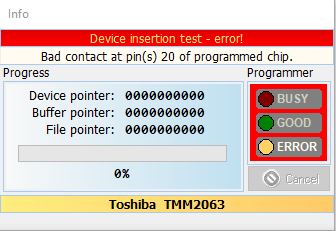
I desoldered it and tested out of circuit:
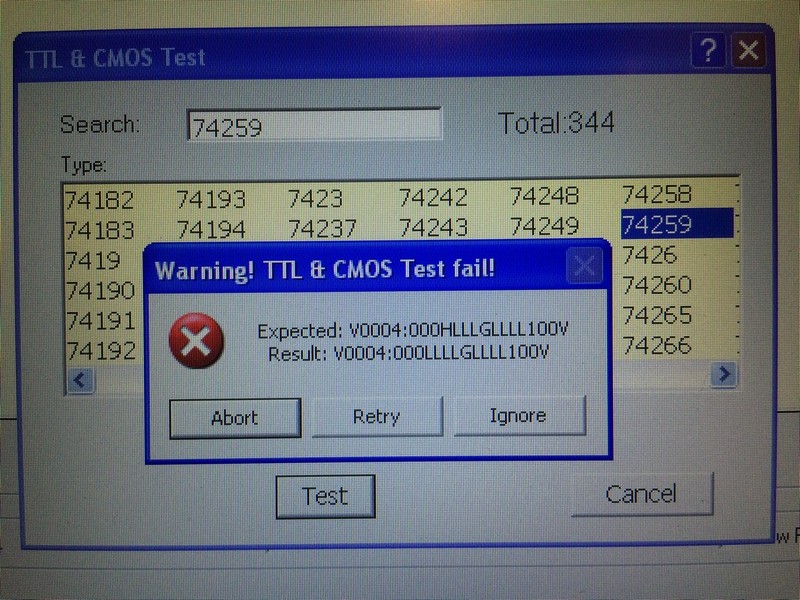
Turned out Fujitsu was again the source of problems!
I had a hard time to find a replacement, because as said the 74259 is very seldom used by arcade hardware.
At least I found one in the following junk pcbs I had: Rock and Rope boot, Equites and Dig Dug.
I took the one from the bootleg (it is always a pity to cannibalize an original board 🙂 ) and problem was fixed!
Since the pcb would go directly in my collection, the last thing I wanted to fix, was the ugly hack they did by replacing the original amplifier with an LM380 (same used on 1978 space invaders….)
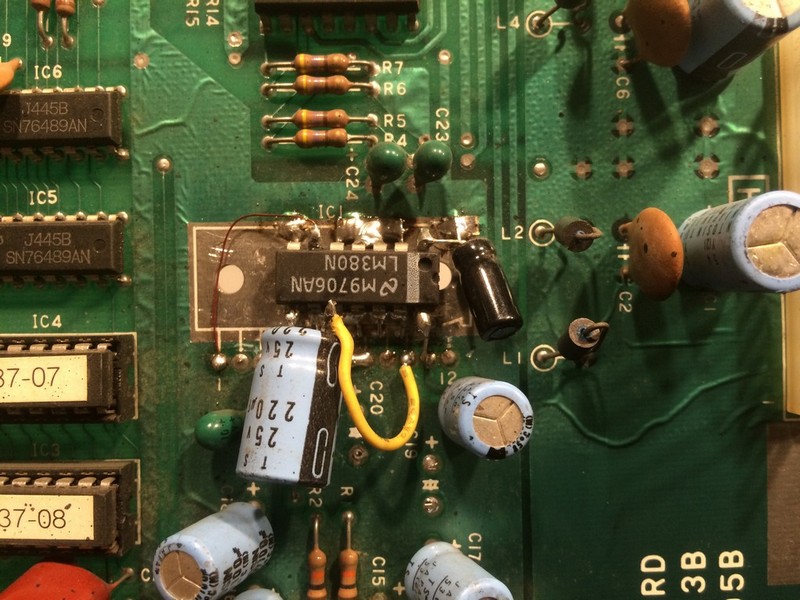
This thing worked but it was really ugly!
After spending one hour to clean the disaster with soldering irom and soldering wick, I installed back in place the 2x missing caps and I looked to find the original MB3731 amp among some of mine junk pcbs.
Besides being used on Taito hardware of the era, it was often used on Konami hardware from late 80s/early 90s.
I took it from a junk Main Events pcb and now it looks much better: